How to Launch a SaaS Website in English and Arabic With Next.js
Launch a SaaS marketing website in English and Arabic with Next.js: pricing, blog, forms, SEO settings and going live, plus what you connect yourself.
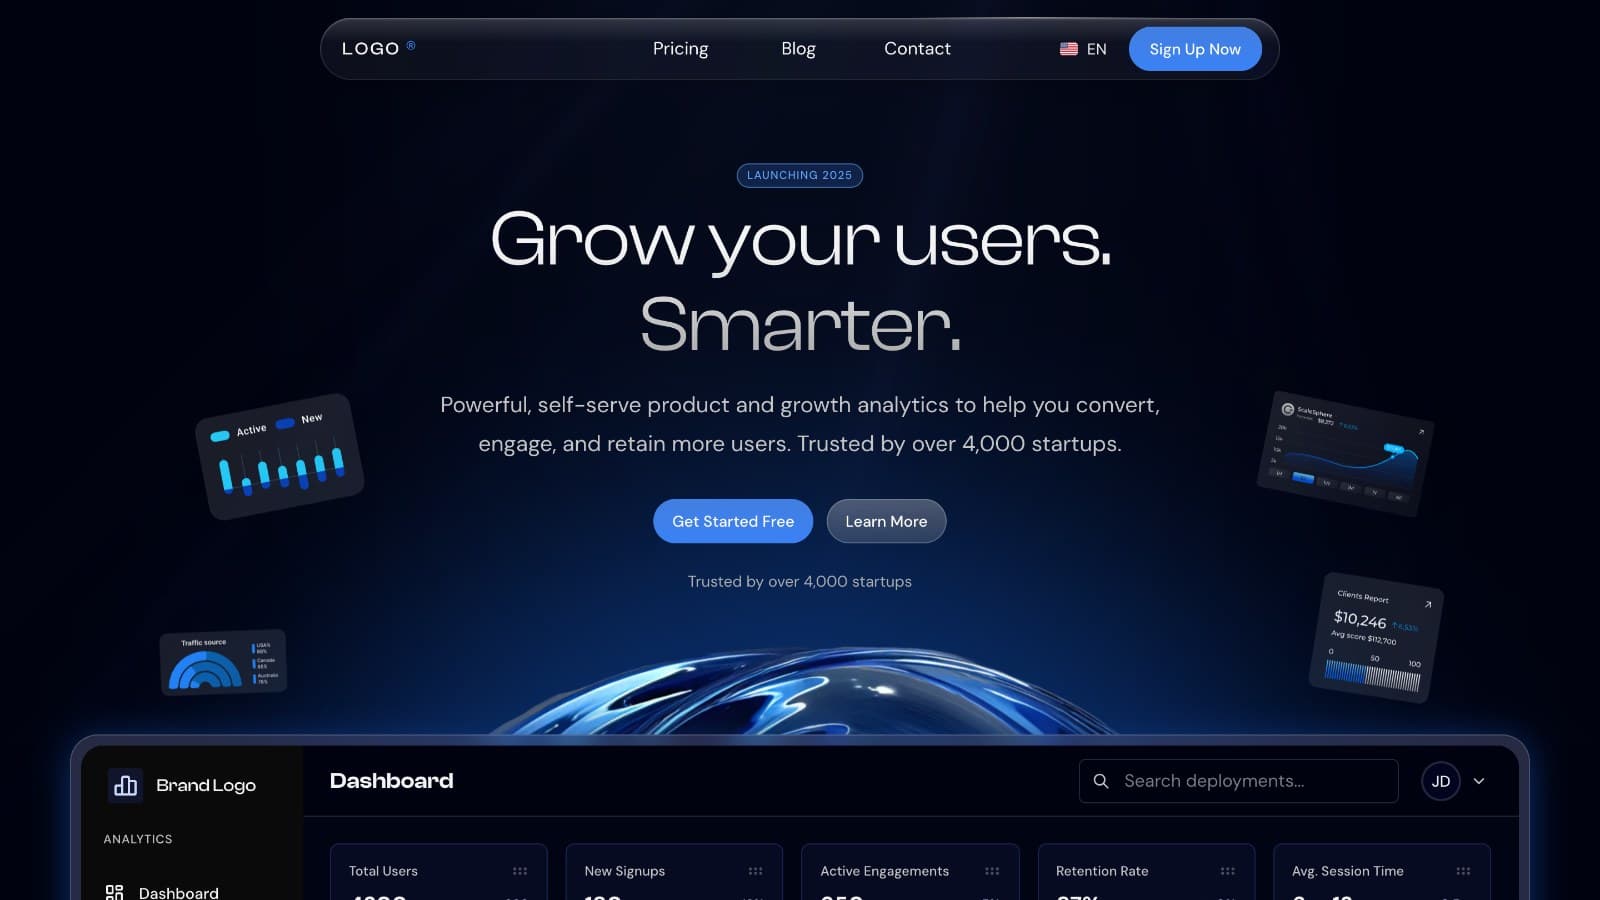
This guide shows how to launch a SaaS marketing website in English and Arabic with Next.js, using the Aniq UI SaaS Template. You will run it, rebrand it, rewrite the pages, set up pricing and a blog, and put it on your own domain.
One thing to know before you start: this is a website, not a platform. It has no database and no back end, so the sign-up forms, the contact form and the plan buttons are not connected to anything. You connect your own sign-in, form handling and checkout. The steps below mark each place where that happens, and each step ends with what to check and what usually goes wrong.
Before you start: decisions to make
A marketing site is quick to build and slow to launch when the answers to these questions arrive late. Settle them first.
- What is the one action a visitor should take? Start a free account, book a call, or buy a plan. The home page, the pricing page and the plan buttons should all push toward that one action.
- Where do sign-ups go? The sign-up and sign-in pages are forms with nothing behind them. Decide whether they lead into your product's own account system, a hosted sign-in service, or a waiting list.
- How does someone pay? The template has no checkout. Choose between a hosted checkout link from your payment provider and a billing screen inside your product, and make the plan names on the site match what that checkout sells.
- Who receives contact messages and newsletter sign-ups? Each form needs a destination: an inbox through a form service, an email platform, or your own API.
- Who writes the blog, and how often? Posts are files in the code, so a developer publishes them unless you connect a CMS. Be honest about whether that suits your team.
- Which languages, and who translates? English and Arabic ship, including the template's own sample copy. Your product's copy needs a human translator, ideally a native Arabic speaker for the Arabic pages.
- What is the address? The site builds its canonical links, sitemap and sharing cards from one setting, so know your final domain, including whether it uses
www.
The brief
Plainview is a small analytics tool for online shops. The product itself is built separately. What the team needs now is its public website:
- A home page that explains the product and shows what the dashboard looks like.
- A pricing page with three plans and a monthly or yearly switch.
- A blog the team can write in, with search and categories.
- A contact form and sign-up and sign-in pages that will lead into the product.
- Legal pages and proper error pages.
- Every page in English and Arabic, with Arabic laid out right to left.
- The right canonical links, sitemap and sharing image, so search engines and chat apps show the site correctly.
How the template covers the brief
| Need | Where it lives | What you use |
|---|---|---|
| Product story and dashboard preview | Website | Home page sections and the coded dashboard preview in the hero |
| Plans and prices | Website | Pricing page and the home page pricing section |
| Blog | Website | Blog pages; posts are files in the template |
| Contact, sign-up, sign-in | Website; sending needs your service | Contact form, auth pages, newsletter boxes |
| Legal and error pages | Website | Terms, privacy, cookies and GDPR pages with placeholder wording, plus designs for 401, 404 and 500 errors |
| English and Arabic | Website | /en and /ar addresses, files under messages/ |
| Search and sharing | Website | NEXT_PUBLIC_SITE_URL, sitemap, robots.txt, public/meta_image.png |
| Accounts and payments | Your own services (not included) | Your sign-in provider, form service and checkout |
Template, from scratch or a hosted builder
There are three common ways to get a SaaS marketing site, and the honest answer depends on who is on your team.
From scratch. You decide every detail, and nothing in the page is there by accident. You also design and build the hero, the animated feature cards, the pricing table, the blog, the forms, the legal and error pages, the English and Arabic versions, and the search settings. If a designer and a developer have the time, this gives the most distinctive result. If the goal is to get a product in front of customers, it is the slowest road.
A hosted website builder. A builder gets you online without writing code, handles hosting, and often includes a form tool and a blog editor. The trade-off is that you work within its layouts and its pricing, moving the site elsewhere later can mean rebuilding it, and support for right-to-left Arabic layouts varies. Read its terms about exporting your content before you commit.
A template with source code. You start with finished pages and animations, own the code, host it where you like and edit anything. The cost is that a developer must make the changes, and the connections (forms, sign-in, checkout) are yours to build. The license covers unlimited projects, client sites included, with a one-time payment and free updates, but you may not publish the source or resell it as a template.
Plainview has one developer and a designer who will write the copy, so it takes the template. A founder with no developer should weigh a hosted builder seriously, and a services company may find a different template a closer start, because this one is built around a single software product with a dark design.
An example launch plan by week
This schedule is an example for Plainview, not a promise about your timeline.
- Week 1, run and decide. Run the site locally, read every page in both languages, and settle the decisions above.
- Week 2, brand and copy. Change the name, logo, theme and sharing image. Rewrite the home page sections and the dashboard preview for the product.
- Week 3, plans and content. Set the plans and prices, write the first blog posts, replace the legal text, and translate everything into Arabic.
- Week 4, connect and test. Wire the forms and the sign-up, test on real phones, check the production build.
- Week 5, launch. Set the final address, deploy, check the sitemap, and announce.
Step by step
1. Decide what you connect yourself
List the three connections before you edit a single page. For Plainview they are: where a sign-up goes (the product's own account system), where contact messages go (a shared inbox through a form service), and where a paying customer lands after choosing a plan.
The plan buttons on the pricing page lead to the sign-up page, and nothing in the template charges a card. That leaves the choice to you: a hosted checkout link from your payment provider, or a billing screen inside your product. Settle it now so the plan names on the site match what your checkout sells.
Check: you can say, for every form and button on the site, where it will send the visitor or the data. What usually goes wrong: discovering at launch that the success message on a form was only a message.
2. Run the site on your computer
Install Docker Desktop, then work through these sub-steps.
2a. Download. In your Aniq UI account, open My templates and download the ZIP.
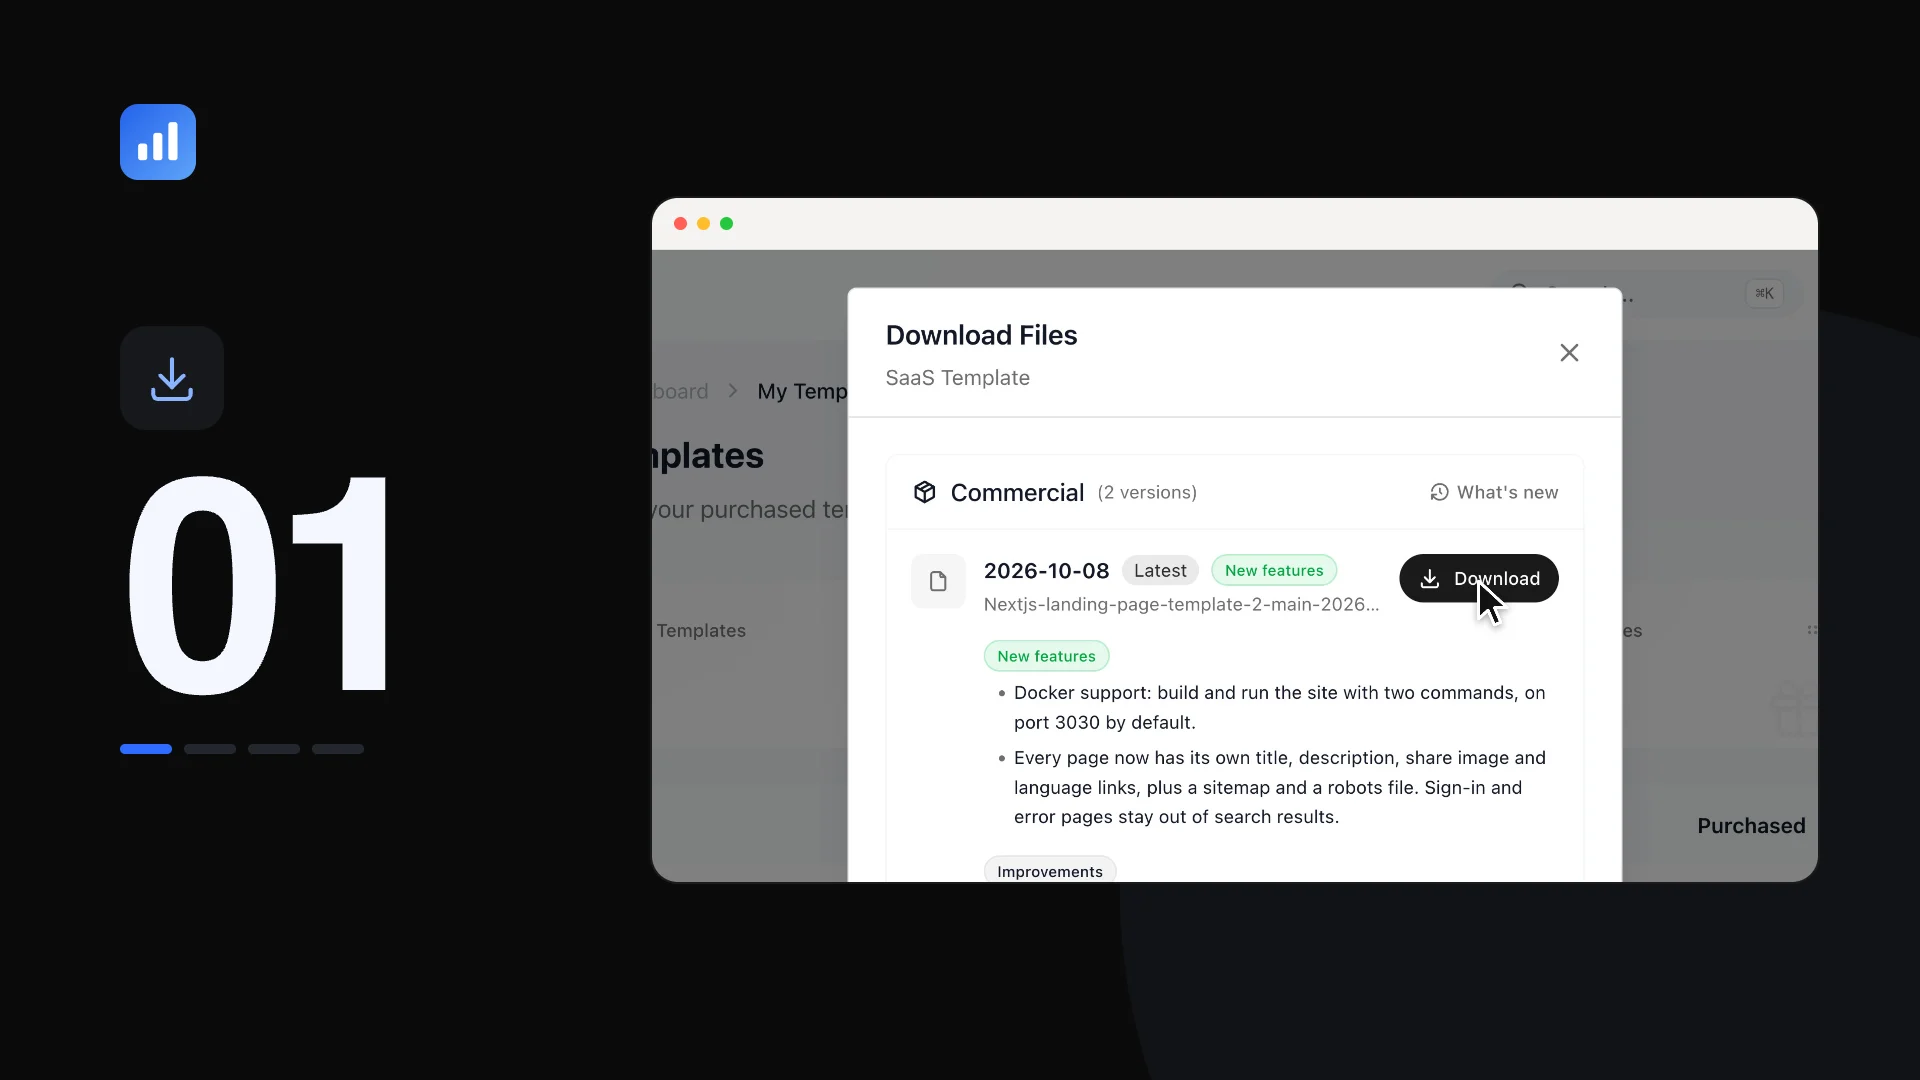
Look at the My templates page, where each purchased template has its own download.
2b. Unzip and open the folder. Unpack the archive and open a terminal in the Nextjs-landing-page-template-2 folder.
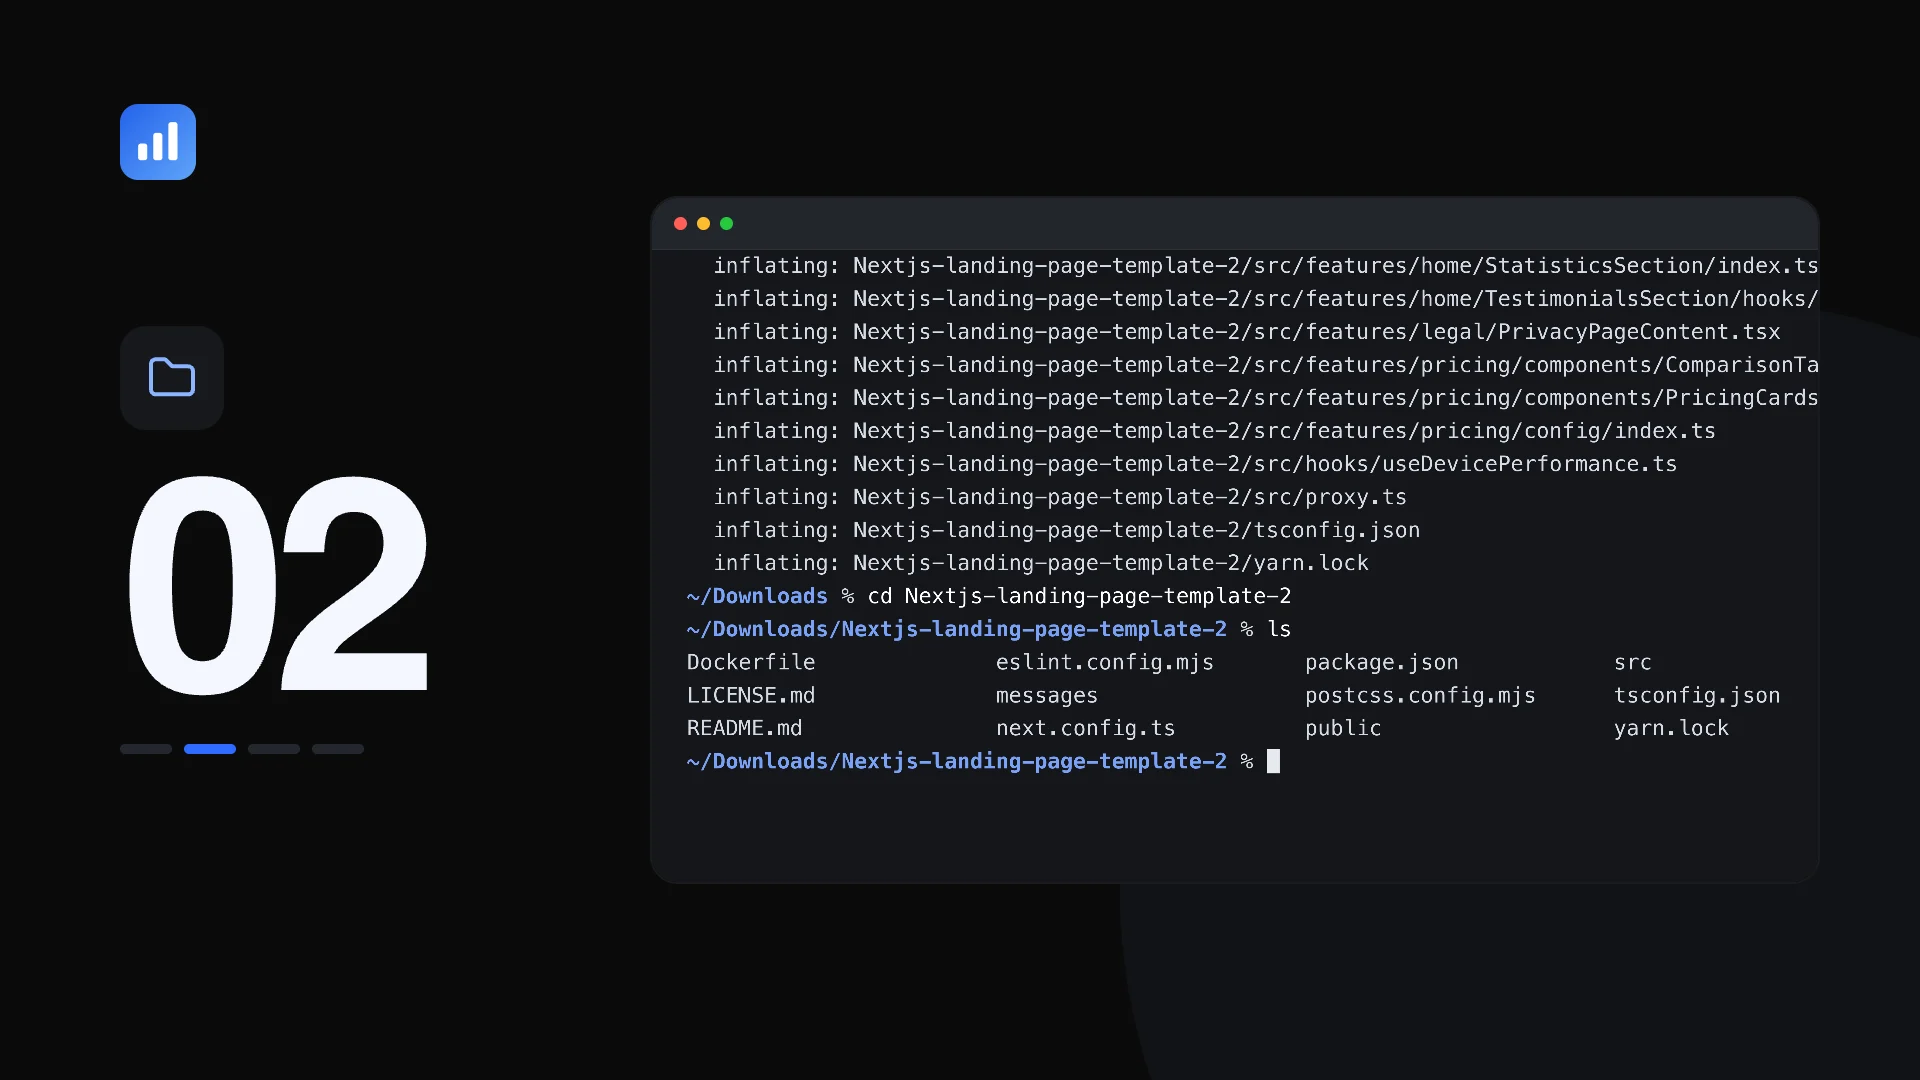
Look at the terminal location: the folder should hold Dockerfile, package.json, messages, public and src.
2c. Build the image and start it.
docker build -t analytics-landing .
docker run -p 3030:3030 analytics-landing
Expect a few minutes for the first build, with internet access required, since dependencies install and the site builds inside the image.
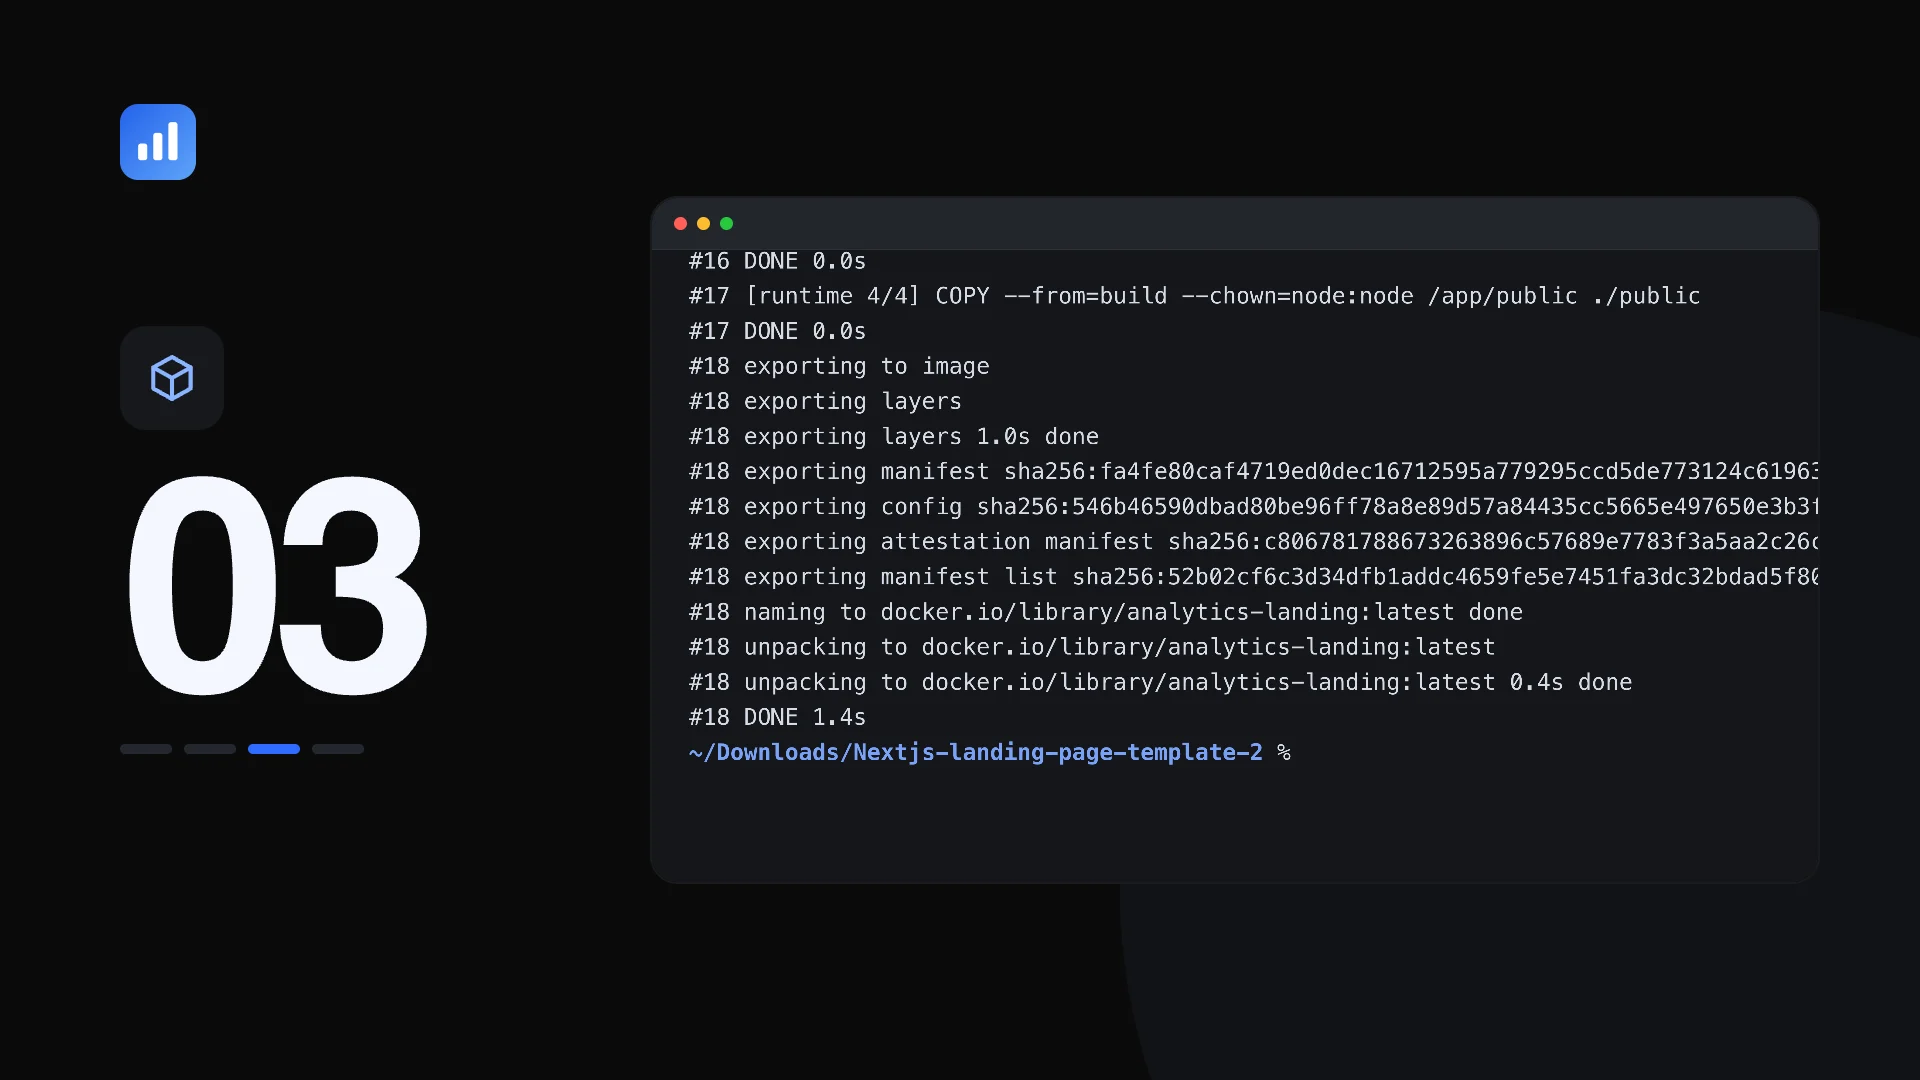
Look at the build log finishing before you run the second command.
2d. Open it. Go to localhost:3030/en. If the port is taken, change the first number after -p, as in docker run -p 3041:3030 analytics-landing, and open localhost:3041/en. Edits do not reach a running container: rebuild the image after you change a file, since it contains a snapshot of your code.
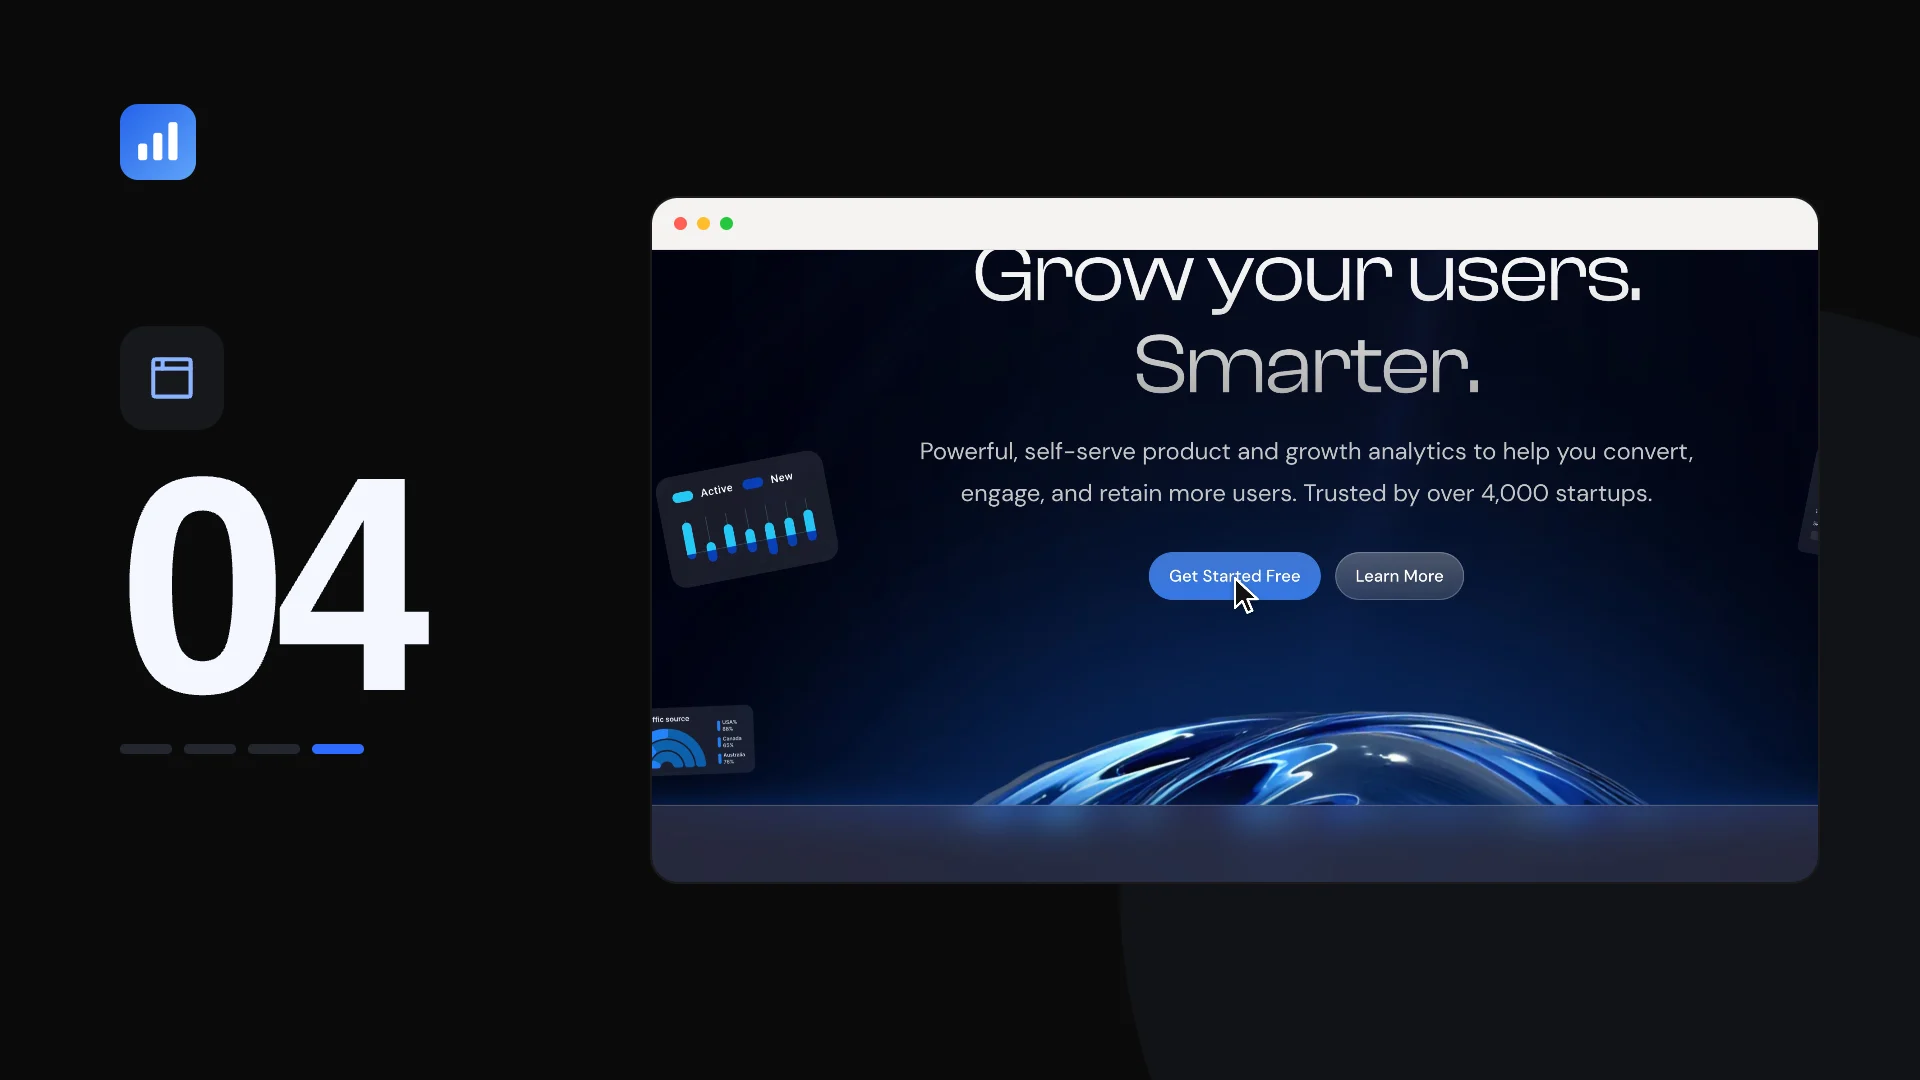
Look at the address bar: the site opens on /en, so the language is part of every URL.
For editing, Node.js is more comfortable. Install version 20.9 or newer, run corepack enable once, then yarn install and yarn dev. The dev server also answers on port 3030 and reloads on every save.
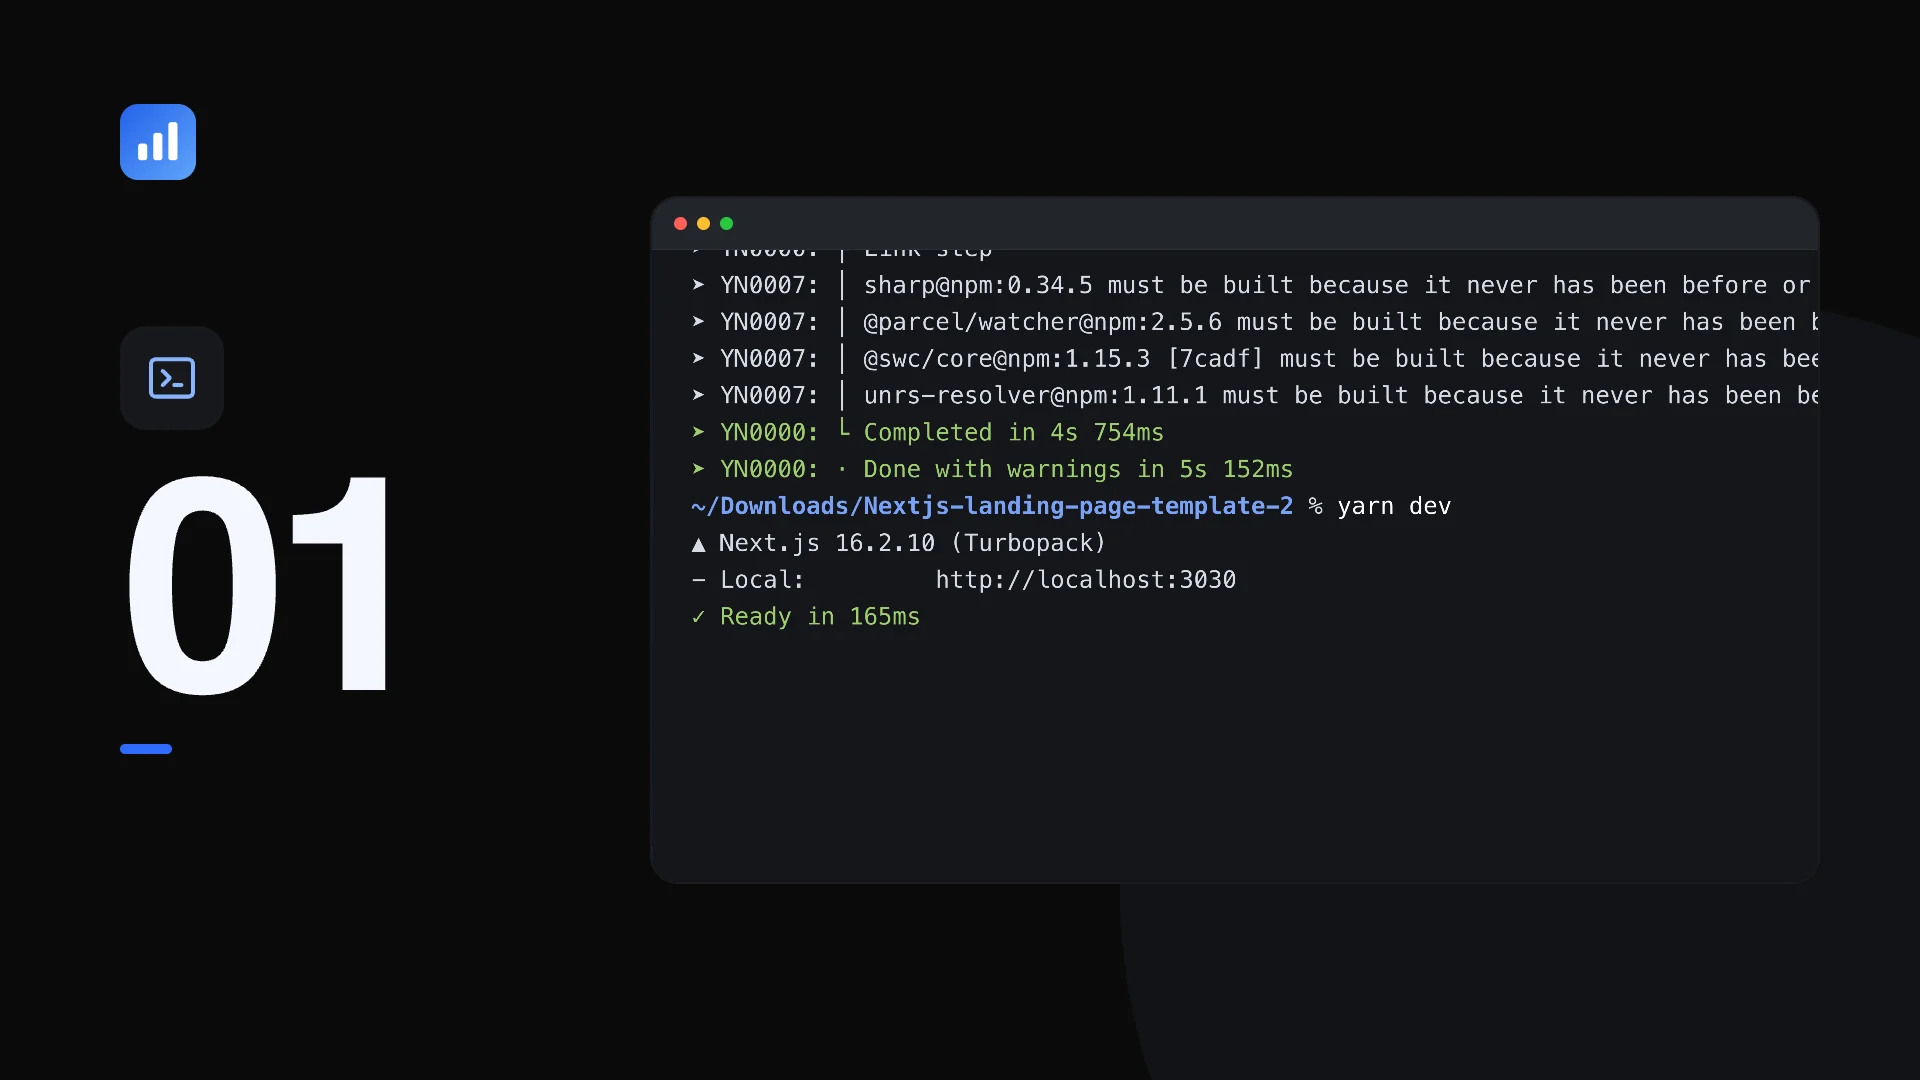
Look at the two commands the no-Docker route needs after Corepack is on.
What usually goes wrong: Docker is not running (start Docker Desktop and wait), a port is in use, Yarn answers with version 1.22 because Corepack is off, or Node.js is older than 20.9. Use Yarn rather than npm, because the lockfile keeps your install on the tested versions.
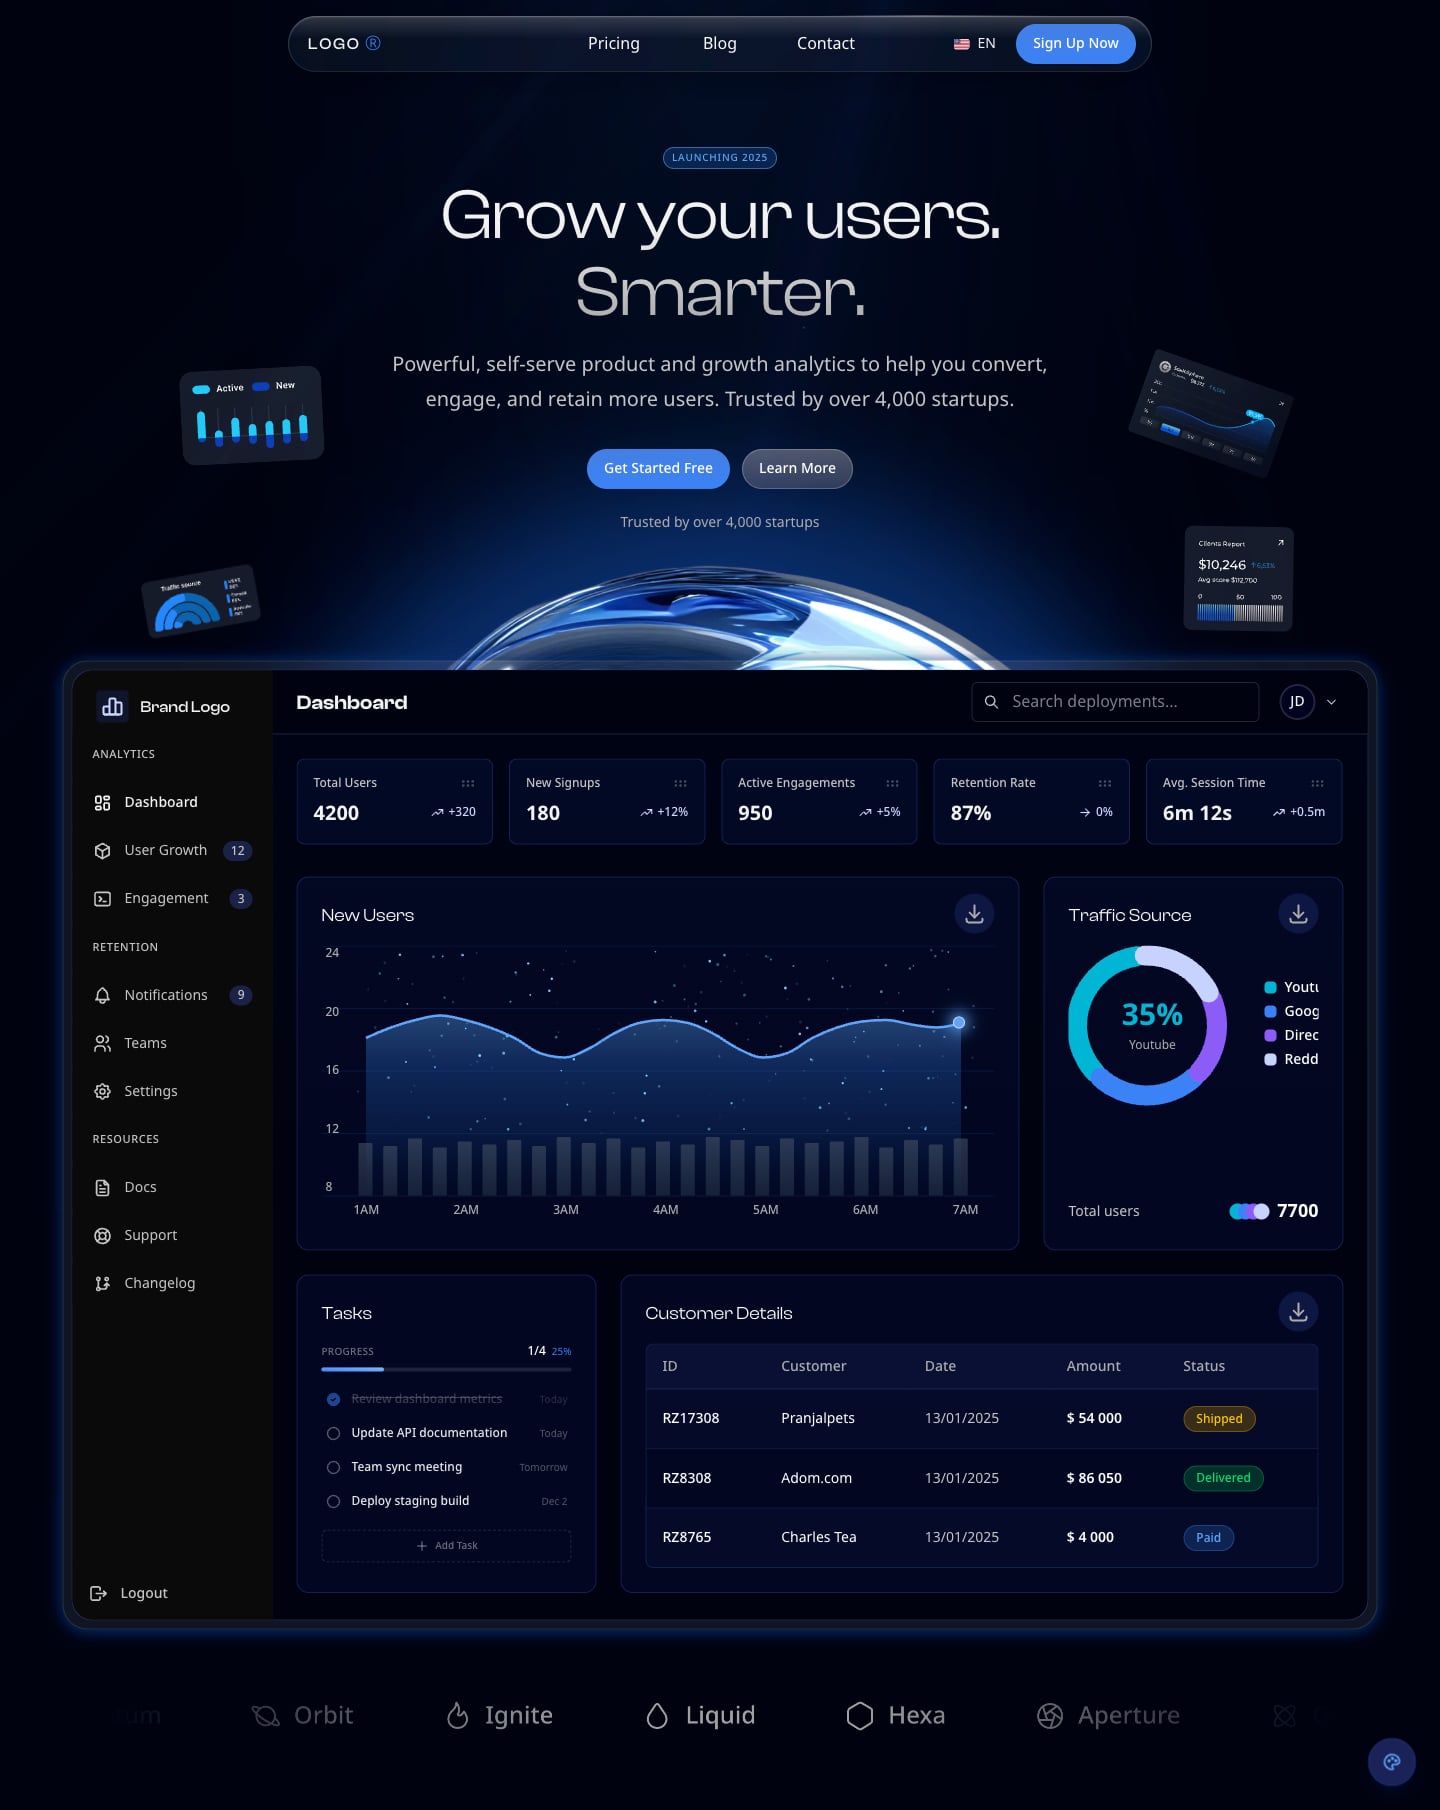
Look at the hero: a headline, two buttons, floating cards and a product dashboard built in code beneath them.
3. Tour the whole site before you change it
Spend half an hour reading the site as a visitor. Open each page in both languages: Home, Pricing, Blog, a blog post, Contact, Sign in, Sign up, Forgot password, the four legal pages, and the error pages at /error/401, /error/404 and /error/500. Typing an address that does not exist is a quick way to see the 404 page.
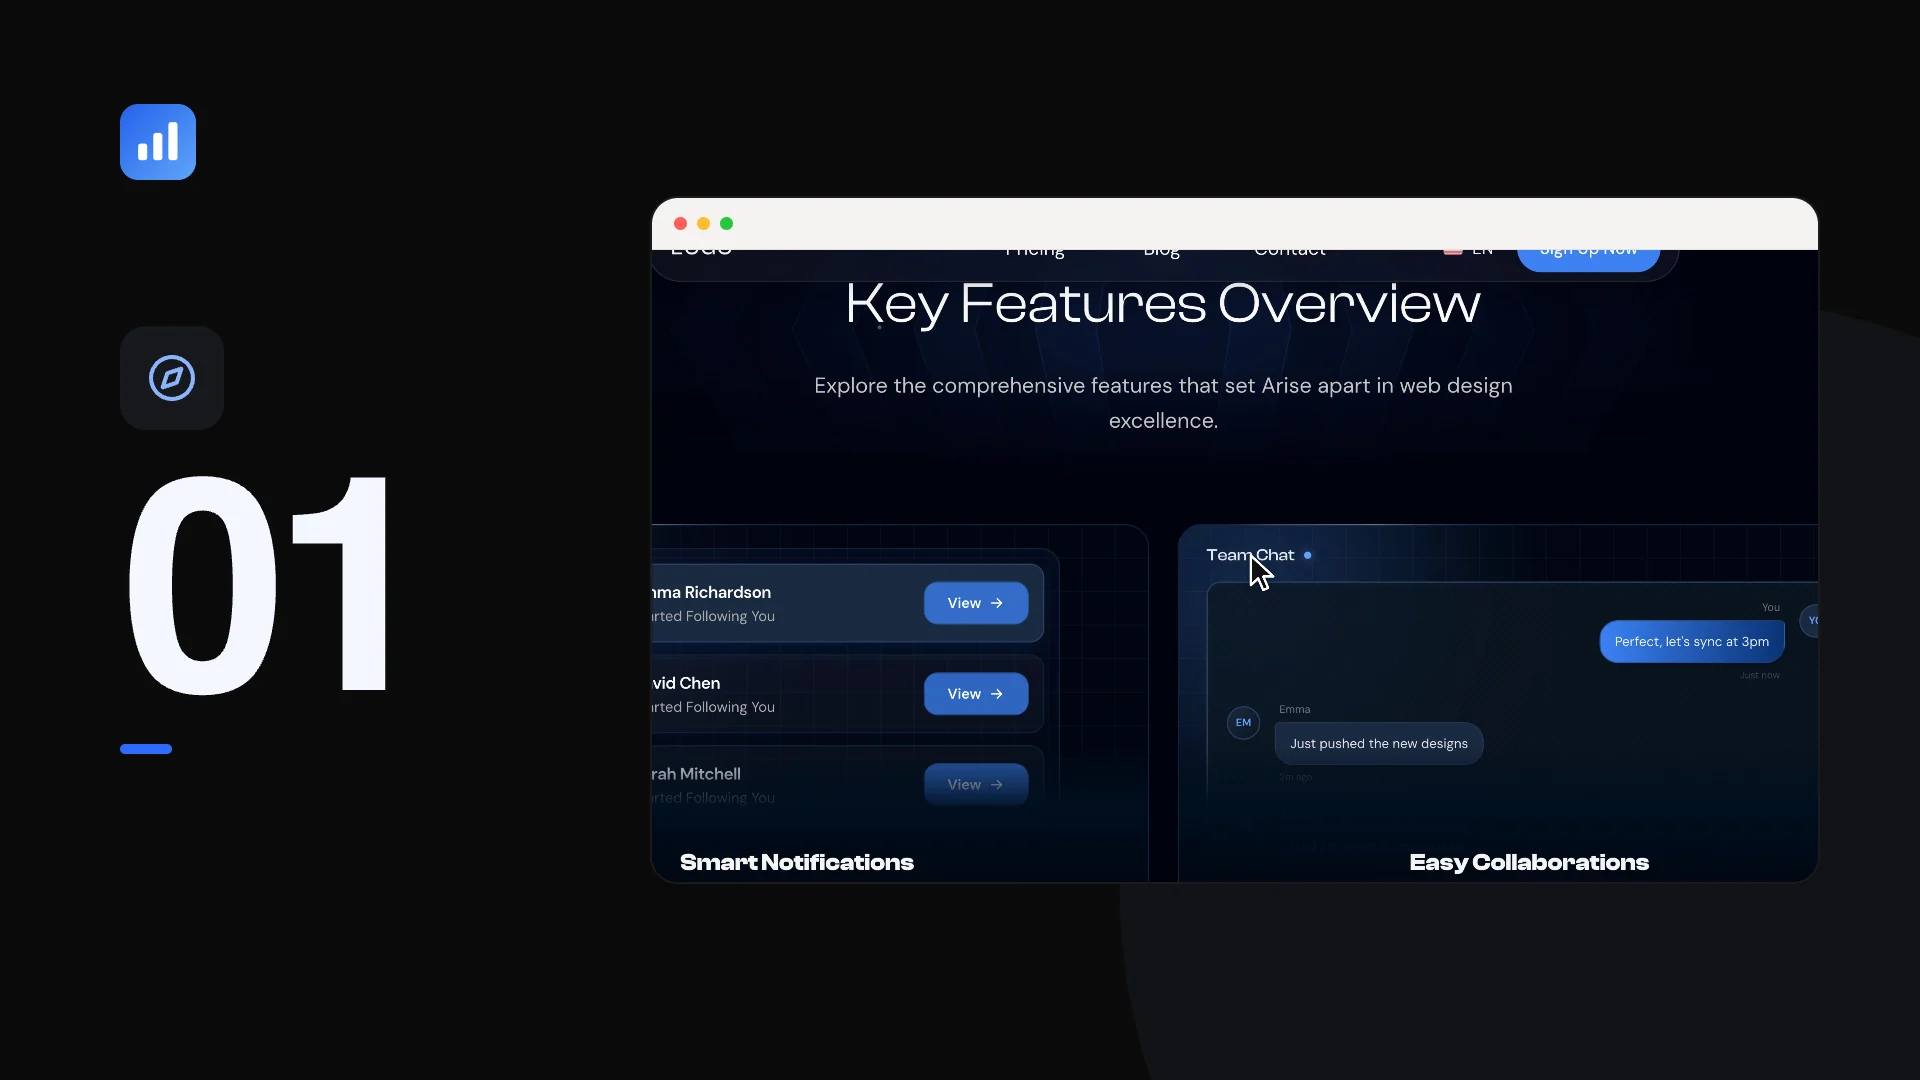
Look at the order of the sections as you scroll, since you will rewrite them one by one in step 5.
Make a list titled "to replace" while you read. It should include sample company logos, sample testimonials, sample legal text, sample blog posts, the sample plans, and any link that goes to #. That list is your editing plan.
What usually goes wrong: people skip the Arabic pass at this stage and find layout surprises only after they have rewritten everything.
4. Give it Plainview's name and look
Branding is spread over a handful of files, all listed in the docs:
- Site name, title and description: the
Metadatablock inmessages/layout/en.jsonandar.json. Each other page has its ownmetablock, such asPricingPage.metainmessages/pricing/. - The logo:
src/components/Logo.tsx. It is text by default (the word LOGO and a registered mark), and the header, footer and sign-in pages all use this one component. Change the word, or replace the two spans with an image frompublic/. - Colour theme:
defaultThemeinsrc/app/[locale]/layout.tsx. Four ship: monochrome, blue (the default), purple and cyan. To use your own colour, edit one theme insrc/Demo/ThemeColorSwitcher/themes.ts. - Favicon:
src/app/favicon.ico. Sharing image:public/meta_image.png, 1200 by 630 pixels.
With yarn dev, a floating panel previews the four themes. It is a development tool only; production builds never include it. Because the browser remembers a pick made in the panel, that pick wins over defaultTheme while you develop. If your new theme does not show, choose it in the panel, or wipe the stored data for localhost:3030 in your browser.
Fonts are DM Sans for English text with Clash Display for headings, and Noto Sans Arabic with Almarai for Arabic. Swap a Google font by importing it from next/font/google in the layout and keeping the same variable name.
The footer shows a copyright line and a credit link. The words are Footer.copyright and Footer.madeWith in the layout message files, and the link is in src/components/shared/layout/footer/components/BottomSection.tsx. Change or remove them as you like.
What to check: open the page source or the browser tab and confirm the title and the sharing image are yours. Paste a page address into a chat app to see the sharing card. What usually goes wrong: changing the English name and forgetting the Arabic Metadata block.
5. Rewrite the home page for your product
The home page is a stack of sections: Hero, a moving row of company logos, five animated feature cards, three counting statistics, pricing, testimonials, an FAQ with search, and a "Where we work" block with a world map and an email box. Everything in them is example content for an analytics product, and the docs tell you to replace it before launch.
Work through it section by section:
- Hero. Rewrite the headline and the two button labels for your single call to action.
- Companies row. Remove it, or fill it with customers who agreed to be named.
- Feature cards. Keep five, or fewer. Each describes one benefit in a sentence or two.
- Statistics. Three figures count up as they appear. Only keep figures you can prove, and use real ones.
- Testimonials. Keep only real, permitted quotes. Otherwise remove the section.
- FAQ. Replace the ten questions with the ones prospects actually ask, and use the categories.
- Where we work. Keep the map if you have places to show, or reduce it to the email box.
Plainview is also an analytics product, so its dashboard preview needs the least work. The preview is built in code rather than shown as an image: a sidebar, five key figures you can drag, a chart of new users, a donut of traffic sources, a task list and a customer table. Replace its names, numbers and labels with ones that fit your product. In Arabic it stays left to right, like a real product screenshot would, and its labels are translated.
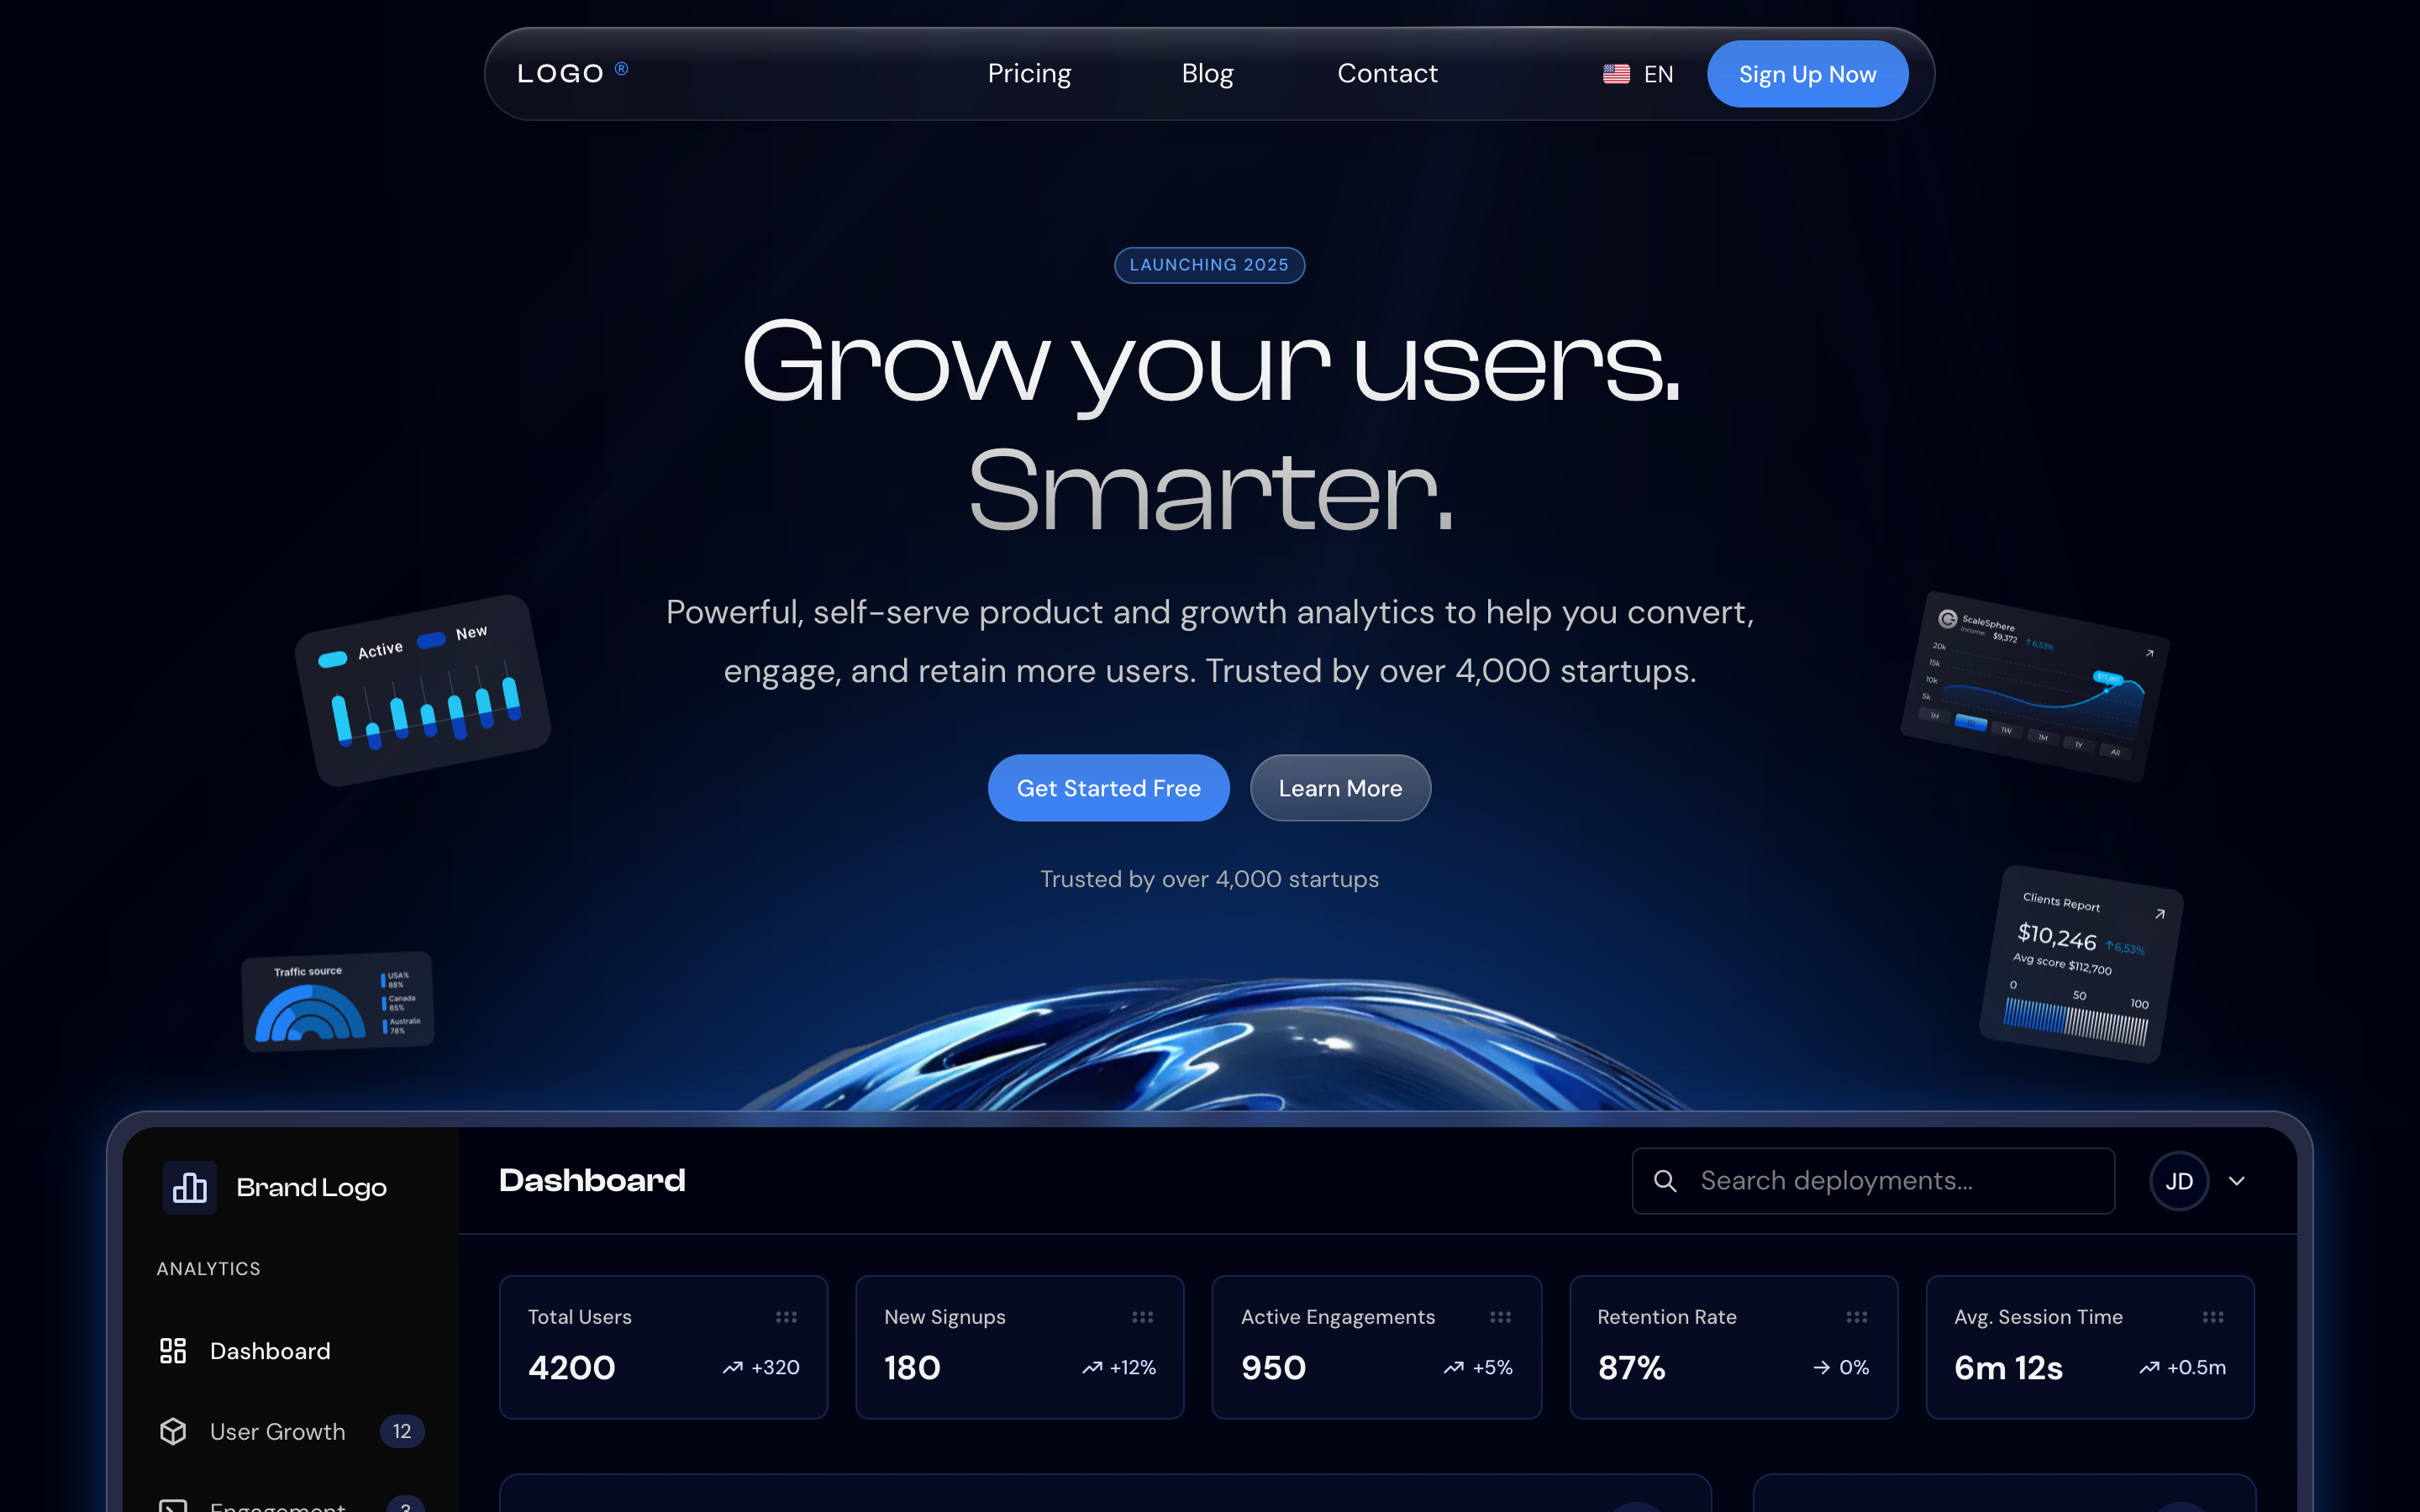
Look at the five key figures and the two charts, the parts you will relabel with your own product's measures.
Two sections need honesty rather than editing. The logo row and the testimonials carry sample companies and sample quotes. Do not launch with them. Use real customers, with permission, or remove those sections until you have them. A new product with no customers yet is better served by a plain FAQ and clear pricing than by invented praise.
What usually goes wrong: leaving a sample statistic such as a user count that your product cannot support. Visitors read it as a claim.
6. Set the plans and prices
Plans appear in two places: the home page section and the /pricing page. The sample plans, all in US dollars per month, are Starter ($29), Growth ($79, flagged Most Popular) and Enterprise ($199). They are example values for you to replace. The pricing page adds a Monthly and Annual switch, then a comparison grid that covers 32 features in five groups, a short question list, and a closing block that links to the contact page.
Yearly billing is priced at ten months, and the switch advertises that as "Save 17%". Change the wording if your discount differs. One detail catches people: the home section, the pricing page and the header of the comparison grid each hold their own copy of a price, so after a price change, search the code for the old number and update every hit. The figures are plain values in the code, while plan names and feature lines sit in the message files for both languages.
The plan buttons on the pricing page go to the sign-up page. Point them at your checkout link, or at your sign-up flow with the chosen plan in the address, depending on the decision you made in step 1. On the home page, a plan's button opens a short window offering the email sign-up or more browsing; decide whether that fits your flow or whether the button should go straight to sign-up.
The home section also has a filter that narrows the feature list to one category, using four sample category names. Rename those to ones that describe your product, or remove the filter if your plans are simple.
What to check: switch between Monthly and Annual and read every number on the page against your price list, in both languages. What usually goes wrong: a monthly price changed in the cards but not in the comparison header.
7. Add the blog and write the first posts
The blog index shows posts as cards, five per page, and visitors can search titles and summaries or filter by category. A sidebar adds popular posts and tags. Each post page shows the cover, date, reading time, author, share buttons and up to three related posts. Every post carries its own title, description and sharing image, and the sitemap lists it in both languages.
Posts are files in the template, not records in a CMS. A typed data file and message files for English and Arabic hold them, and five sample posts ship with covers in public/images/blog/. For Plainview, that means a developer adds each post. That works for a team publishing a few articles a month. If you want editors to publish on their own, replace the data file with a CMS of your choice.
Plan the first posts before you write them. Good starter topics for Plainview follow its buyers' questions: how to read a traffic report, what to track in a small shop, and what a first week with the tool looks like. Write each one in English first, translate it, and add both versions in the same change.
What to check: open the new post in both languages, check its cover, then search for it from the blog index. What usually goes wrong: deleting the sample posts one by one and leaving category buttons that now show nothing.
8. Check Arabic page by page
Every address exists under /en and /ar. On /ar the layout sets dir="rtl", so menus, cards, arrows and tables mirror. Opening / sends a visitor to Arabic when their browser prefers it, and to English otherwise.
Texts live in seven folders under messages/: home, layout, pricing, blog, contact, auth and legal, each with an en.json and an ar.json. Edit both together. If you add markup, use logical classes like ms-2 and text-start instead of ml-2 and text-left. Have a native Arabic speaker read the translated pages; the template translates its own sample copy, and your product copy needs the same care.
Arabic headings use Almarai and body text uses Noto Sans Arabic, chosen per direction in src/styles/base.css. Check long English words and numbers inside Arabic sentences, since mixed text is where right-to-left layouts show their seams.
What to check: every page you changed, in /ar, on a phone width. What usually goes wrong: a new string in en.json with no twin in ar.json.
9. Connect the forms
The template validates its forms and then shows a success message, but nothing leaves the browser. That includes the contact form, the sign-in, sign-up and forgot-password forms, and the newsletter and email boxes in the footer, the blog sidebar and the "Where we work" section. The Google, GitHub and X buttons on the auth pages do nothing yet.
For each form you keep, connect one destination: an API of your own, a hosted form tool, an email platform or a sign-in provider. Delete the forms you do not need. A visitor who reads "Message sent" while nothing arrives is worse than a missing form. Secret keys belong on a server. Whatever ships to the browser, a NEXT_PUBLIC_ value included, is readable by every visitor.
The checks already in place help you. Each field is tested when the visitor leaves it, and the messages come in the page's language. Emails must be valid, names need 2 characters or more, a contact subject needs 5 and a message needs 20, and a new password needs 8 characters mixing upper case, lower case, a number and a symbol. Make sure your service accepts the same rules, or adjust the code to match.
Also look for links that point to #: some footer links and the social icons are placeholders for your own pages and profiles.
What to check: submit every form you kept with a real address, and confirm it arrives where you expect. What usually goes wrong: a key placed in a NEXT_PUBLIC_ variable so that "it just works", which exposes it to everyone.
10. Set your address and go live
The one setting that matters is NEXT_PUBLIC_SITE_URL: your public address, starting with https:// and ending without a slash. The canonical links, the language switch links, the sitemap, robots.txt and the sharing cards are built from it. It is compiled in when the site is built, so set it where the build runs. With Docker, pass it as a build argument:
docker build --build-arg NEXT_PUBLIC_SITE_URL=https://www.your-domain.com -t analytics-landing .Your options for hosting:
- Vercel. Push the folder to a private repository (the licence does not allow sharing the source publicly), import it, and add
NEXT_PUBLIC_SITE_URLplusENABLE_EXPERIMENTAL_COREPACKwith the value1. Deploy, then add your domain. - A Node.js server. Install, build with your address and start. It listens on 3030, so put Nginx or Caddy in front for HTTPS. On a host that chooses the port, use
yarn start -p $PORT. - Docker. The included
Dockerfilebuilds a small image that runs as a user without admin rights.
After it is online, open /sitemap.xml on your domain and confirm each address in it begins with your domain. Leave NEXT_PUBLIC_BUY_URL empty; when it is set, the footer shows a "Buy This Template" strip. Finally, replace the sample text in the four legal pages (terms, privacy, cookies and GDPR) with wording that fits your business, ideally reviewed by a lawyer. The template ships these as sample text only.
The site combines Framer Motion, GSAP and WebGL, which is a lot of motion. Open it on a mid-range phone before launch, and cut effects there if it feels heavy.
What to check: the live sitemap, a shared link in a chat app, and the language switch on every page. What usually goes wrong: a build made before the address was set, so every canonical link points to localhost. Set the value, then build again.
Running it day to day
After launch, the work is small and regular. These are the routines Plainview would follow.
Publishing a blog post
Write the post in English, then translate it. Add its entry to the typed blog data file, add the English text to the blog message file in messages/blog/ and the Arabic text to its twin, and put the cover image in public/images/blog/. Check the post page and the index in both languages, and look for it in the sitemap after you deploy. If you switch to a CMS later, the data file is the piece you replace.
Updating pricing
Change the number in each place that holds it: the home section, the pricing page and the header of the comparison grid. Then update plan names or feature lines in the message files for both languages, and reread the Monthly and Annual views. Tell whoever runs your checkout, so the site and the checkout always agree.
Adding or changing a language string
Find the right folder under messages/ (home, layout, pricing, blog, contact, auth or legal), edit the value in both en.json and ar.json, and keep the keys as they are, with any word inside curly braces left untouched. Restart yarn dev or rebuild, then check both languages. To add a whole new language, add its code to src/i18n/routing.ts and src/config/i18n.ts, copy each message file in the seven folders, and add it to the language menu. The canonical links and the sitemap include the new language without further work.
Smaller routines
- Changing the theme. Edit
defaultThemeand rebuild. - Checking forms. Send a test through each one every so often, because a broken integration looks exactly like a working form.
- Updating the template. Dependencies carry exact versions with a lockfile. Change versions on purpose, build, and test both languages.
What it costs to run
The template is a one-time purchase from $79. The licence covers unlimited projects, including sites built for clients, and updates come with it.
What you pay for on top, each at its own provider's rates:
- Hosting. Vercel, a Node.js server or any Docker host will do.
- A domain name.
- The services you connect: a sign-in provider, a form or email service, and a payment provider for checkout (which charges fees per its own pricing page).
- A CMS, only if you replace the file-based blog.
- A translator for the Arabic copy, if nobody on the team writes it.
What is free: there is no database and no secret to run the site, so a first deployment needs only the address setting.
What to customise next
- The preview data. Rebuild the hero dashboard with figures your product really shows.
- A custom colour. Edit
brandPrimaryandbgDarkin one theme to match your brand exactly. - The logo. Swap the text mark for an SVG in
Logo.tsx, and the header, footer and auth pages follow. - A third language. Add the code, copy each message file in the seven folders, and add it to the language menu.
- The error pages. The 401, 404 and 500 designs are there to show and to reuse inside your product too.
- The blog. Replace the data file with a CMS if non-developers need to publish.
Launch checklist
NEXT_PUBLIC_SITE_URLset to the real address before the production build.- Site name, logo, favicon, theme colour and sharing image changed.
- Sample company logos, testimonials and statistics replaced with real material or removed.
- Plans and prices match the checkout, in every place they appear.
- Every form either connected to a service or removed.
- Links that pointed to
#now go somewhere real. - Legal pages rewritten for your business.
- Every page checked in both languages, on a phone and on a desktop.
- Sitemap opened on the live domain.
NEXT_PUBLIC_BUY_URLleft empty.
Common mistakes
Launching with the address still on localhost
If NEXT_PUBLIC_SITE_URL is not set at build time, canonical links, the sitemap and sharing cards point at http://localhost:3030. Set it before you build for production.
Forms that look finished but send nothing
Every form shows success without sending. Connect or remove each one before anyone sees the site.
Leaving sample customers and quotes in place
The logo row and testimonials are example content. Replace them with real, permitted material, or remove the sections.
Changing a price in one place
Plans repeat across the home section, the pricing page and the comparison header. Update all of them, in both languages where words are involved.
Editing a build-time setting and not rebuilding
Values that start with NEXT_PUBLIC_ are compiled in. Rebuild the image, run yarn build again, or redeploy on Vercel.
Shipping the sample legal pages
The terms, privacy, cookies and GDPR pages are sample text. Replace them with wording that is right for your business and your visitors' countries.
FAQ
How do I launch a SaaS website in English and Arabic with Next.js?
Use a template that already has both languages built in, then replace the sample copy in both message files. Here, every page exists under /en and /ar, and the Arabic version is laid out right to left.
Do I need a backend?
Not to run the website. It has no database or back end. You need services only for what you connect: sign-in, forms and checkout.
Does it include checkout or payments?
No. The plan buttons lead to the sign-up page. You add a checkout link or billing flow from your payment provider.
Does it support Arabic and RTL?
Yes, through next-intl. Menus, cards and tables mirror on Arabic pages, while the hero's dashboard preview stays left to right like a product screenshot.
Is there a CMS for the blog?
No. Posts are stored in code, in a typed data file plus message files, so a developer publishes them. A CMS can take over if you replace that data file.
Can I use it for clients?
Yes. The commercial licence covers unlimited projects, including client work you hand over. You may not publish the source code or resell it as a template.
Can I change the colours?
Yes. Four themes ship (monochrome, blue, purple and cyan), and you can edit one to your own brand colour. The design itself is dark.
Is it good for search engines?
It builds canonical links, language links, a sitemap, robots.txt and sharing cards for you, and each blog post has its own metadata. They all depend on NEXT_PUBLIC_SITE_URL, so set it to your real domain before you build.
Is the site heavy on phones?
It combines Framer Motion, GSAP and WebGL, so there is plenty of motion. Try it on a mid-range phone and reduce effects if it feels slow.
Try it yourself
Open the live demo to see the site in English, and switch to Arabic from the language menu. The SaaS template product page has the details, and the documentation covers each step. Browse the landing page templates category, or read the guide to Next.js SaaS templates to compare options.
This template is also one of the ten in the Next.js Templates Bundle, if you expect to build more than one kind of product.
You might also like
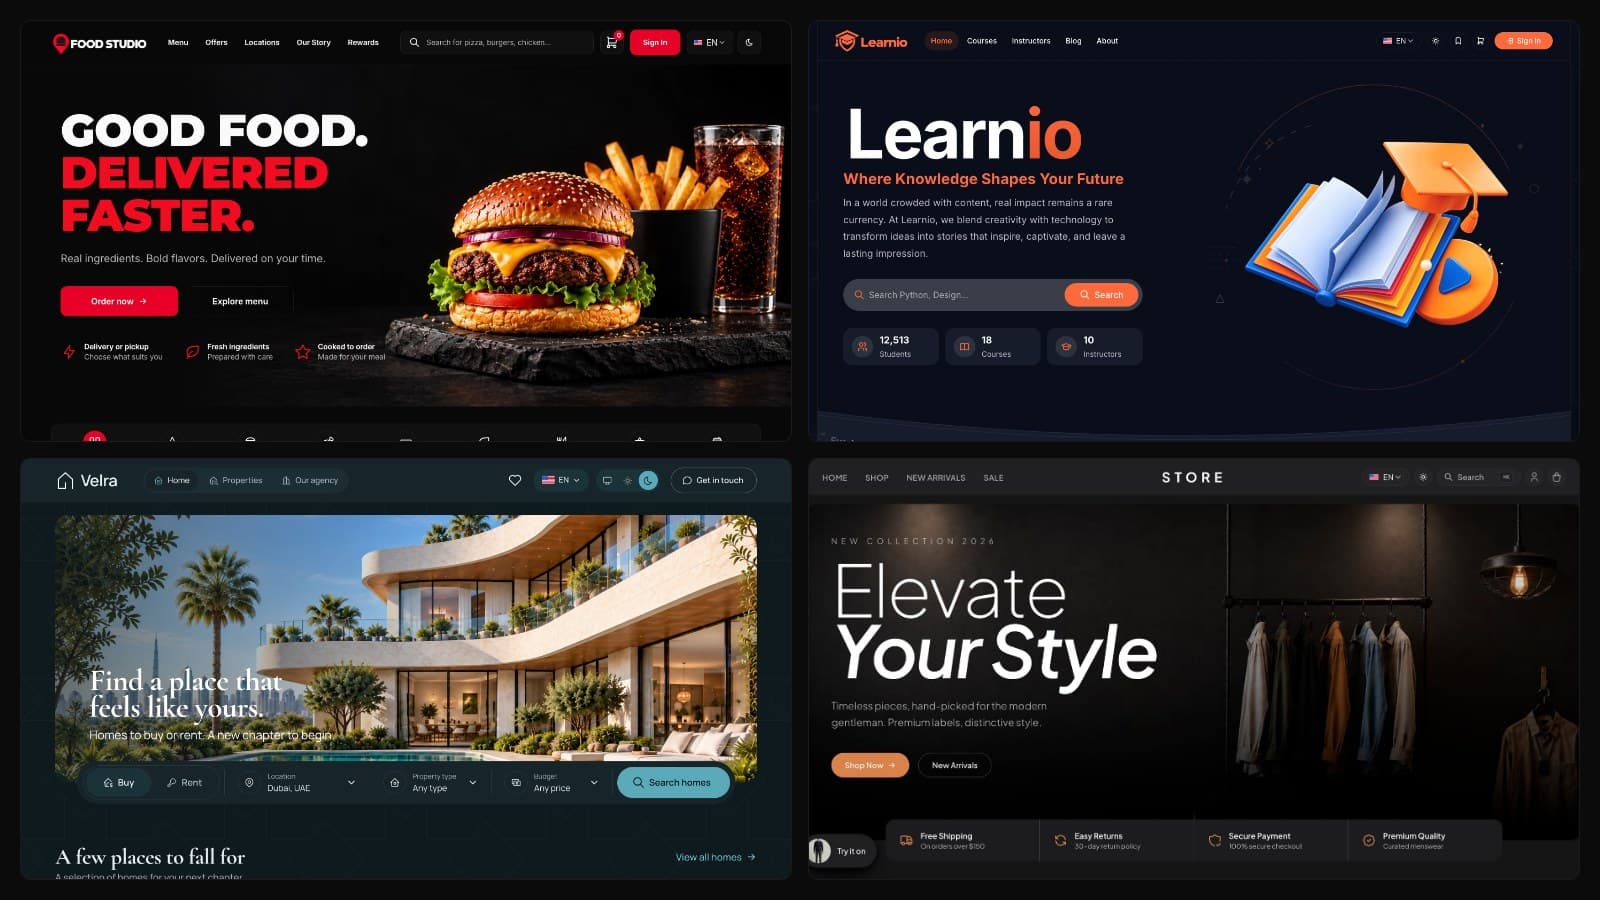
Best Next.js Templates for 2026: Free and Premium Picks
The best Next.js templates for 2026, sorted by use case: dashboards, SaaS, stores, LMS, real estate, restaurants and more, with free and premium picks.
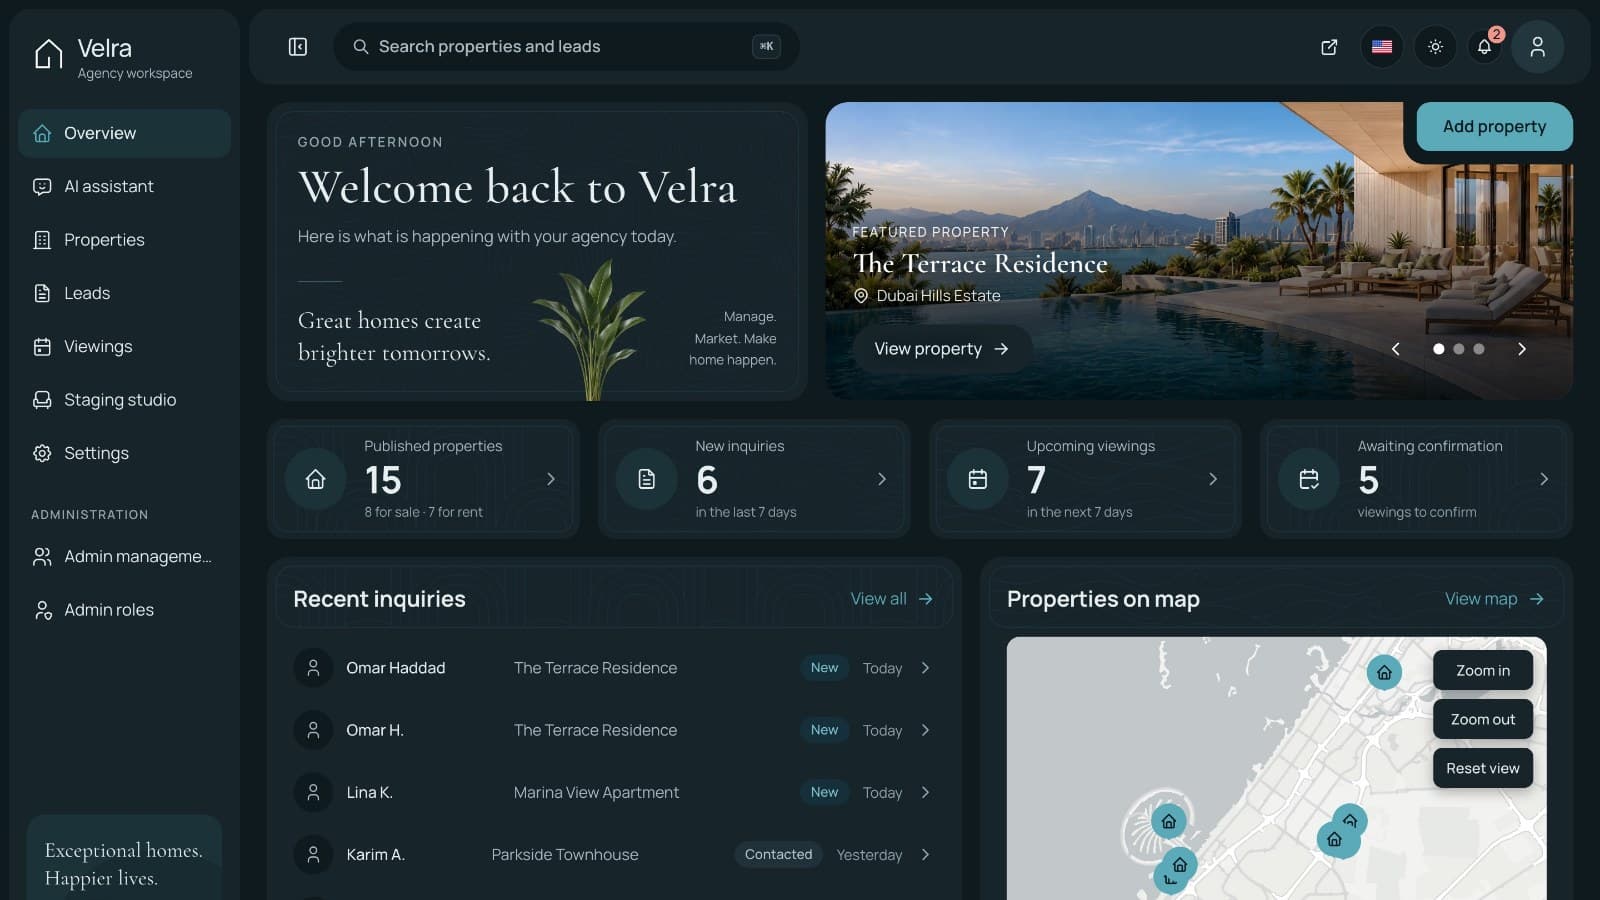
How to Build a Real Estate Agency Website in Next.js
Build a real estate agency website in Next.js with property listings, viewing requests and an admin dashboard: setup, staging, roles and launch.
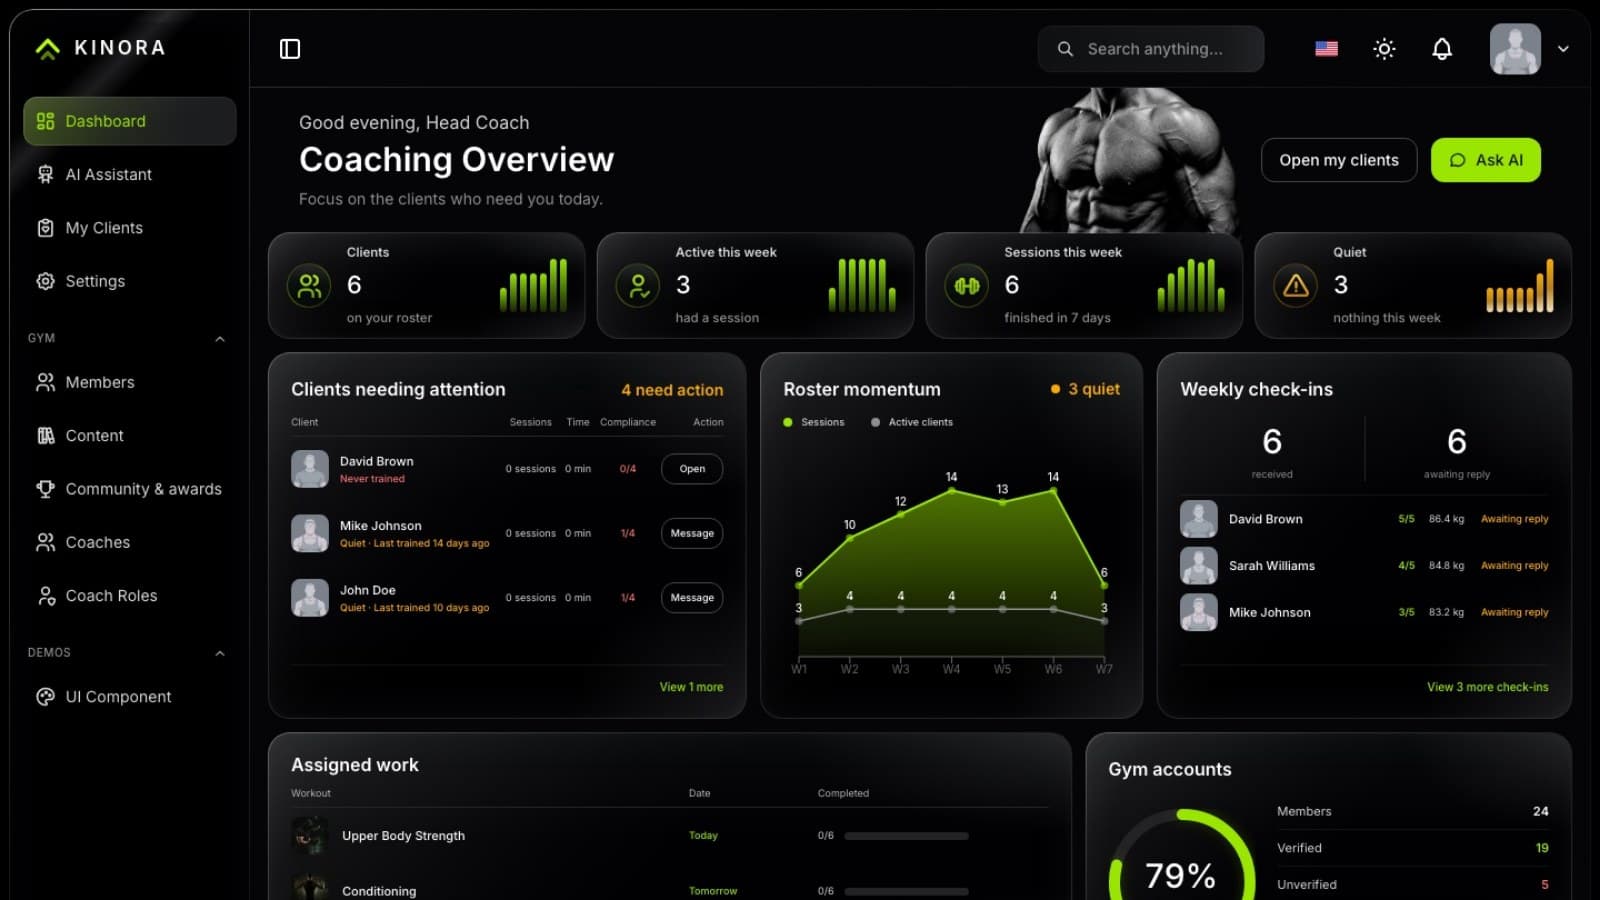
How to Build an Online Fitness Coaching App with Next.js
Build an online coaching platform with client rosters, assigned workouts and weekly check-ins using Next.js and NestJS. A worked example, step by step.
