How to Build an Online Store with an Admin Panel in Next.js
Build an online store with a storefront, admin panel and API in Next.js and NestJS, from local setup to Stripe and launch. A worked example.
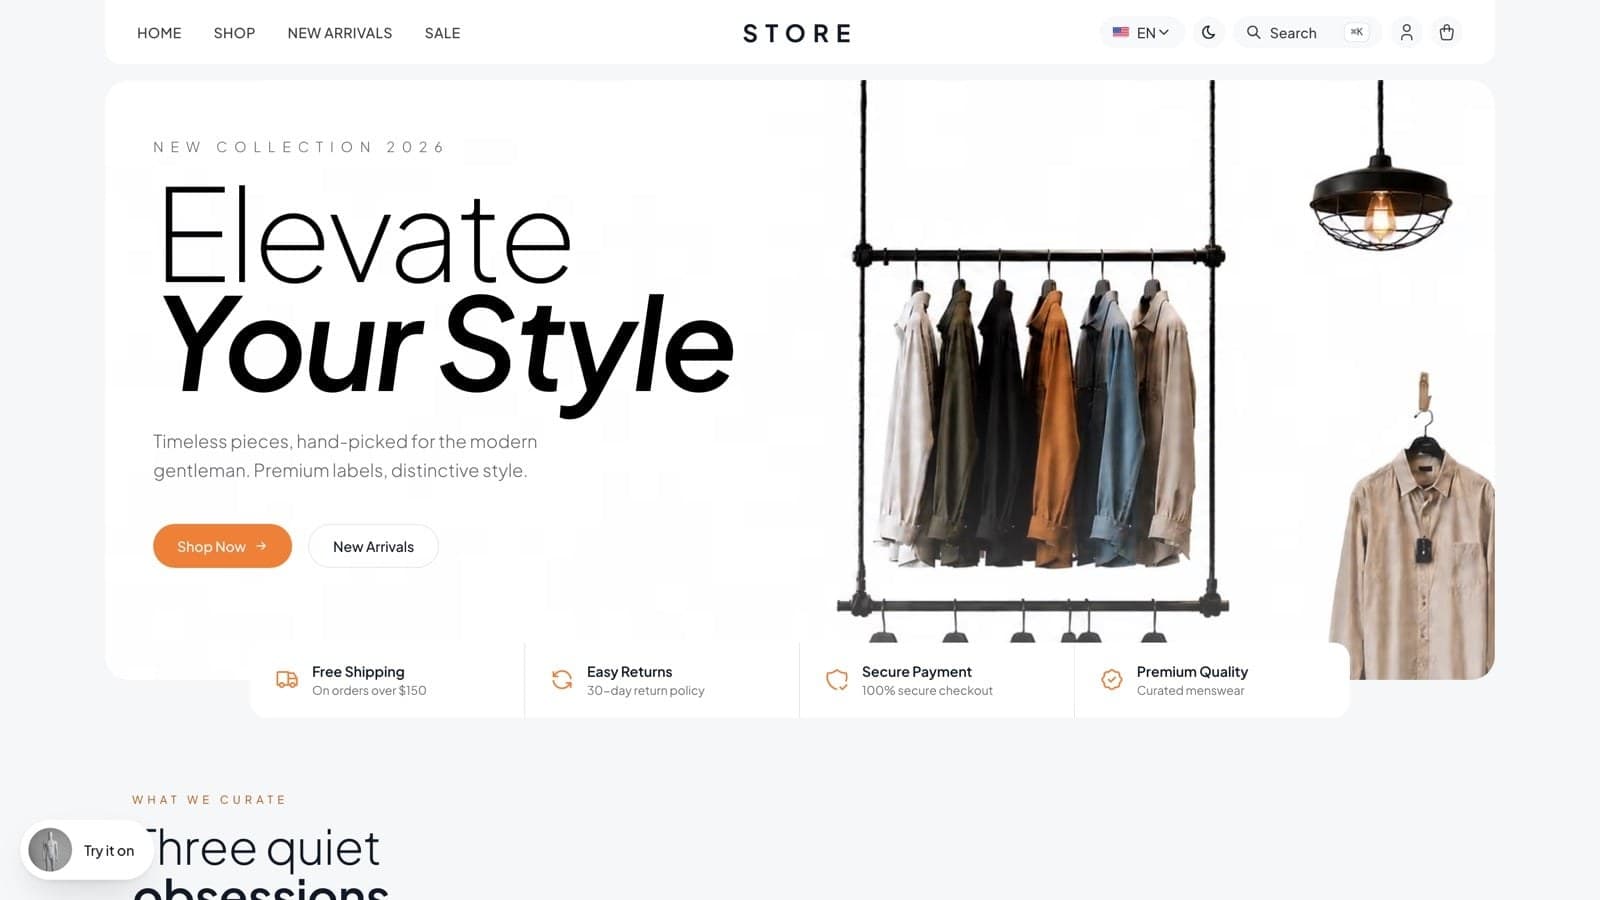
By the end of this guide you will know how to build an online store with an admin panel, using Next.js, NestJS and the e-commerce template from Aniq UI. You will have a storefront, an order desk for your team, and an API that holds the catalogue, customers and orders.
We follow one example shop from its first plan to launch day. Each step names the screen or setting involved and uses the exact commands and file paths from the documentation. The same path works for a founder launching a store, or an agency building one for a client.
The brief
Cedar & Cloth is a small shop that sells linen shirts and canvas bags. The owner runs it with two people who pack orders. Here is what the shop needs:
- A catalogue of about thirty products, each with sizes and colors, written in English and in Arabic.
- Guest checkout, so a first-time visitor can buy without making an account, and track the order afterward.
- Payment by card, or cash on delivery for customers who prefer it.
- Free shipping above a set order total, and a flat fee below it.
- An order desk where the owner has full control and the packers can only view orders.
- A home page the owner can rearrange without touching code.
- Clean product photos on a plain background, made from phone shots.
- A way to see where visitors come from, using Google Analytics.
How the template covers the brief
| Need | Where it lives | What you use |
|---|---|---|
| Bilingual catalogue with variants | Admin dashboard and API | Products and Categories screens, with size and color variants |
| Guest checkout and tracking | Storefront | The checkout page and Track Order, which asks for order number and email |
| Card or cash on delivery | Storefront and API | Stripe for cards, cash on delivery selected by default |
| Shipping rule | Storefront and API | A shipping config file and the orders service, kept in sync |
| Order desk and permissions | Admin dashboard | Orders, Admin Management and Admin Roles |
| Editable home page | Admin dashboard | The Home Page screen, section by section |
| Product photos | Admin dashboard | The product form's AI studio and background removal |
| Visitor analytics | Storefront | Tag ids pasted into the storefront's environment file |
Before you start: decisions to make
A store touches money, customers and legal duties, so a few decisions are worth making before you write a line of configuration.
What exactly are you selling?
Count your products, and for each one decide which options a shopper chooses: size, color, or neither. Variants carry their own SKU, price adjustment and stock, so the shape of your catalogue decides how much data entry you face. Cedar & Cloth sells shirts in several sizes and colors and bags in one size.
Which languages will you sell in?
English and Arabic ship ready, including a right-to-left layout. Products and categories hold a name and description in both. A third language is possible for the interface, but it takes edits in several files.
How will shoppers pay?
Shoppers can pay by card (Stripe) or choose cash on delivery, and PayPal is not part of the checkout. Stripe charges in US dollars. If you sell in another currency, that is a decision to settle before launch, not after.
What about shipping and tax?
The template ships one shipping rule: free from a set order total, a flat fee below it. It applies no tax. If your business must charge tax, plan for that in code or in how you price products.
Guests, accounts, or both?
Both work. Guests check out with an email and track orders by number and email. Customers with accounts also get saved addresses, order history and a wishlist.
Who handles email?
The template sends none: no confirmations, no shipping notices, no password resets. Choose a mail provider early, because customers expect at least an order confirmation.
Which AI tools, if any?
Each one needs its own key, and some need the media bucket. Decide which are worth turning on for launch. A shop that only needs clean product photos can enable background removal and nothing else.
Step by step
Step 1: Choose the package
The template has four packages: Full Stack (storefront, admin and API), Storefront alone, Admin Dashboard alone, and Backend API alone. The two frontends can each run by themselves on a built-in sample store inside the browser. That is useful for a design pass, but real orders, payments and AI features need the NestJS API.
Cedar & Cloth takes the Full Stack package. The commercial license covers unlimited projects, including stores you build and hand over to a client.
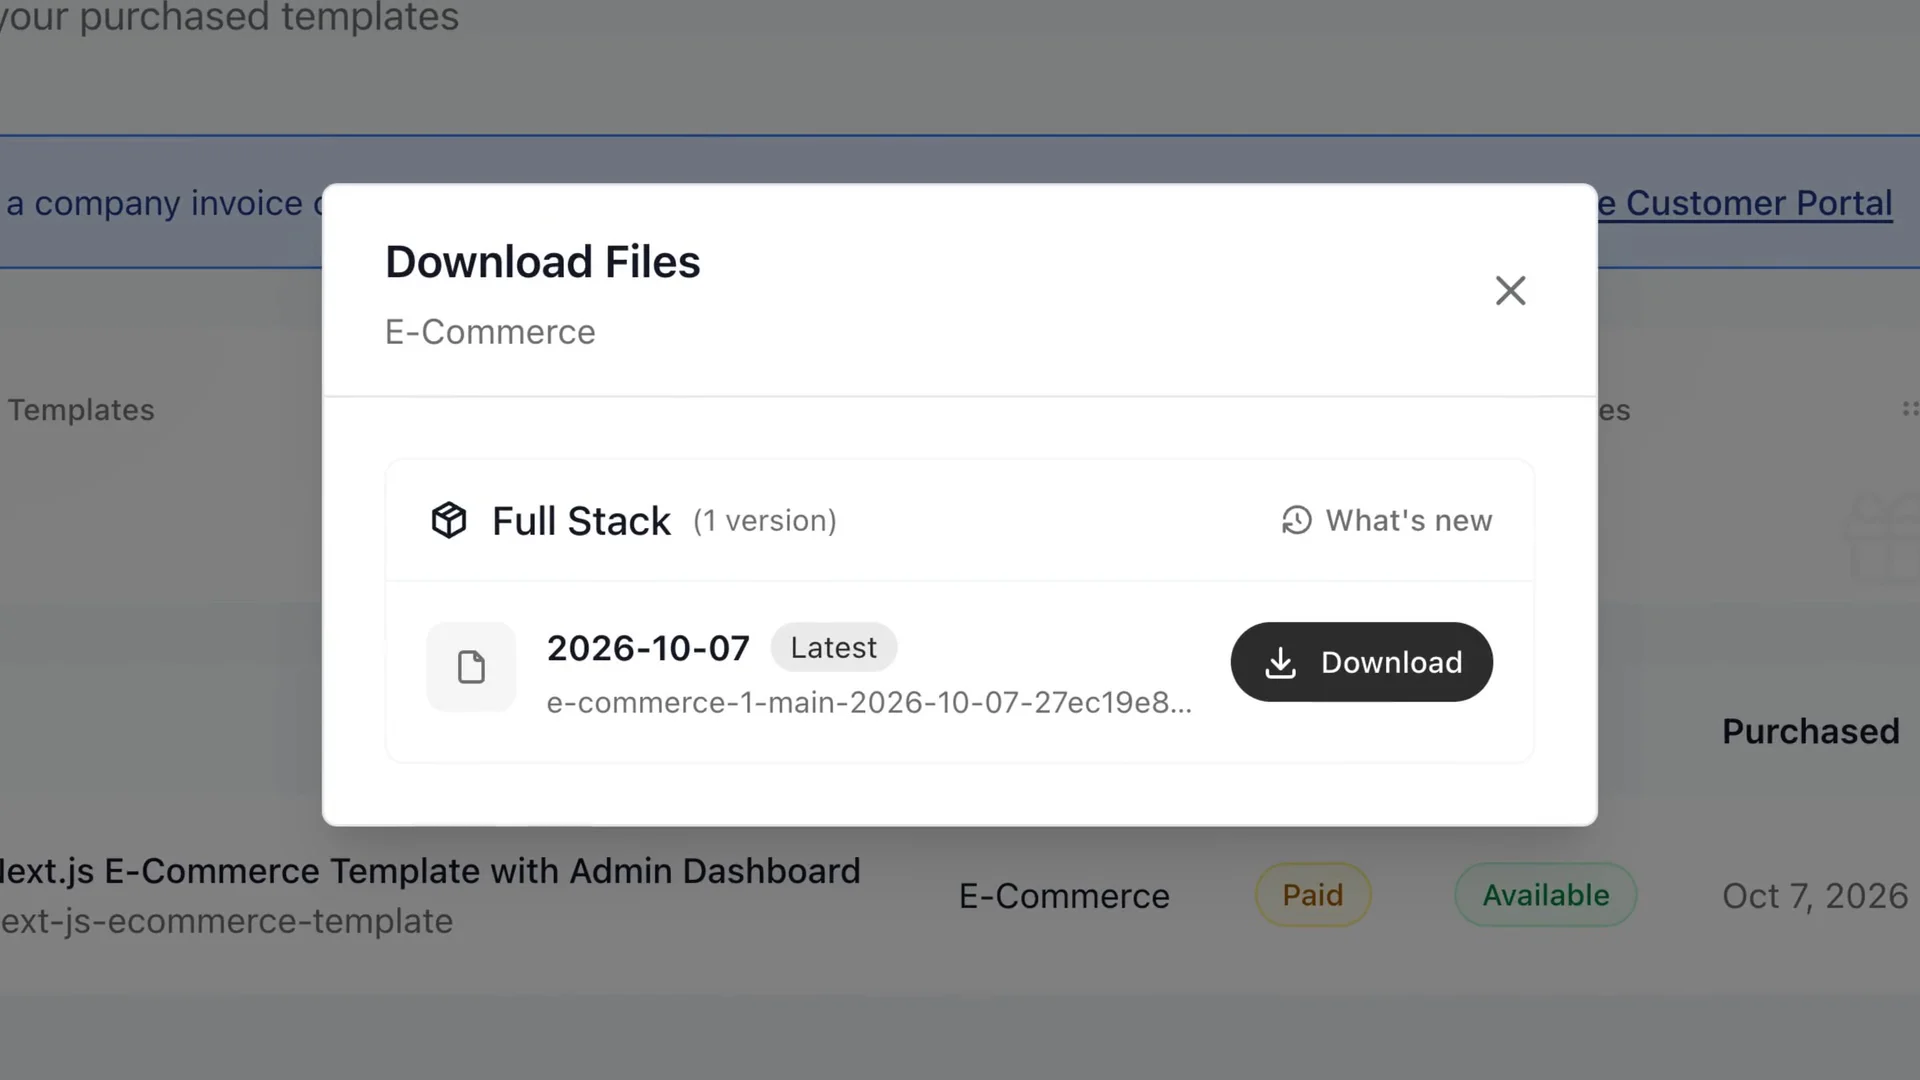
The My templates page lists a ZIP for each package, so choose the one you bought.
What to check: the Full Stack ZIP extracts to e-commerce-1, containing admin-dashboard, back-end, storefront and docker-compose.yml. Single-app packages extract to their own folder with a Dockerfile, package.json and .env.example.
Step 2: Run it locally with Docker
Download the ZIP from My templates, unzip it, and open a terminal in the e-commerce-1 folder. Start Docker, then run:
docker compose up --buildDocker builds three images on the first run and loads a demo store into the database, so expect a few minutes. The storefront opens at localhost:3030, the admin at localhost:3031, and the API at localhost:8000. A busy port can be moved with SITE_PORT, ADMIN_PORT or API_PORT in a .env file next to docker-compose.yml.
Sign in to the admin as the Super Admin (admin@example.com, password Admin@123) and to the storefront as a demo customer (john.doe@example.com, password password123). A read-only staff account, john.smith@admin.com with admin123, shows what the Viewer role sees. Place a test order as the customer, then find it in the admin.
One honest note: on the admin overview, several cards (revenue, sales, goal, visitors, conversion and the map) display placeholder figures until you connect your own numbers. Check which cards are wired to real data before you rely on them.
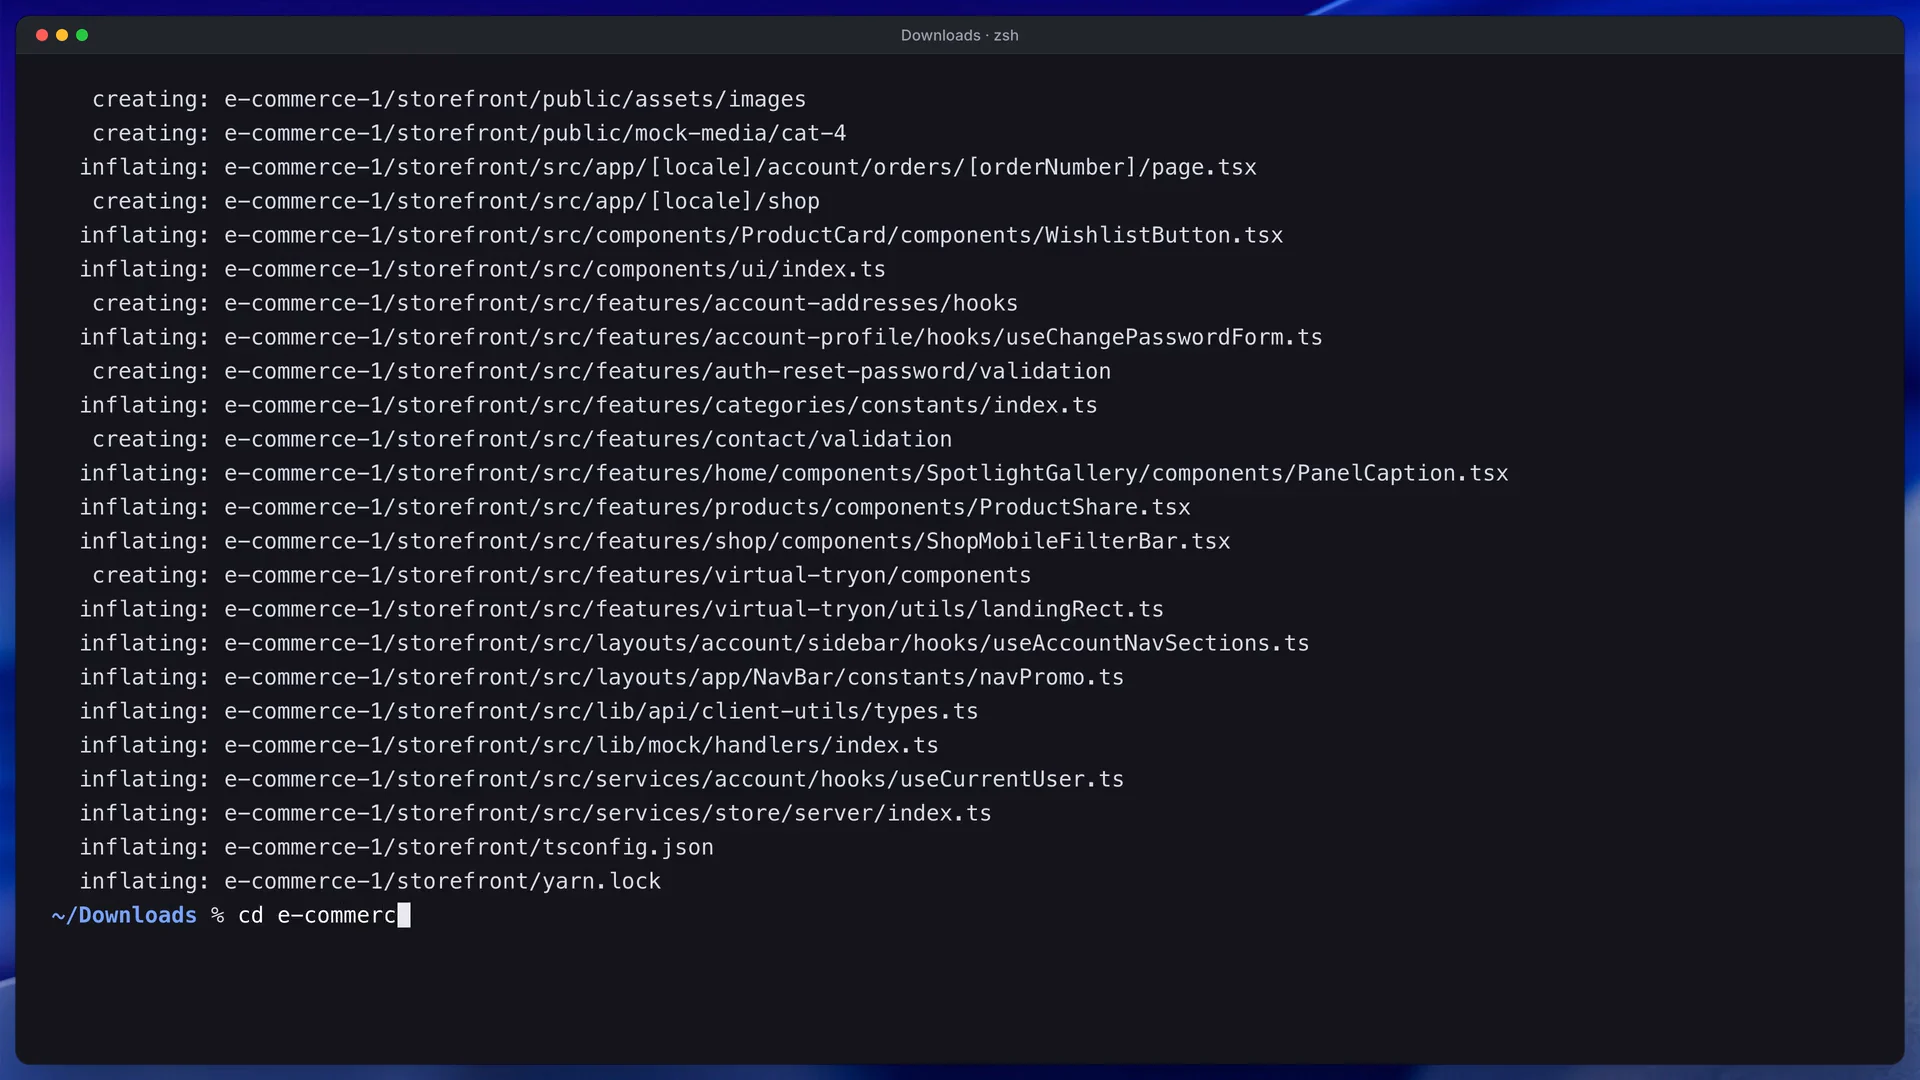
This still shows a terminal opened inside the extracted folder, which is where each command should run.
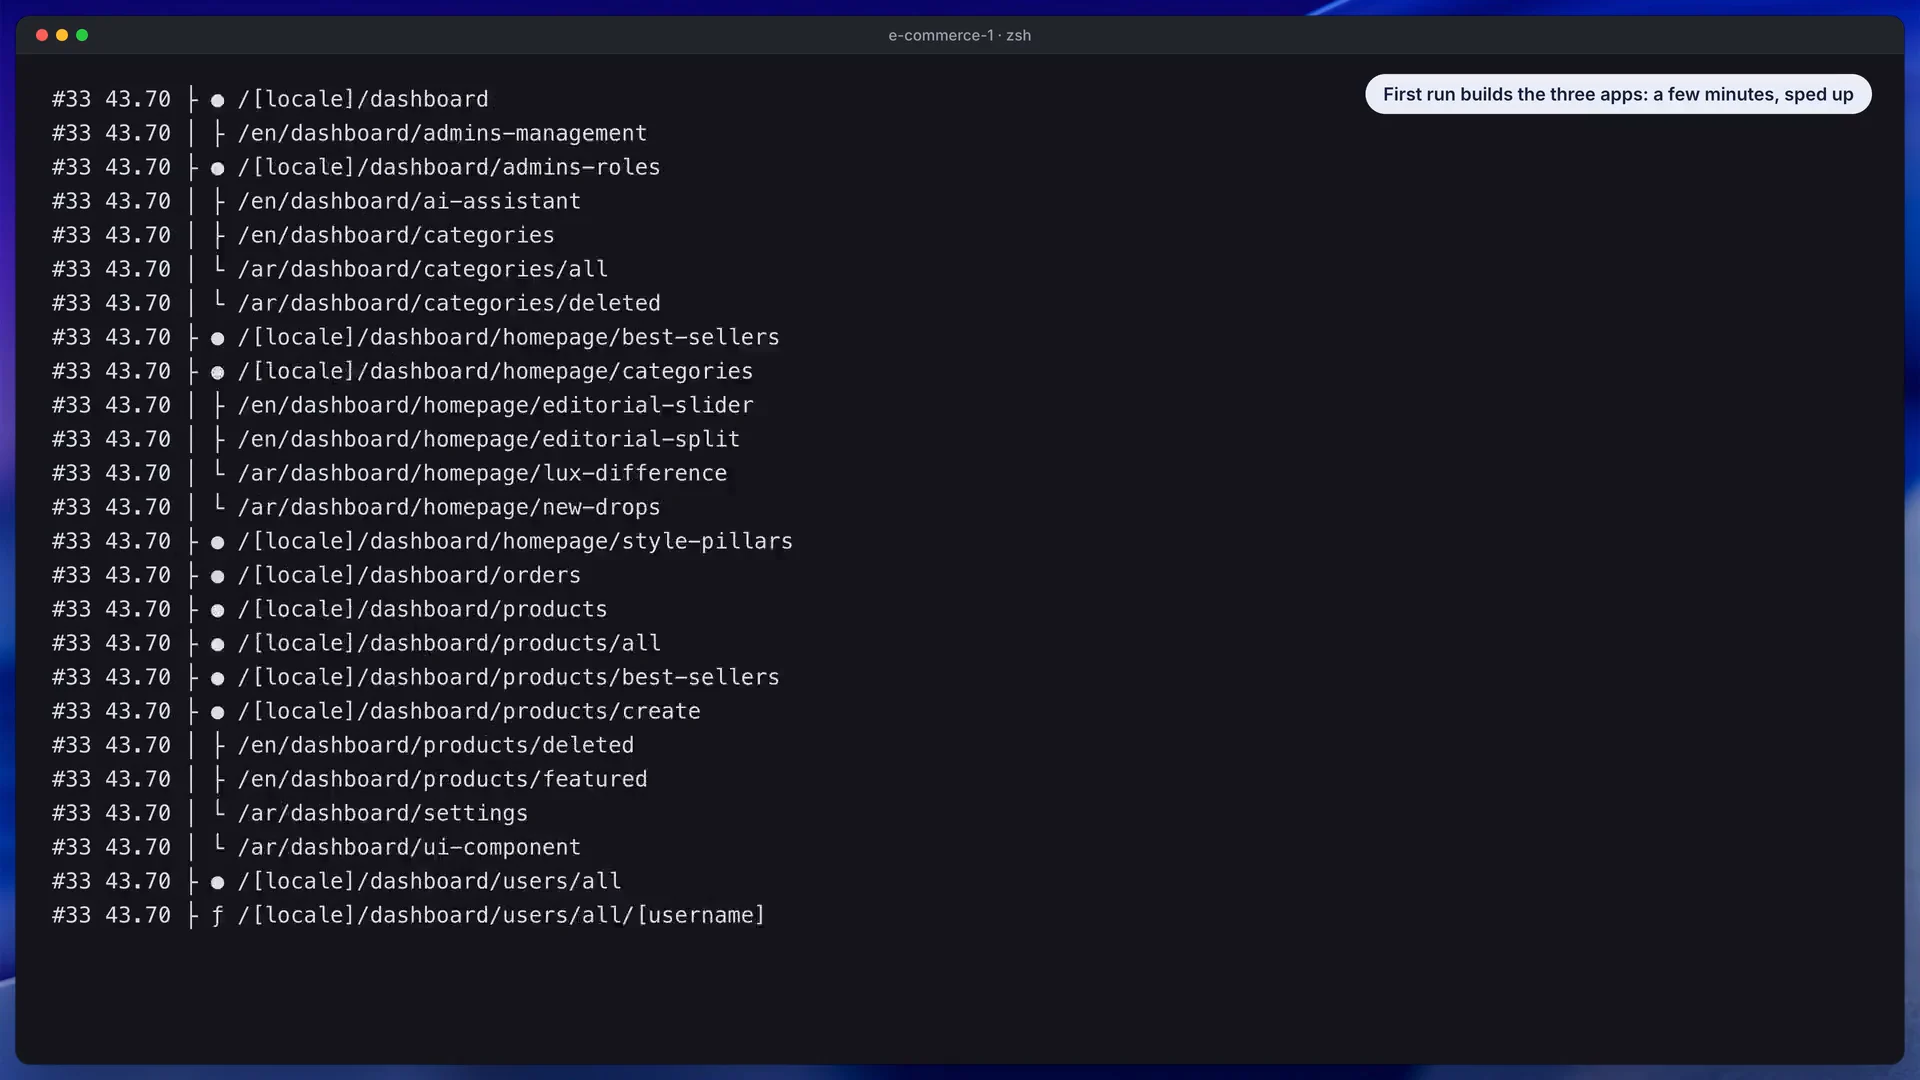
Look for the API passing its health check, since the two frontends start only after it does.
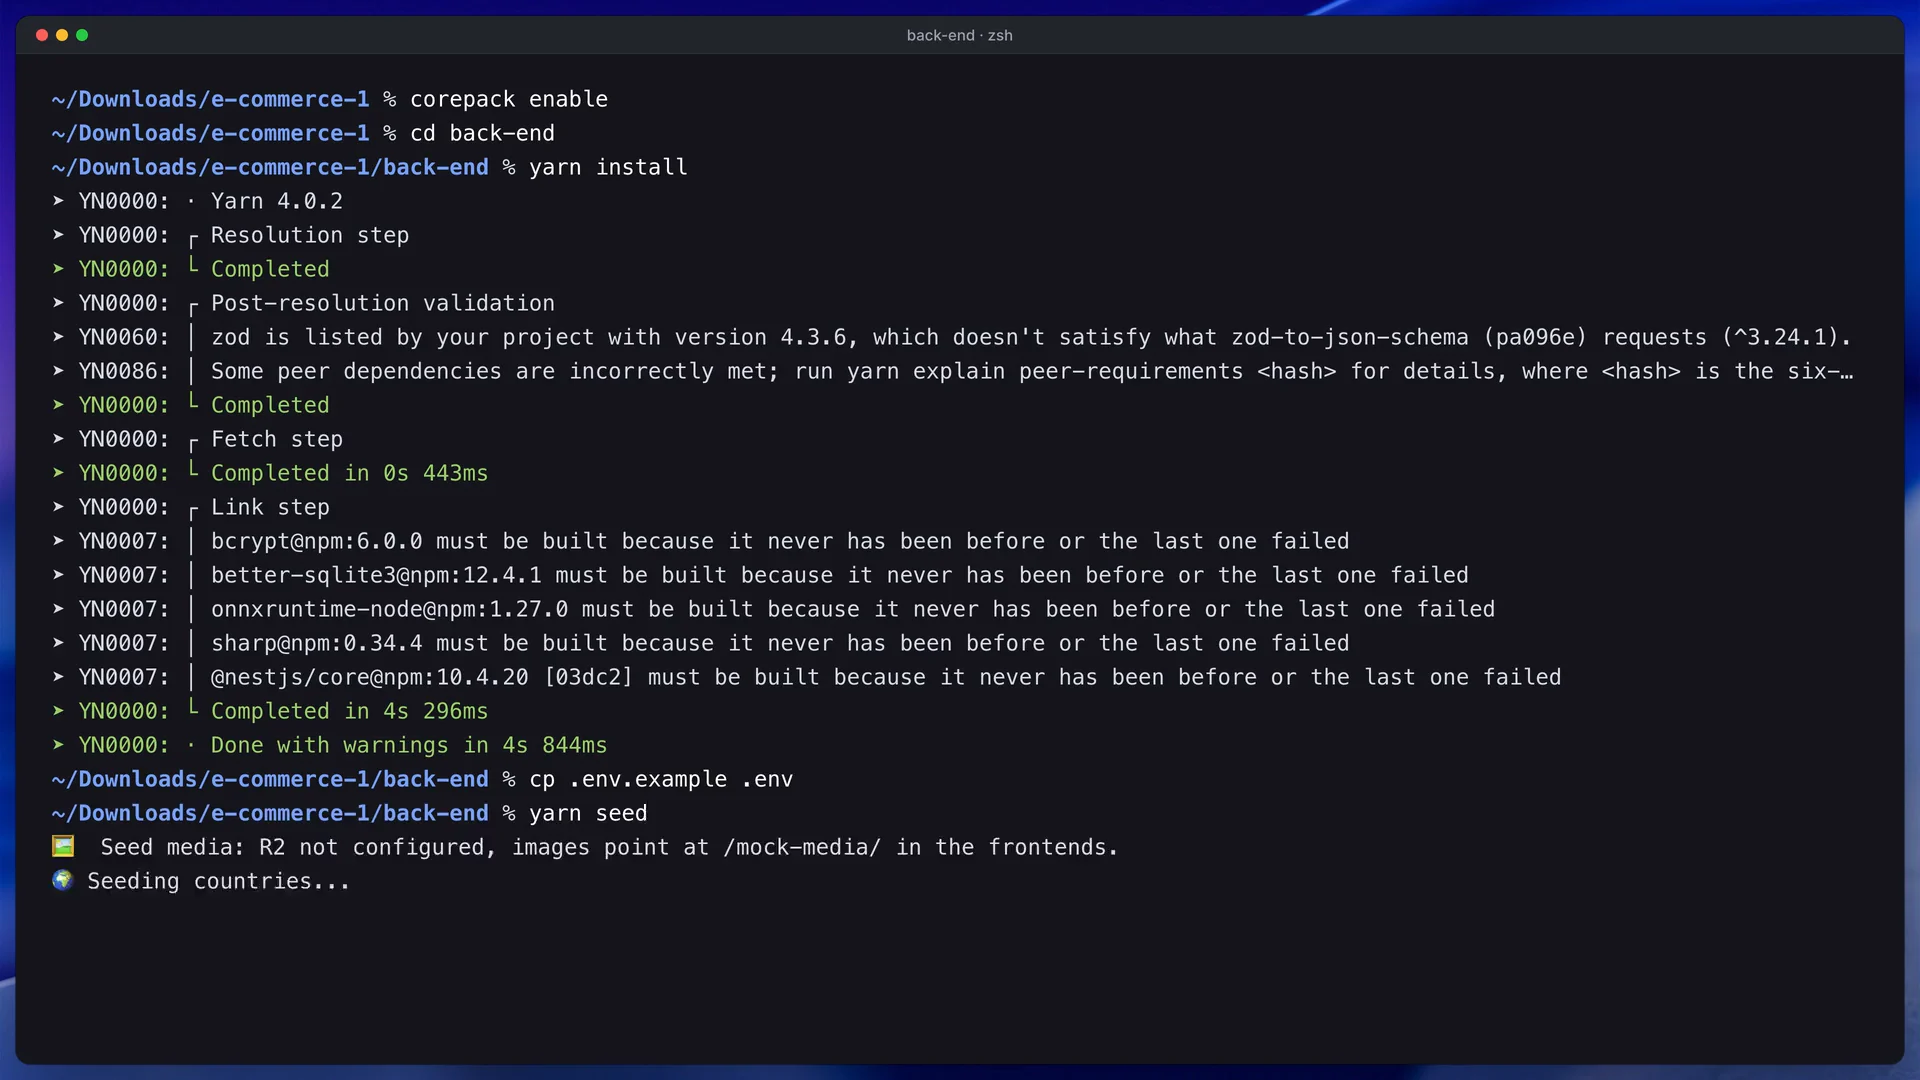
The Node.js route starts with the API, after the seed has created the database and demo store.
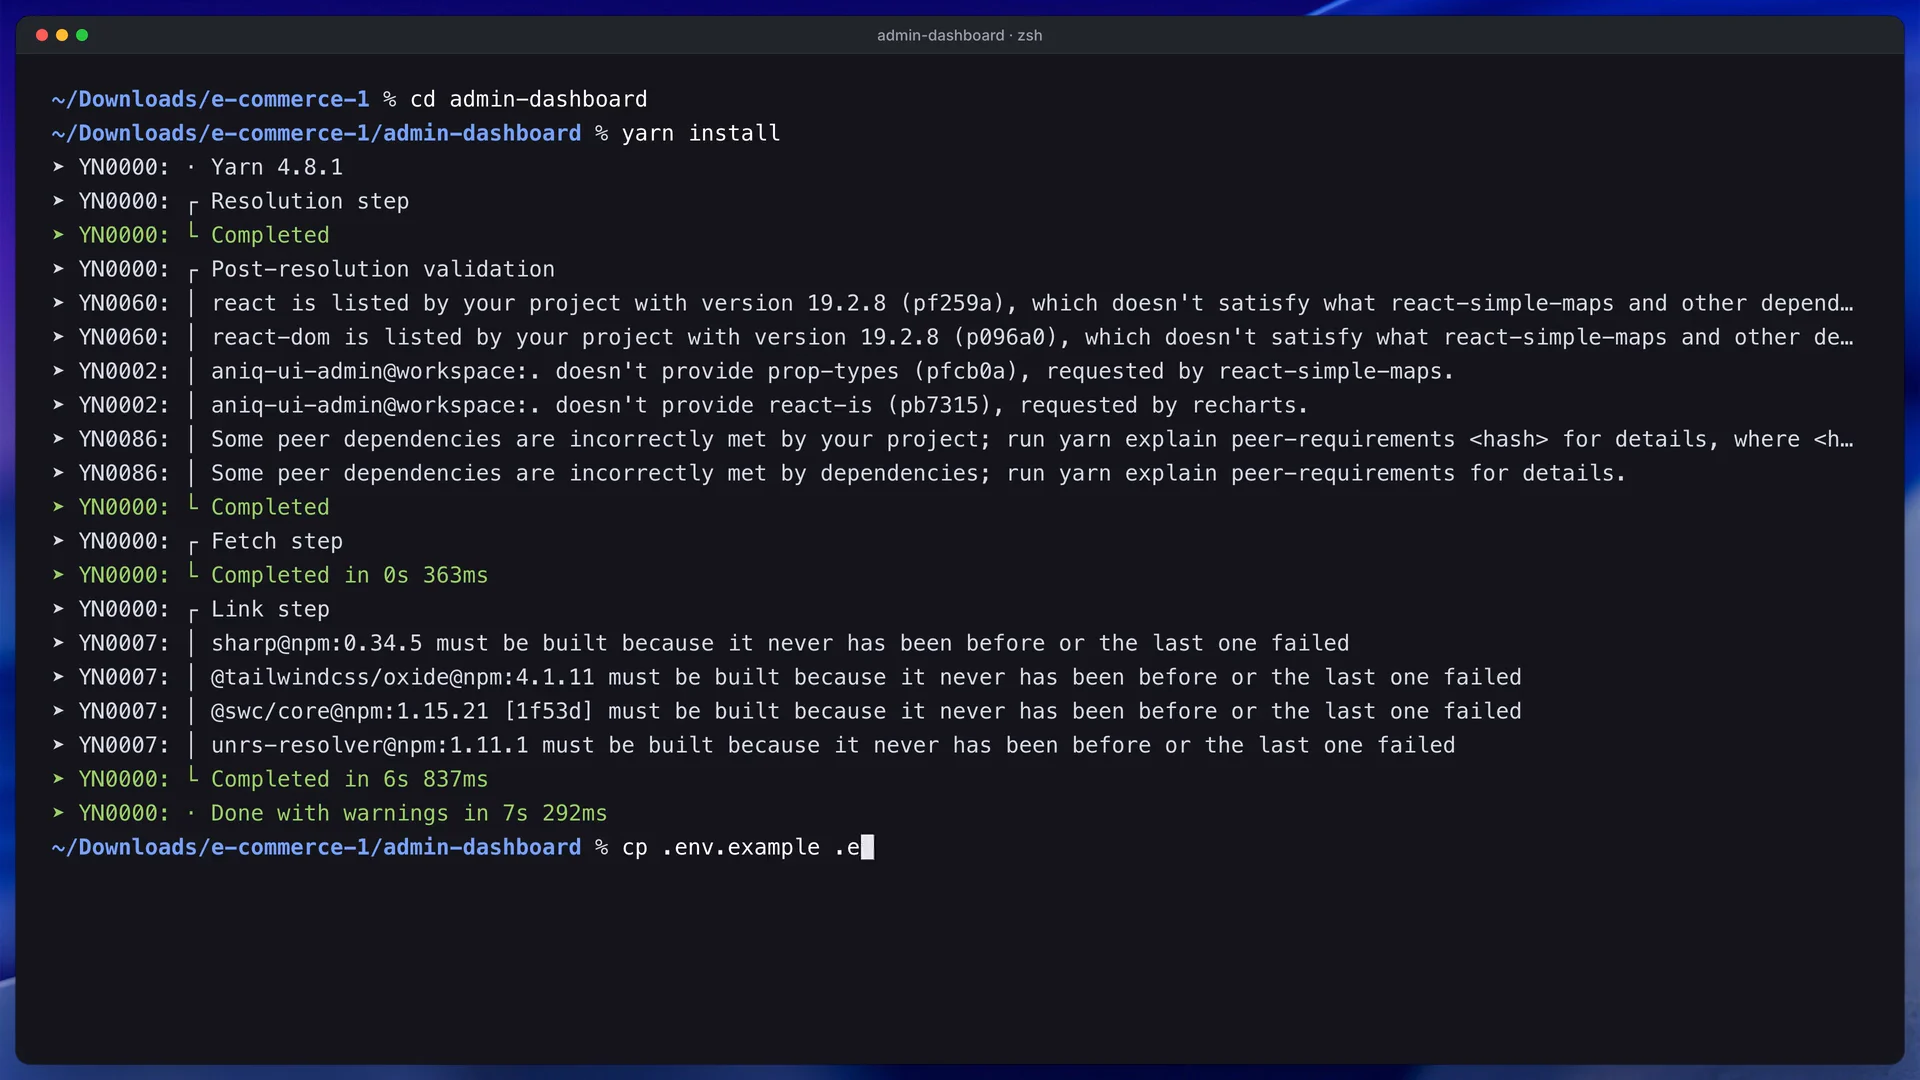
The admin dashboard runs in its own terminal on port 3031, beside the storefront on 3030.
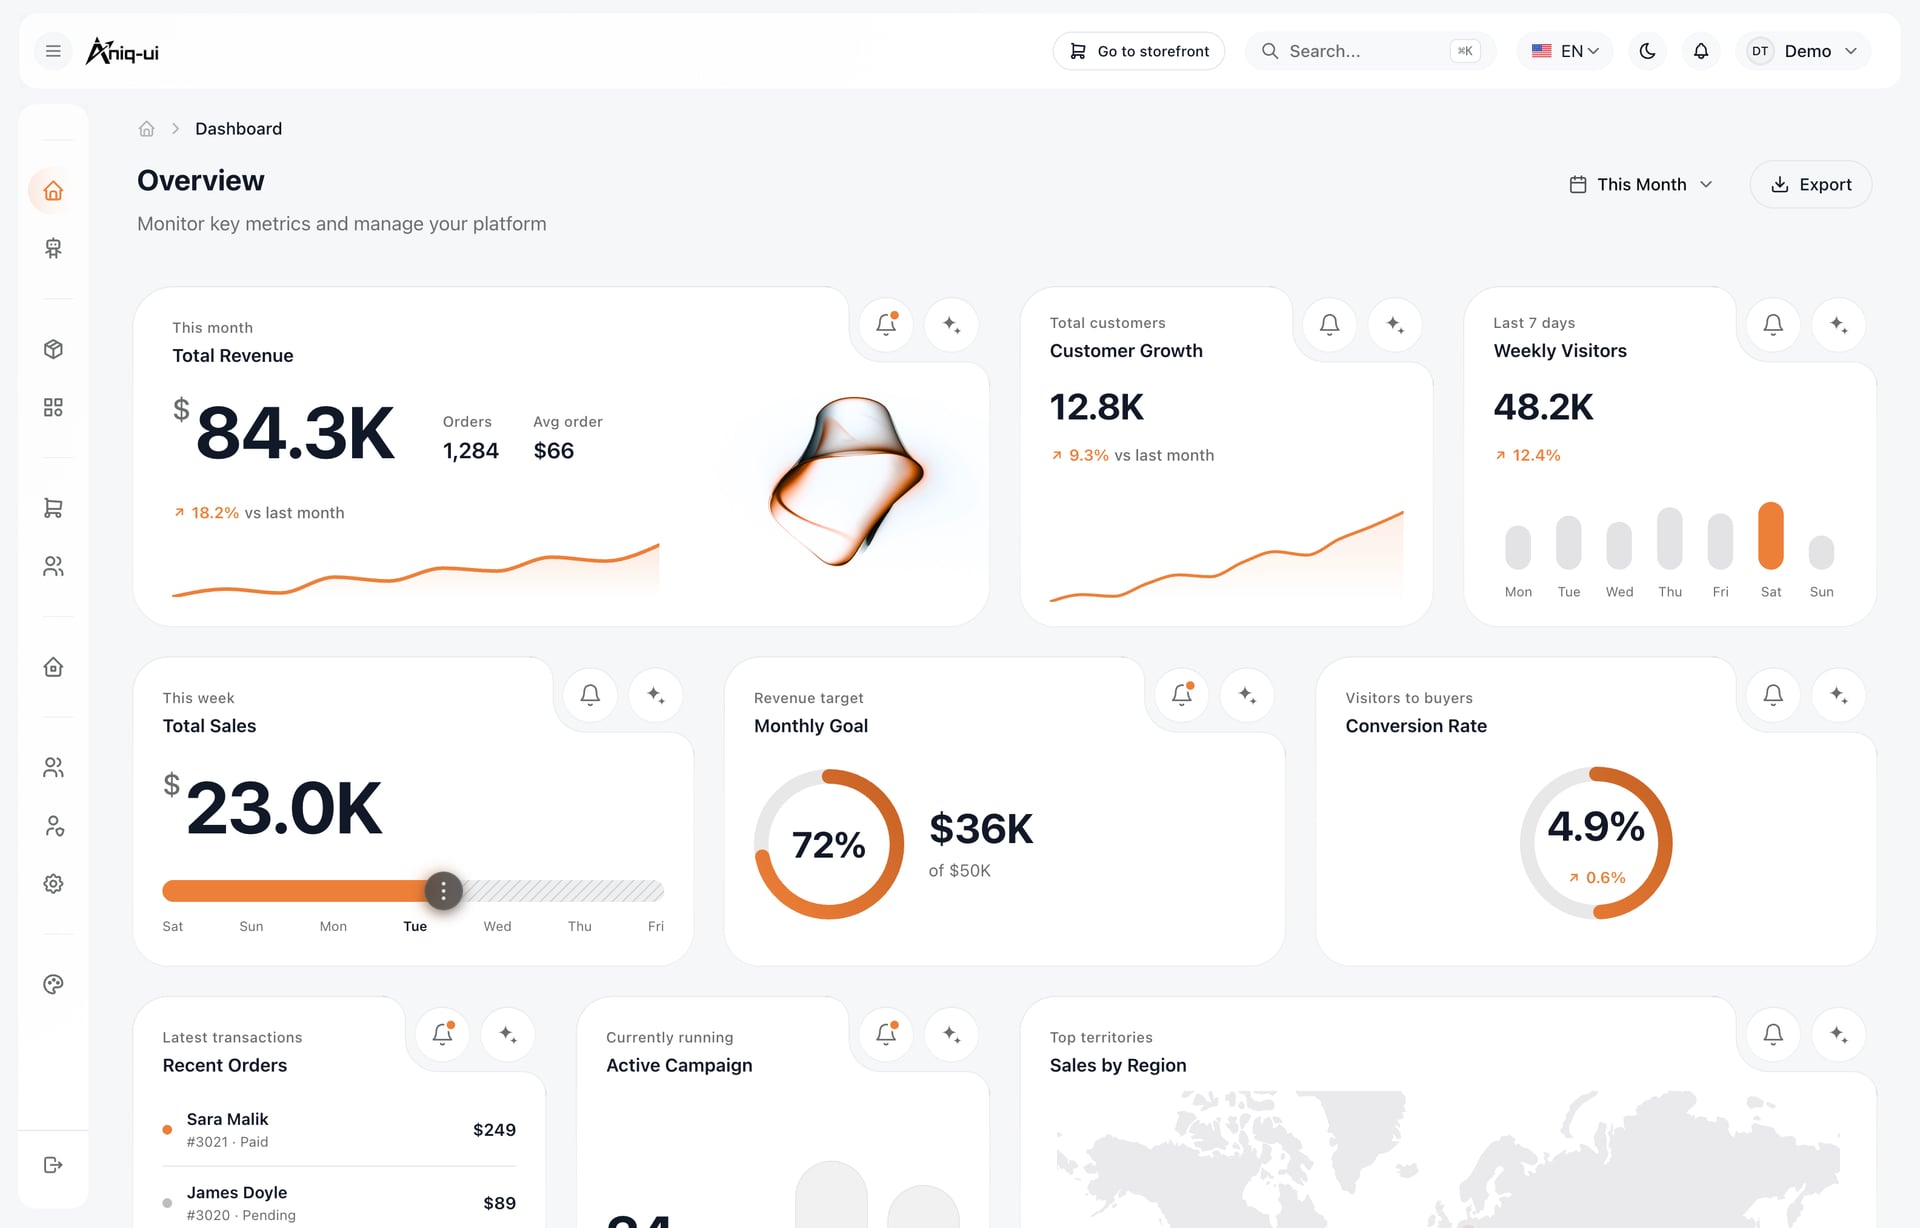
The screenshot above is the admin overview you should see after signing in as the Super Admin.
What to check: open localhost:8000/api/health, which should answer with a status of ok. Then add a product to the cart as the demo customer, check out as a guest, and find the order in the admin.
What usually goes wrong:
- Docker is not running, or port 3030, 3031 or 8000 is taken. Free it, or set
SITE_PORT,ADMIN_PORTorAPI_PORTto a free number. - The first start seems stuck. It is seeding the demo store, and the frontends start only when the API is healthy.
- A "Sample data" notice shows. The frontend was built without an API address and is running on its own sample store.
- Yarn reports version 1.22. Run
corepack enableand install again.
Step 3: Make it Cedar & Cloth
The brand lives in files, and the storefront and the admin keep their own copies. In the storefront, src/config/brand.config.ts holds the store name (it ships as a text wordmark), the browser tab name, the contact details and the social links, each with English and Arabic values. Set NEXT_PUBLIC_SITE_URL to your real domain, because canonical links, the sitemap and sharing cards use it.
The shipped copy describes a menswear shop. Three places carry that copy: the text blocks in brand.config.ts, the messages/home/ folder for the home page, and messages/seo/ for page titles. Cedar & Cloth sells menswear too, so it edits less than most shops will.
Each app keeps its colors in src/styles/theme-variables.css, as CSS variables, with a block for light and a block for dark. The accent is --primaryColor. The storefront loads Plus Jakarta Sans for Latin text and two Arabic fonts. The admin has its own brand file and uses the system font stack.
What to check: rebuild, then look for the old name in the browser tab, the footer, the sharing preview and the Arabic pages. Replace the placeholder contact details, since they ship as placeholders.
What usually goes wrong: the footer shows no social icons, because the links ship empty and only filled ones appear. Another is a sharing image that still shows the template's hero photo. Point meta.ogImage at your own picture.
Step 4: Add categories and products
Start with categories: a name and description in both languages, plus an image, a slug, a sort position and an on/off switch. They are one flat level. Then add products. A product takes:
- A name and descriptions in both languages (only the English name is mandatory), a slug, a SKU and a category.
- A price, an optional compare-at price, a cost price and a stock count.
- Up to 12 images and videos in any order, one marked primary, each with alt text.
- Variants such as Size with M, or Colour with its hex code. Each variant has its own SKU, price adjustment and stock.
- Flags for active, featured and best seller, and free tags.
Uploads go to a Cloudflare R2 bucket, or another S3-compatible store, and fail with a 503 until you fill in the five R2_* variables in back-end/.env. The demo catalogue itself renders from bundled files, so you can build the whole flow before you set a bucket.
Work in this order, so nothing points at something that does not exist yet:
- Create categories first, since every product needs one.
- Add one complete product, with photos, variants and both languages, before you add the rest.
- Open it on the storefront in English and Arabic and check the gallery, the variant picker and the price.
- Only then repeat for the remaining products.
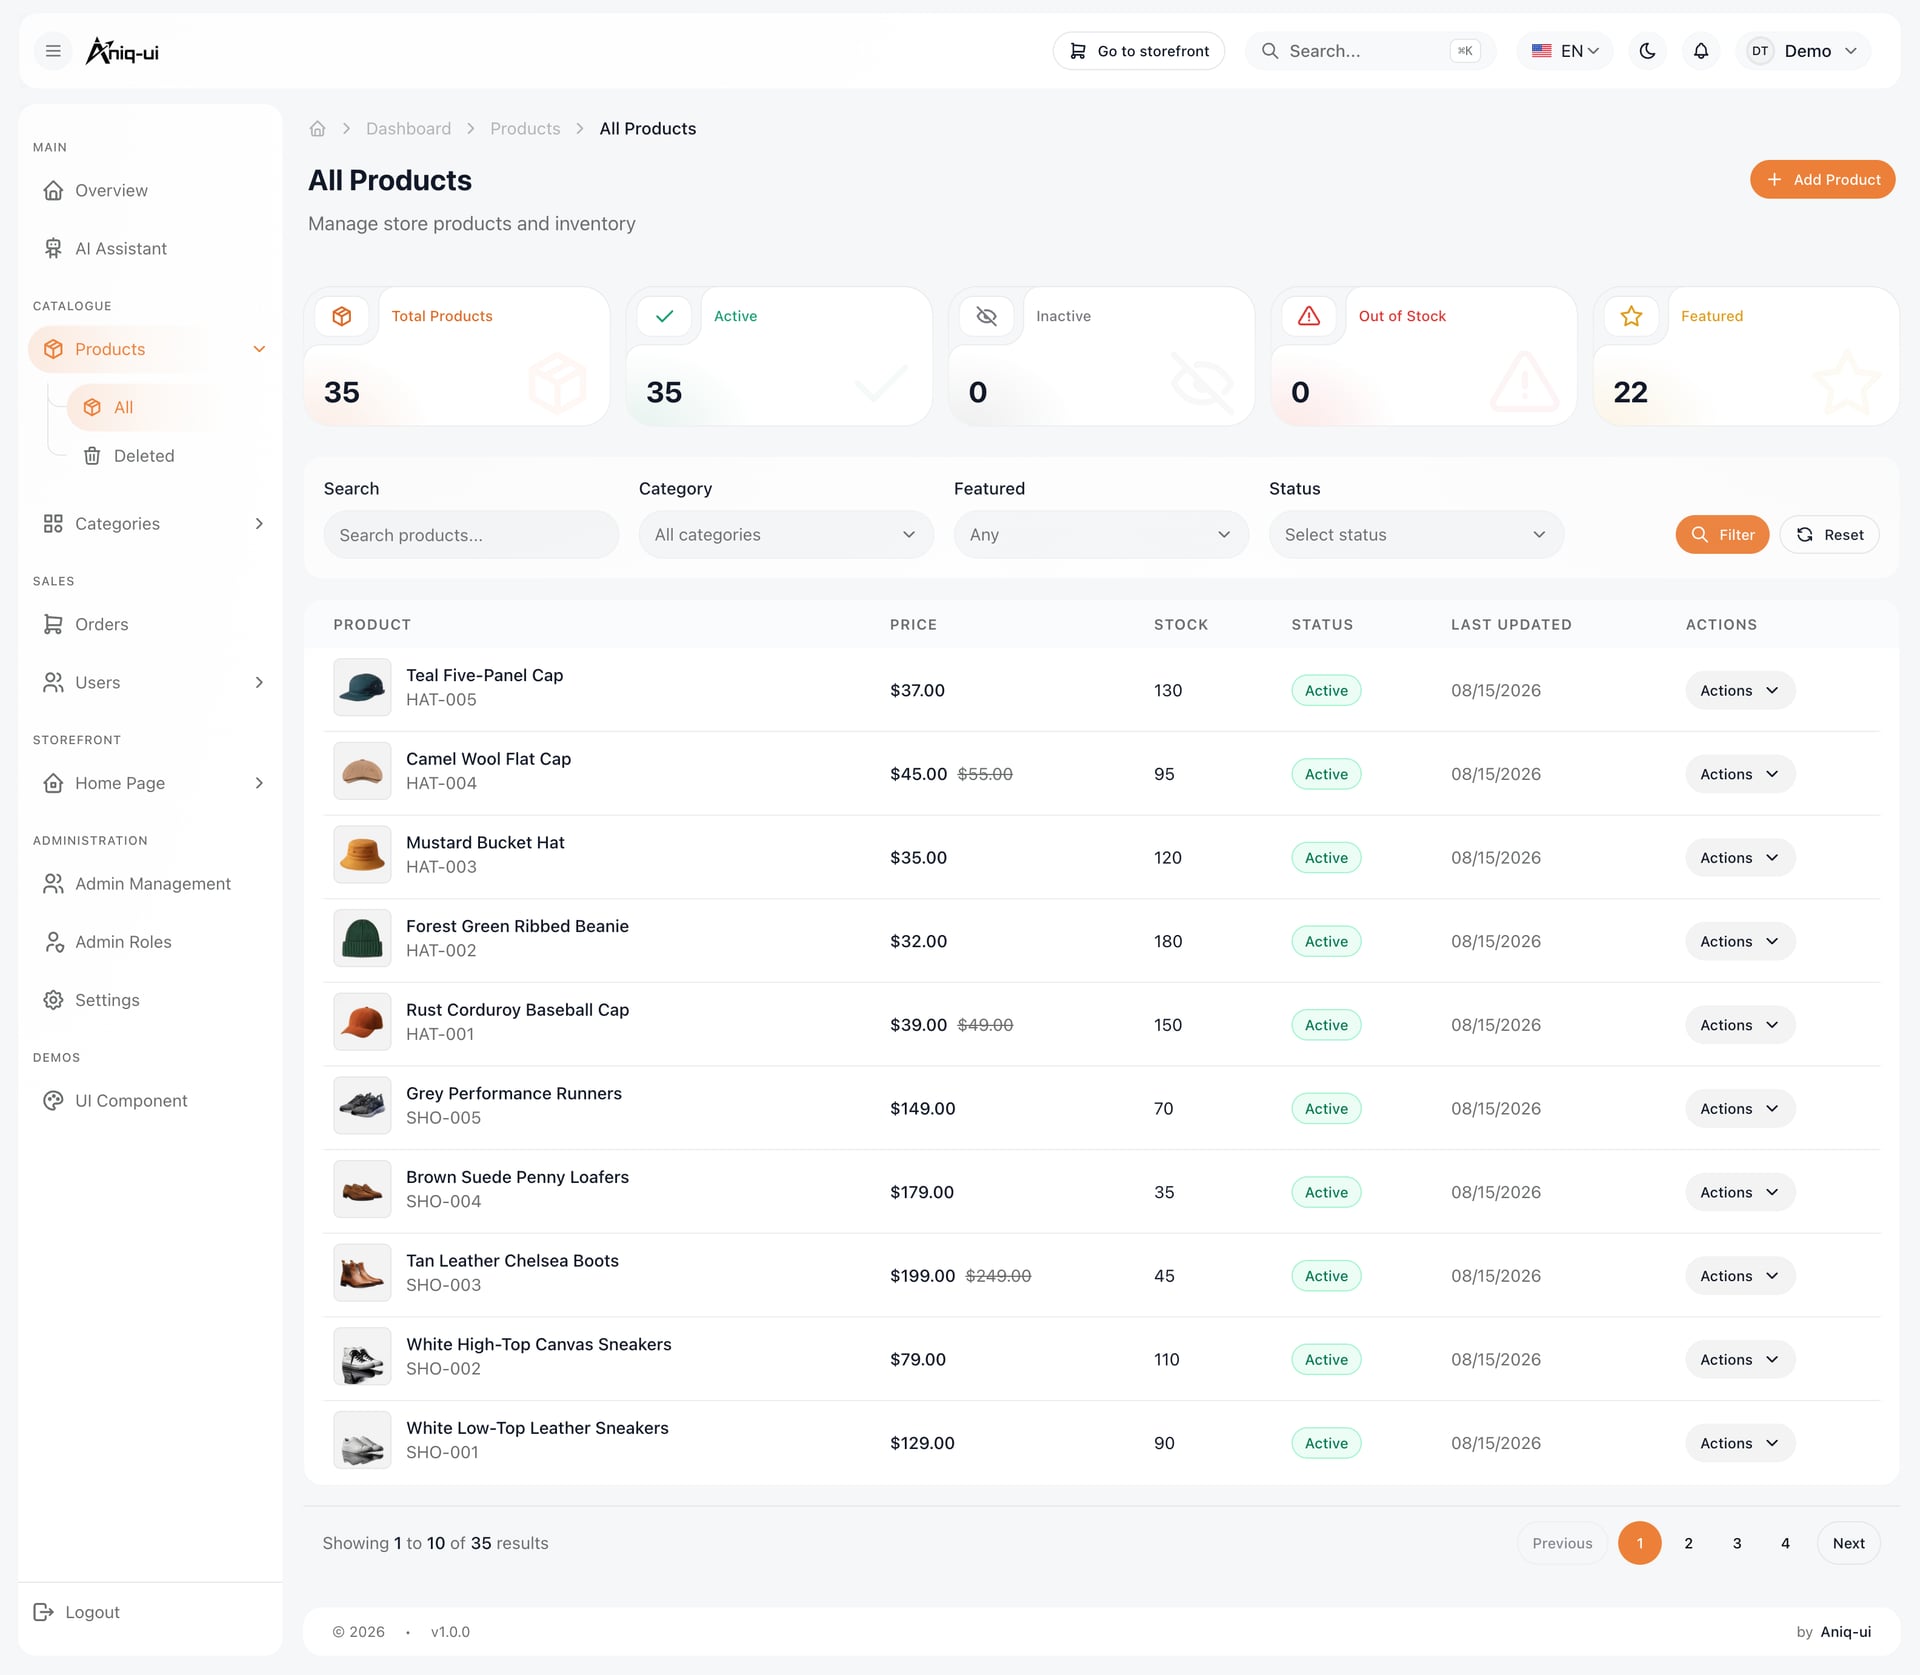
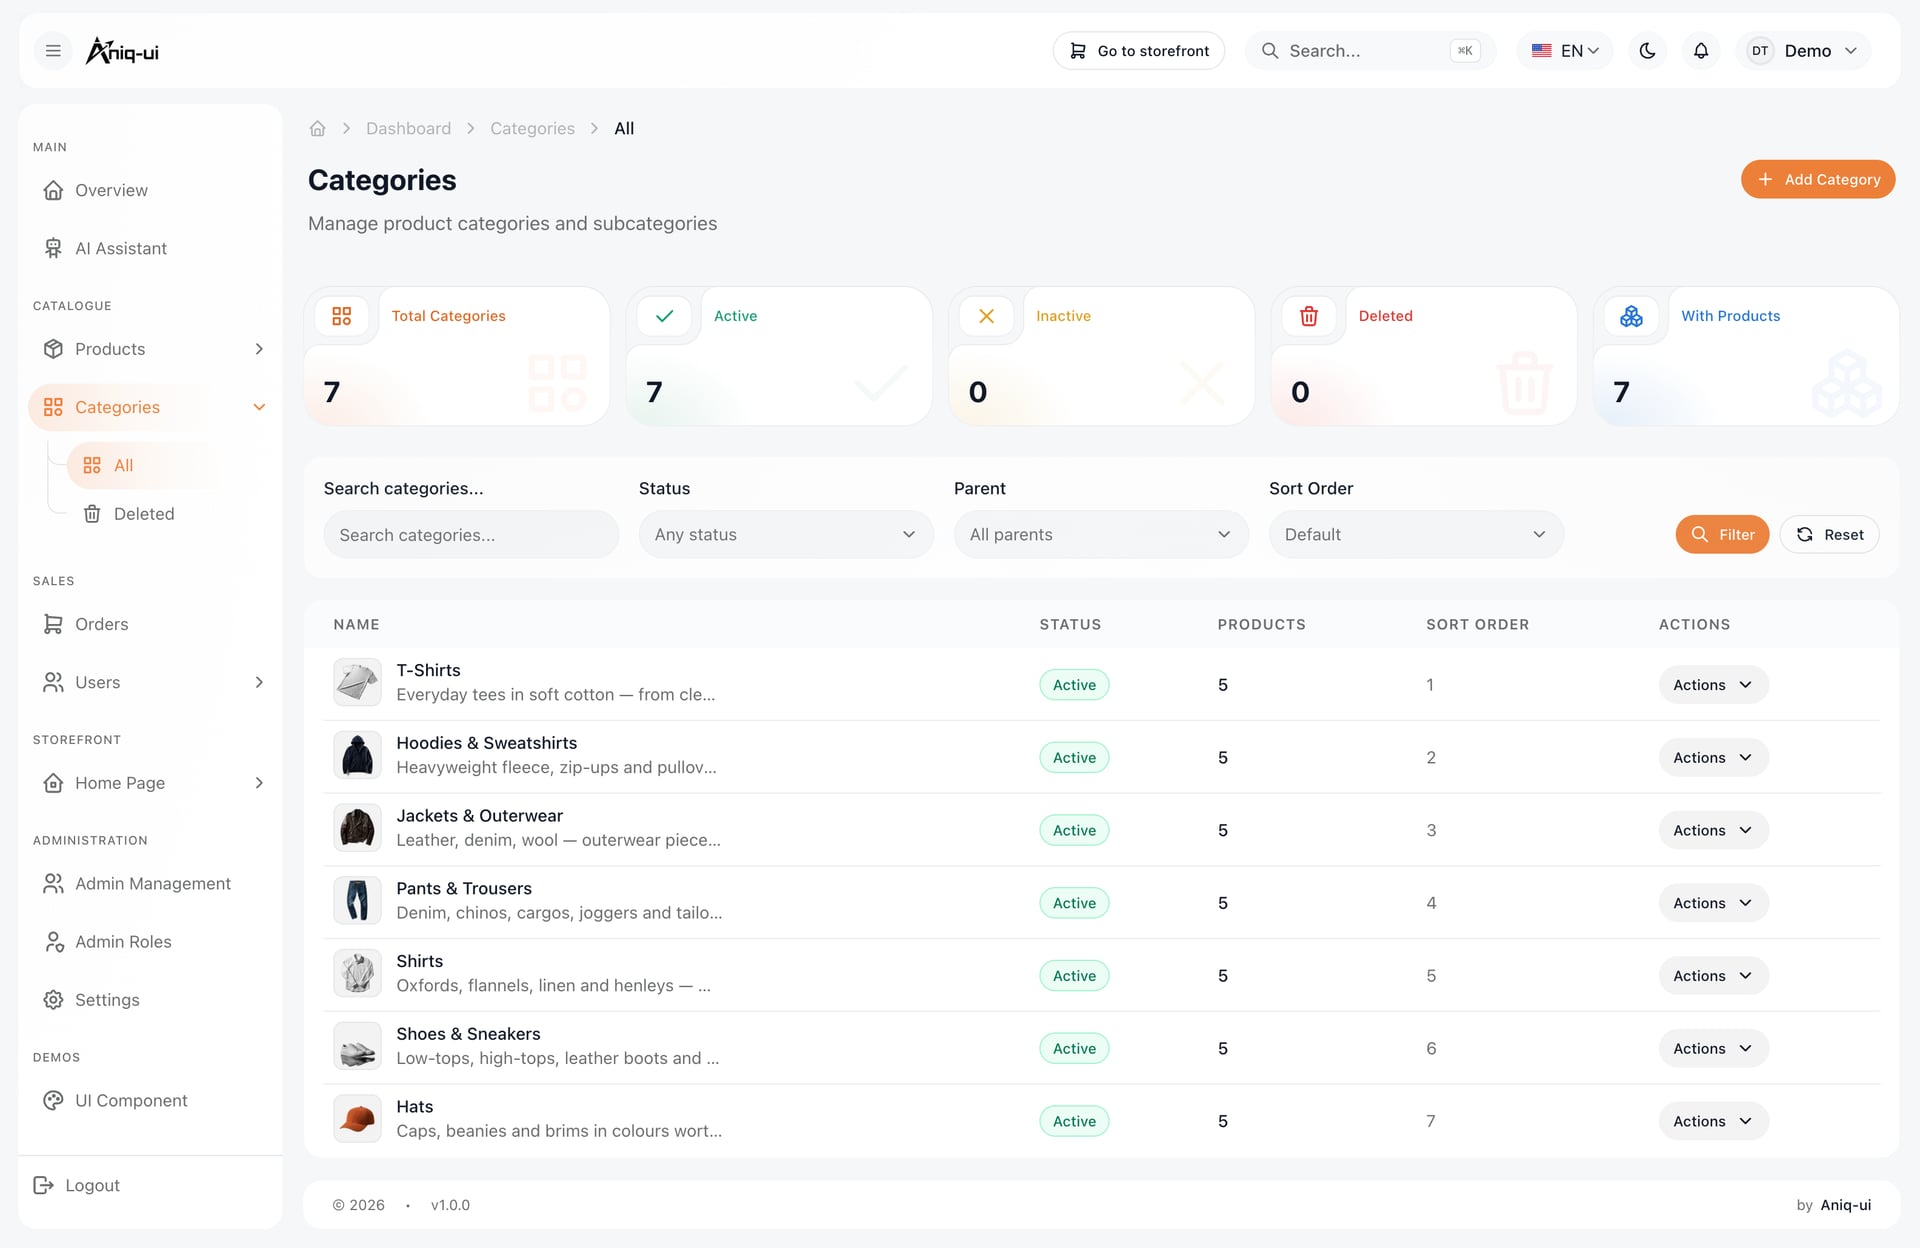
Look at the flat list of categories with their order and active switch: the sort order here shapes the categories row on the home page.
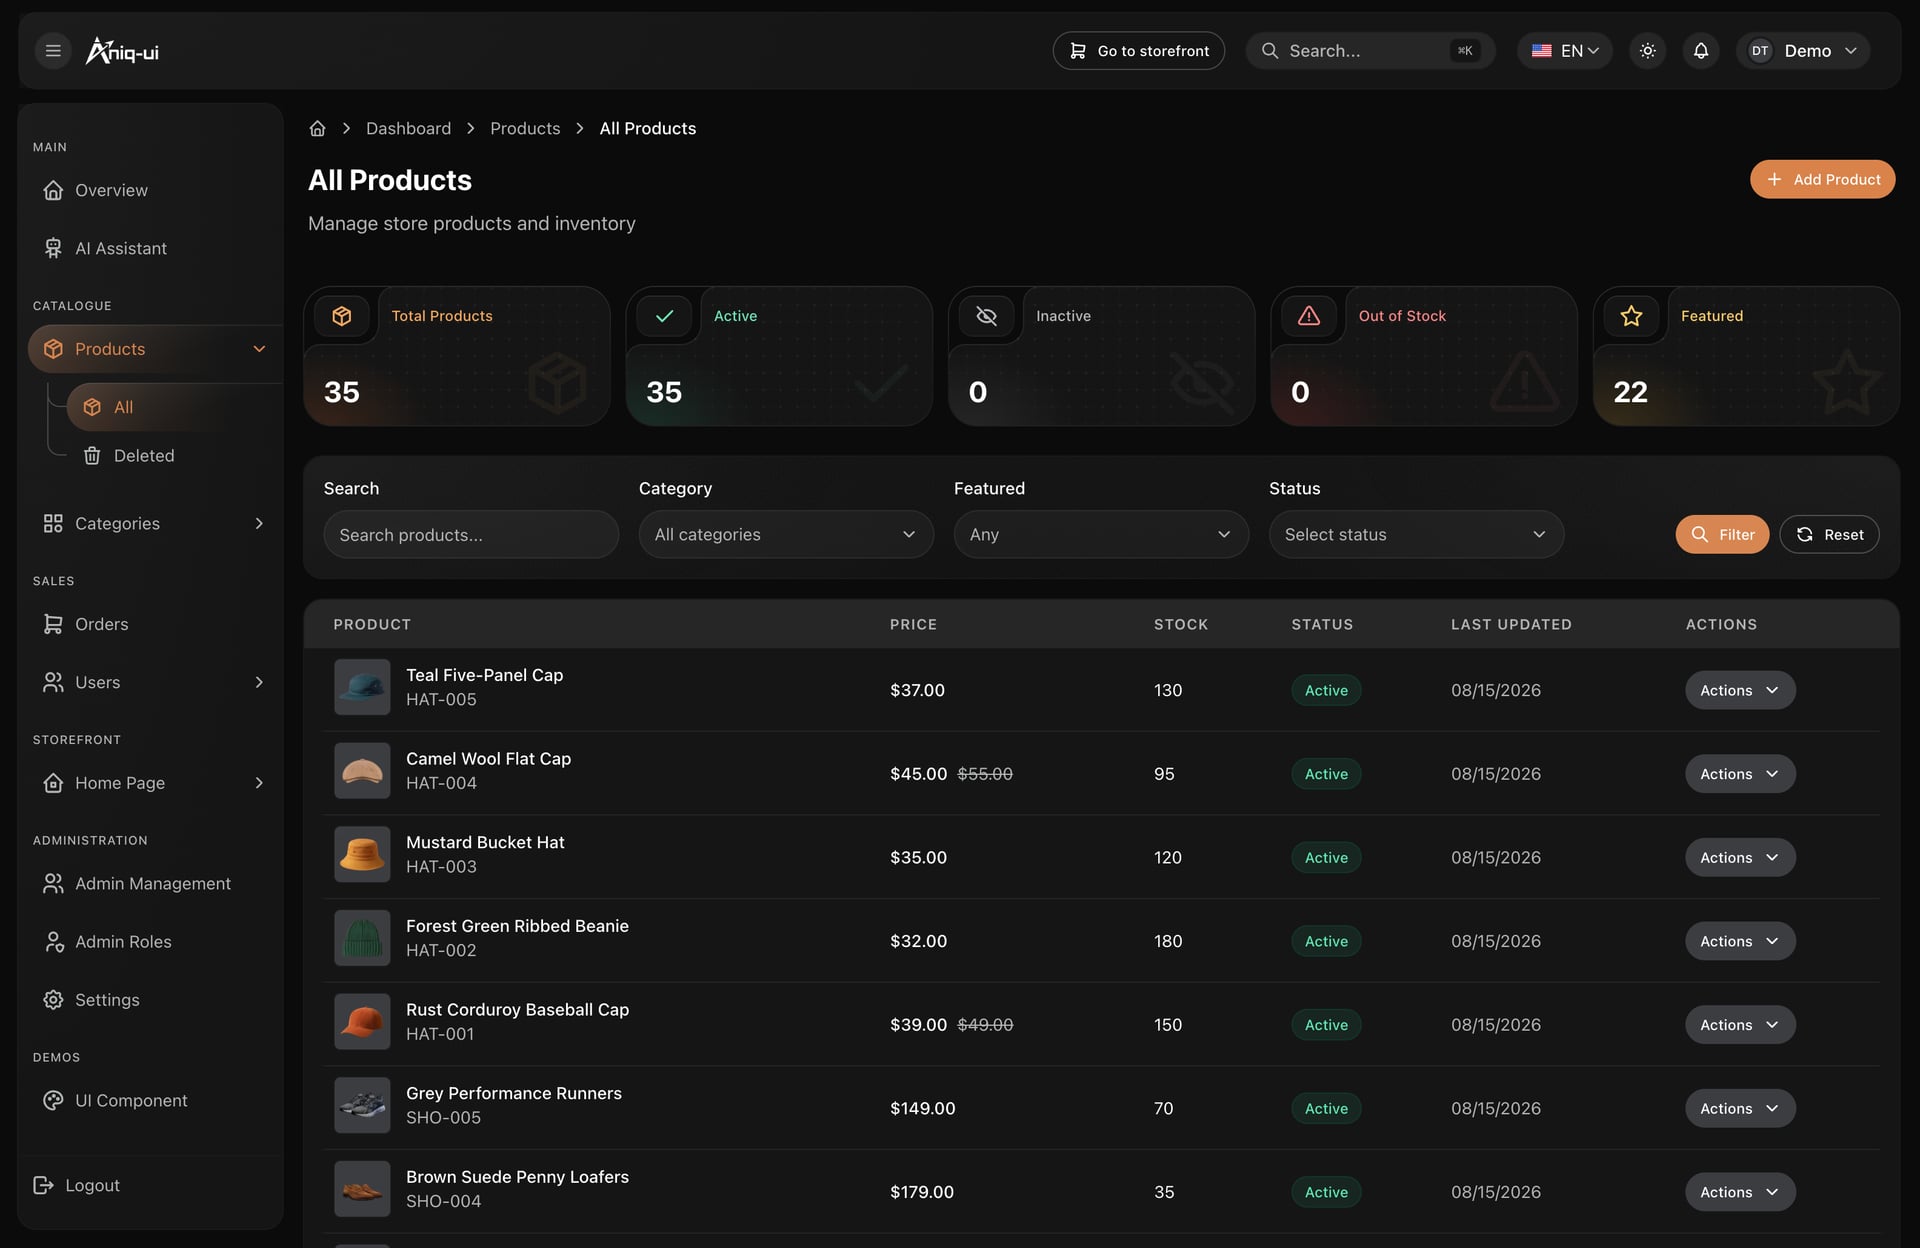
The compact view fits more rows on screen, which helps when you are checking stock and prices across many products.
What to check: deleted products have their own list, so check where one lands after you remove it. Variant SKUs must be unique, so use a clear naming pattern from the start.
What usually goes wrong: uploads fail with a 503, because the bucket variables are not set. Or images load at full size, because the frontends were not told your bucket's public host. Set NEXT_PUBLIC_MEDIA_HOSTNAME to that host, without https://, and rebuild.
Step 5: Arrange the home page
The Home Page screen in the admin decides, one section at a time, what shoppers see on the storefront's front page. Categories need only an order. The other sections take a capped number of products or texts: up to 3 style pillars, 2 editorial panels, 6 new drops, 8 best sellers, 6 spotlight items and 5 slides in the closing slider. If New drops is empty, it shows the newest products. Editing a section needs the products.edit permission.
What to check: add a product that uses every section, then open the storefront home page and confirm each section shows what you picked. Empty the New drops section and confirm it falls back to the newest products.
What usually goes wrong: a change does not appear because you lack the products.edit permission, or because the storefront is on its sample store and not reading the API.
Step 6: Set shipping, payments and the order flow
The checkout offers card through Stripe, and cash on delivery. Cash on delivery is selected by default, and the API always prices an order from its own catalogue, never from numbers the browser sends. There is no PayPal option.
The shipping rule ships as free from $75 and $9.99 below that, with no tax. It is written in two places, storefront/src/config/shipping.ts and back-end/src/modules/orders/orders.service.ts. Edit both in one change, or the cart and the charge will disagree.
To take cards, use Stripe test keys first:
- Add both
STRIPE_SECRET_KEYandSTRIPE_WEBHOOK_SECRETtoback-end/.env. - Put
NEXT_PUBLIC_STRIPE_PUBLISHABLE_KEYin the storefront's.envand rebuild. - In the Stripe dashboard, create a webhook endpoint that points to your API address plus
/api/payments/webhook, and have it listen for two events:payment_intent.succeededandpayment_intent.payment_failed.
A card order stays pending until Stripe calls that webhook, then becomes paid and confirmed. For local testing, the Stripe CLI can relay events to http://localhost:8000/api/payments/webhook. In the admin, an order moves one step at a time: pending, confirmed, processing, shipped, delivered, or cancelled before it closes. Add the tracking number when you ship, and download any order as a CSV file.
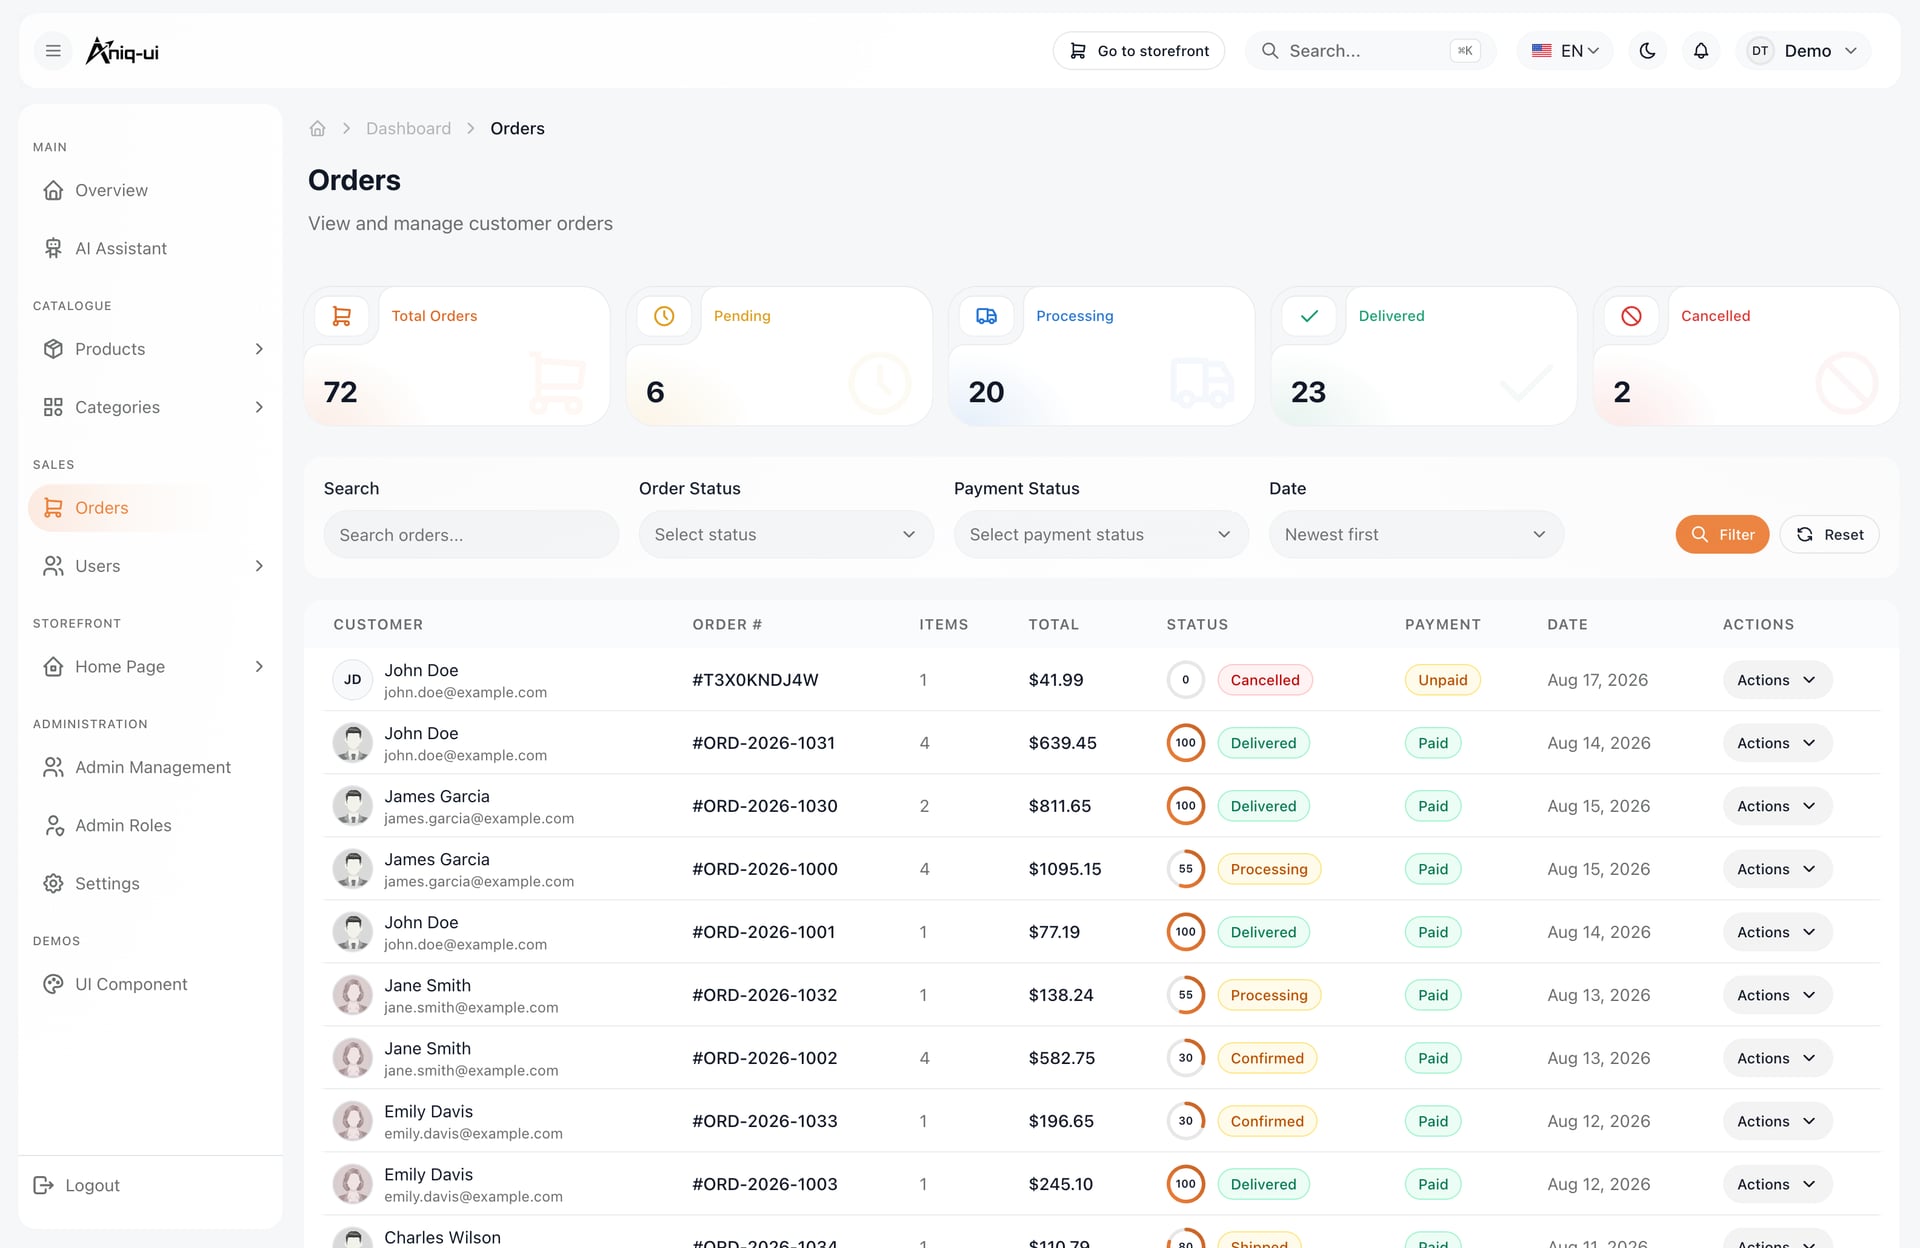
What to check: place a cash on delivery order and a card order with Stripe test keys. The first should be confirmed and unpaid. The second should be pending until the webhook arrives, then paid and confirmed. Fail a card on purpose and confirm the order is marked failed.
What usually goes wrong:
- The card option is missing at checkout. The publishable key is empty or not a real test or live key, which leaves cash on delivery as the only choice.
- Card orders stay pending. The webhook endpoint or its signing secret is wrong.
- The storefront still shows the old publishable key. It is compiled in, so rebuild after changing it.
Step 7: Add staff and set their permissions
Staff accounts live under Admin Management, and their permissions under Admin Roles. The seed gives you a Super Admin with every permission and a Viewer role with every view permission, which leaves out the AI assistant. The Admin, Manager and Editor roles exist but start with nothing, so tick their permissions before you give them to anyone.
Cedar & Cloth keeps the owner as Super Admin. For the two packers it gives view access to orders, plus the edit permission that moving an order forward requires. Everything else stays hidden from them, because the sidebar and the API check the same permission names.
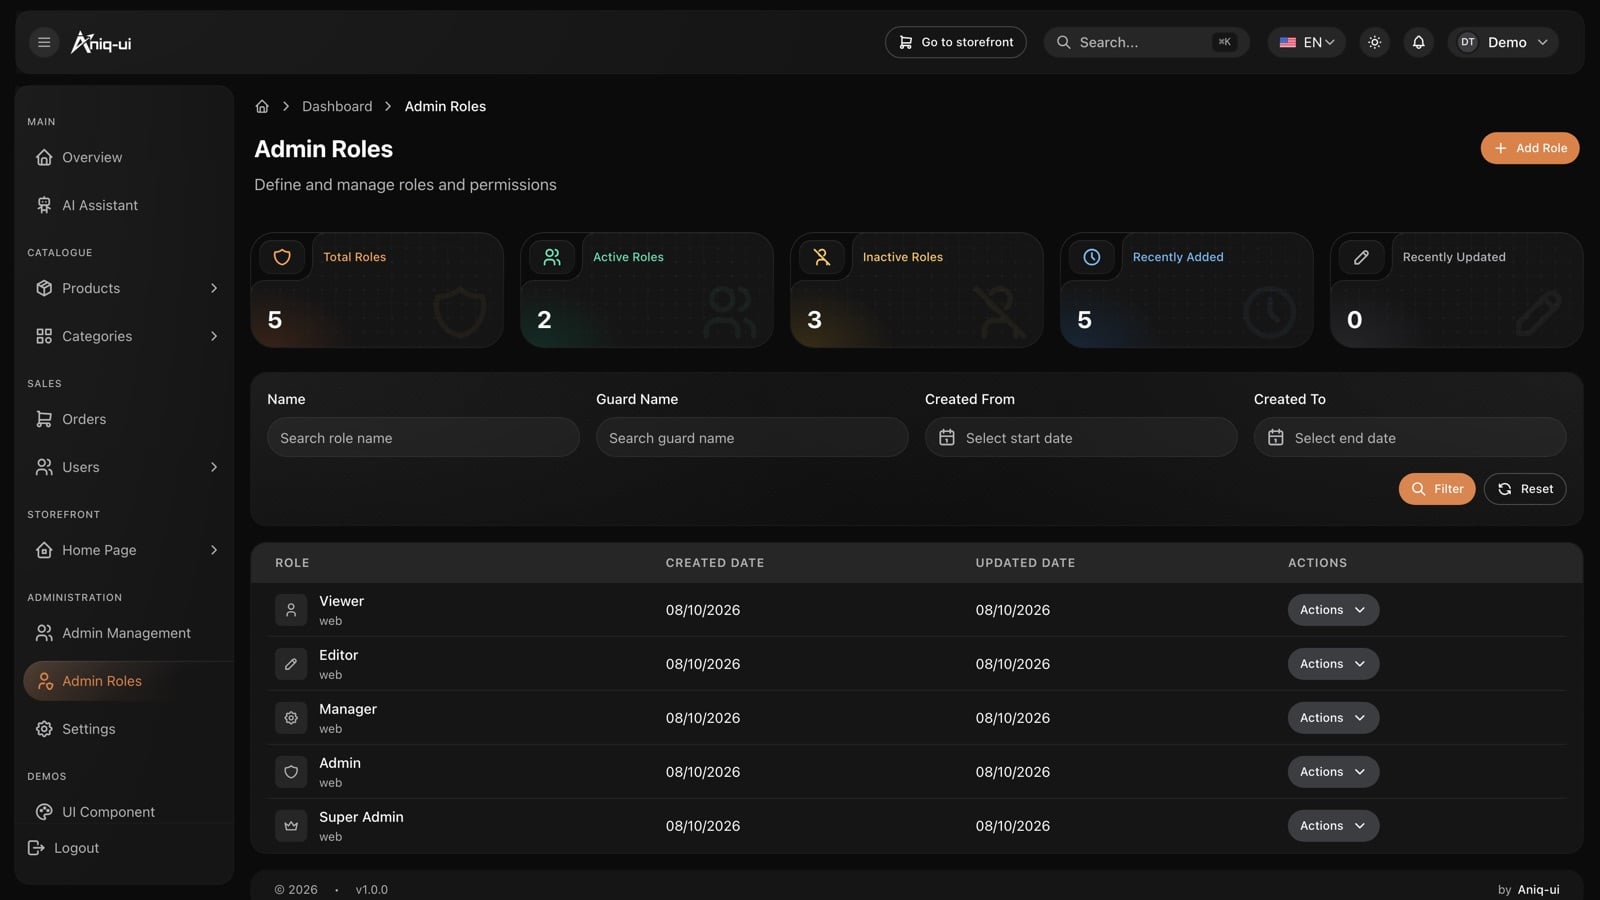
What to check: sign in as the Viewer account and confirm it can see lists but not change them. Then sign in as the packer role you created and confirm moving an order forward works.
What usually goes wrong: a new staff member sees almost nothing, because their role has no permissions ticked. Permission changes reach signed-in staff over a live connection, so they do not need to sign out.
Step 8: Add the AI tools you want
Each AI feature switches on only when its key is in back-end/.env, and a key still holding its example value counts as unset.
- Admin assistant: needs a Google Gemini key. It answers questions about the shop, finds orders, edits products and stock, and draws sales charts, all within the signed-in admin's permissions.
- AI product studio: in the product form. Its assistant mode needs a Gemini key and the media bucket. Its Animate mode needs a Higgsfield key and secret.
- Fitting room: lets shoppers see a product worn on a model or on their own photo. It needs a Gemini key and the bucket.
- Background removal: needs a model file on your own server and the bucket, but no key, and it costs nothing per image.
Cedar & Cloth turns on only background removal, so the phone shots become clean catalogue photos. The Docker image leaves the model out unless you ask for it when you build. Provider charges for the keyed features are yours.
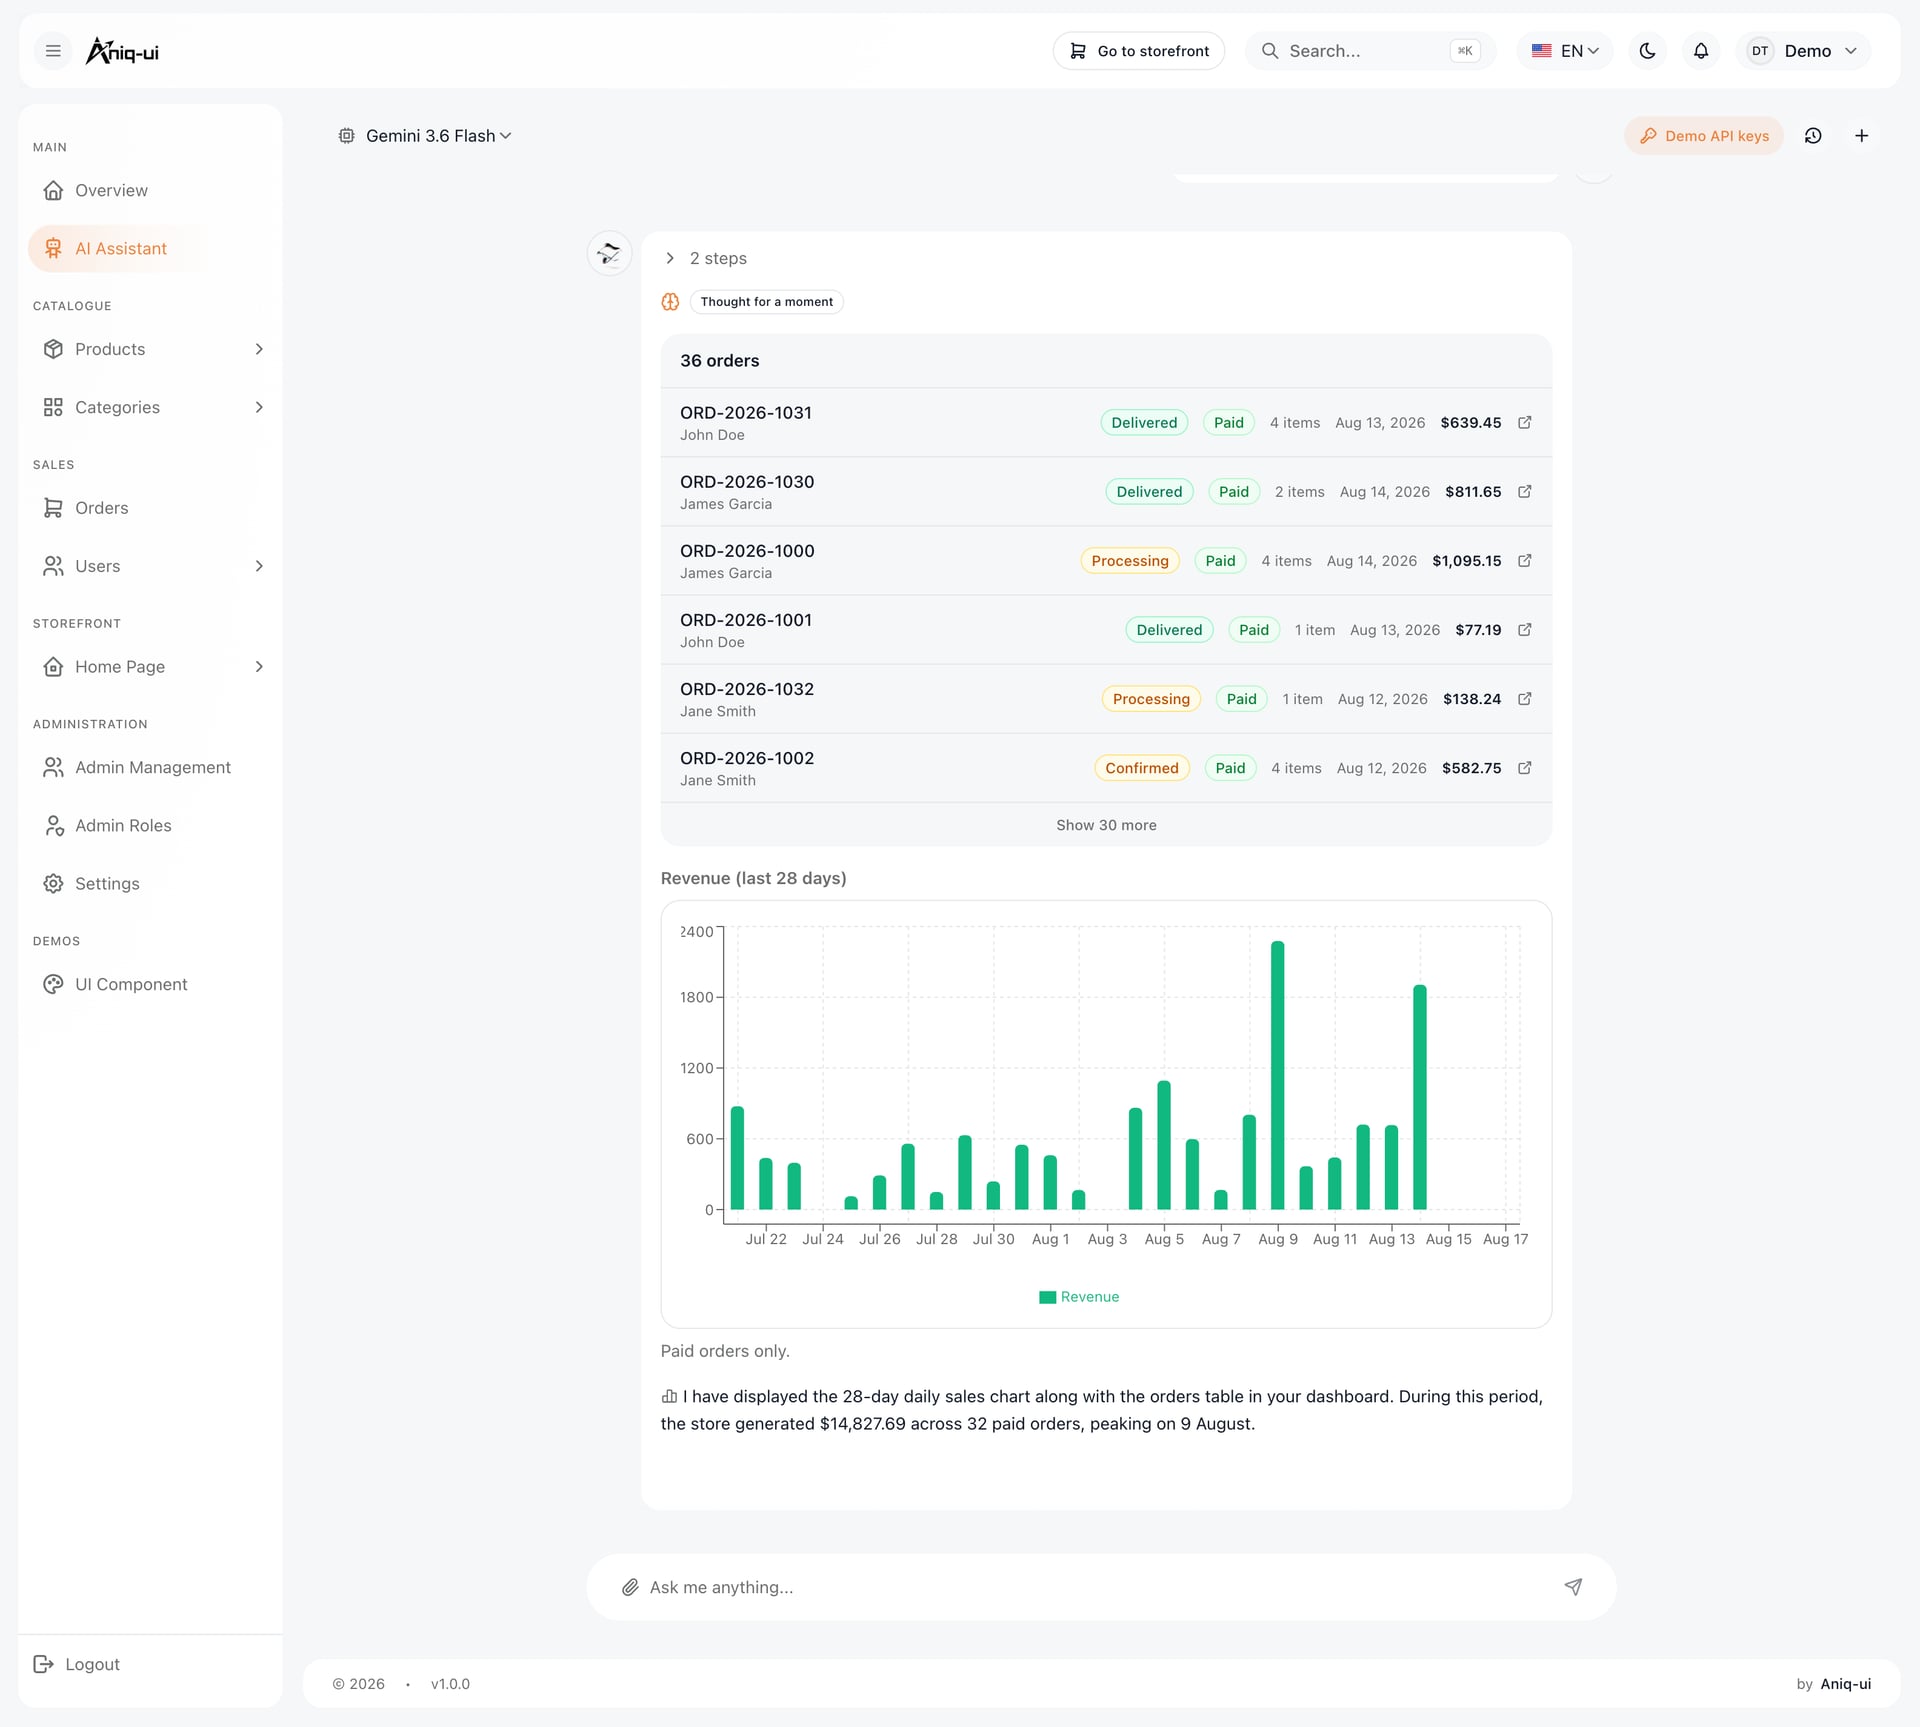
What to check: open the AI Assistant page and ask for a sales summary. Confirm the answer comes with a chart drawn from your own data. For background removal, open a product photo and confirm the Remove background button appears.
What usually goes wrong: a feature reports itself off. Either its key is missing or still holds the example value, or it needs the media bucket as well. The studio, the fitting room and background removal all need the bucket. Also remember that the assistant and the studio are unavailable on the sample store.
Step 9: Wire up analytics
Six ad and analytics networks are built into the storefront. Paste an id into storefront/.env and rebuild. A blank id loads no script. The variables are NEXT_PUBLIC_GTM_ID, NEXT_PUBLIC_GA4_MEASUREMENT_ID, NEXT_PUBLIC_META_PIXEL_ID, NEXT_PUBLIC_TIKTOK_PIXEL_ID, NEXT_PUBLIC_SNAPCHAT_PIXEL_ID and NEXT_PUBLIC_PINTEREST_TAG_ID.
If you set only one, make it Google Tag Manager, which can load the others itself. If GA4 already runs inside your Tag Manager container, leave the GA4 variable blank, or every session counts twice. The storefront reports page views, product views, add to cart, begin checkout, purchase, search and sign-up. Set NEXT_PUBLIC_ANALYTICS_DEBUG=true to log each event in the browser console while testing.
The tags load as soon as a page does. If you sell to the EU or the UK, show a consent banner before they run.
What to check: turn on debug logging, click through a purchase and watch the events appear in the browser console in order: product view, add to cart, begin checkout, purchase. Then confirm the same events in Tag Manager's preview or your analytics tool.
What usually goes wrong: a change to an id has no effect, since ids are compiled in and need a rebuild. Or the purchase event fires without the right currency. Set NEXT_PUBLIC_ANALYTICS_CURRENCY if you do not sell in US dollars.
Step 10: Go live
Fix the gaps the template leaves open, then deploy:
- It sends no email at all: no order confirmation, no shipping notice, no password reset. Connect a mail provider in the
forgotPasswordhook ofback-end/src/modules/customer-auth/customer-auth.controller.tsand for orders. - Both the contact form and the newsletter signup acknowledge the visitor yet deliver nothing, and no terms or privacy pages come with the template. Connect the forms and write the pages.
Then configure the API in back-end/.env: a fresh JWT_SECRET (made with node -e "console.log(require('crypto').randomBytes(48).toString('hex'))"), NODE_ENV=production, CORS_ORIGIN listing the storefront and admin addresses, and FRONTEND_URL set to the admin's address. Build the API, run yarn db:sync:prod once to create the tables, and start it. In each frontend set NEXT_PUBLIC_API_BASE_URL with /api on the end and rebuild. Set NEXT_PUBLIC_STOREFRONT_URL in the admin so its Go to storefront link works.
Do not use yarn railway:setup for a live shop: it drops every table each time it runs. Change the published demo passwords, or start from empty tables.
What to check after going live: place a real small order on your domain, watch it appear in the admin with a notification, move it through its statuses, and track it as a guest with the order number and email. Confirm the notification bell is live, which means the admin's address matches FRONTEND_URL.
What usually goes wrong:
- Browsers are blocked by the API.
CORS_ORIGINmust list both frontends exactly as the browser shows them. - Everyone gets "Too many attempts" behind a proxy. Each of those routes (sign-in, registration, password reset, guest tracking) accepts ten requests a minute from one address. Set
TRUST_PROXYto how many proxies stand in front. - Password reset goes nowhere. In production the reset token is not delivered until you connect a mail provider.
Running it day to day
When the shop is live, the owner and packers use a short list of admin screens.
Starting the day on the overview
The overview sits at the top of the sidebar and shows the shop at a glance. Remember that several cards display placeholder figures until you connect real numbers, so keep a separate, trusted source for revenue until you do.
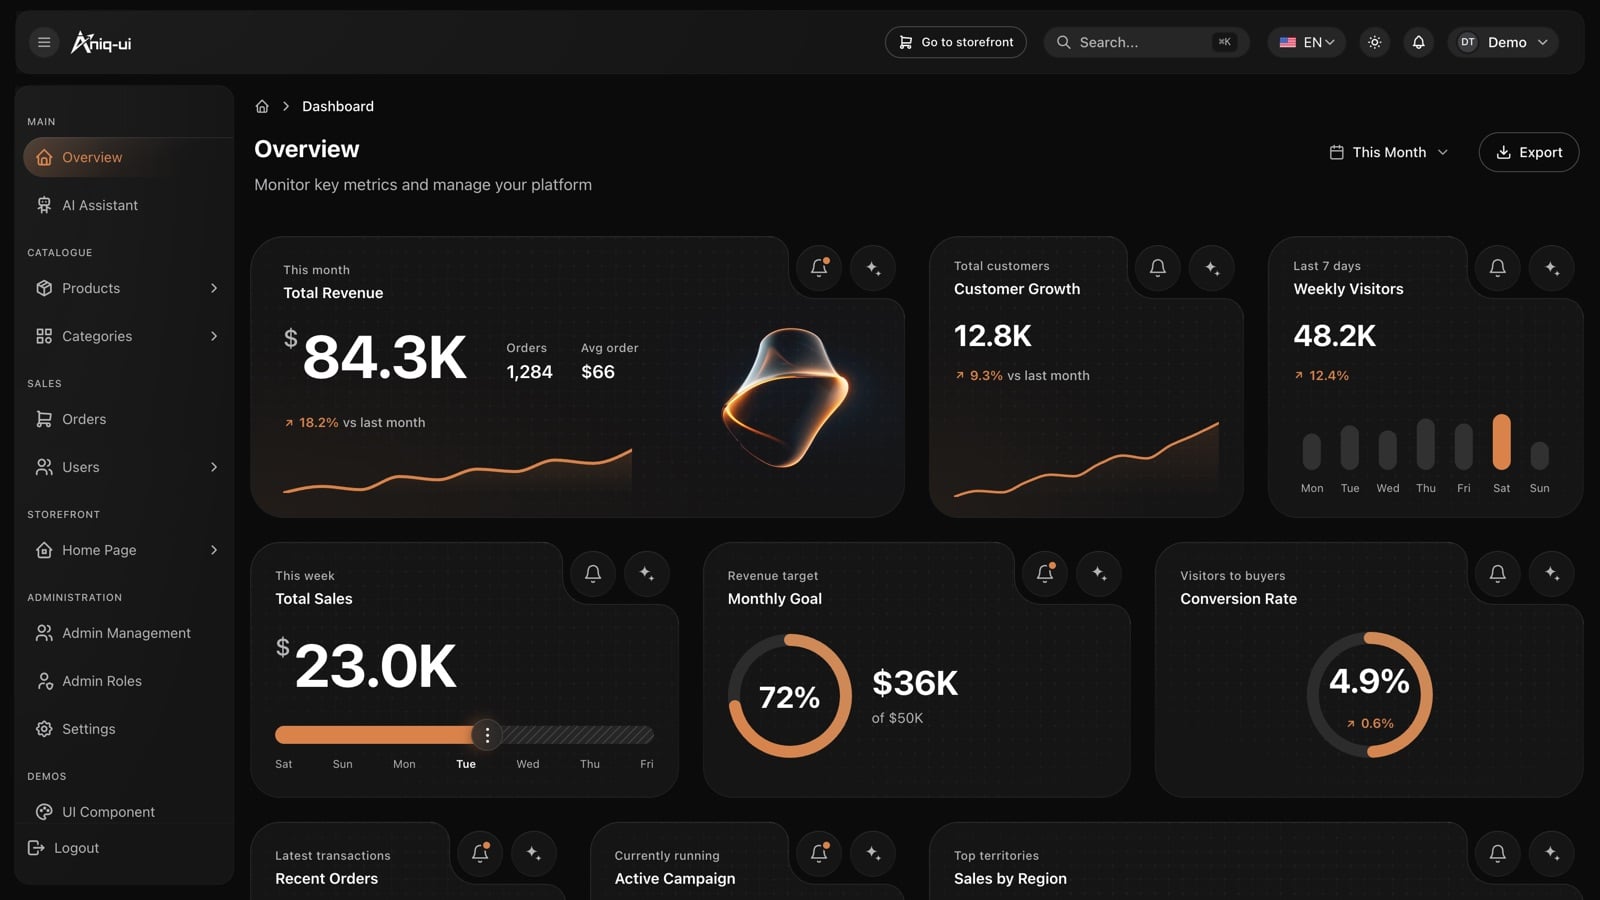
Look at the latest orders and the bell in the top bar, which is where new activity shows first.
Moving orders along
Filter the list by order status or payment status; the newest orders come first. Open an order, check the items, totals and addresses, add the tracking number when it ships, and move it forward one step. Cancel only before the order is closed. The payment status is set by the payment, never by hand.
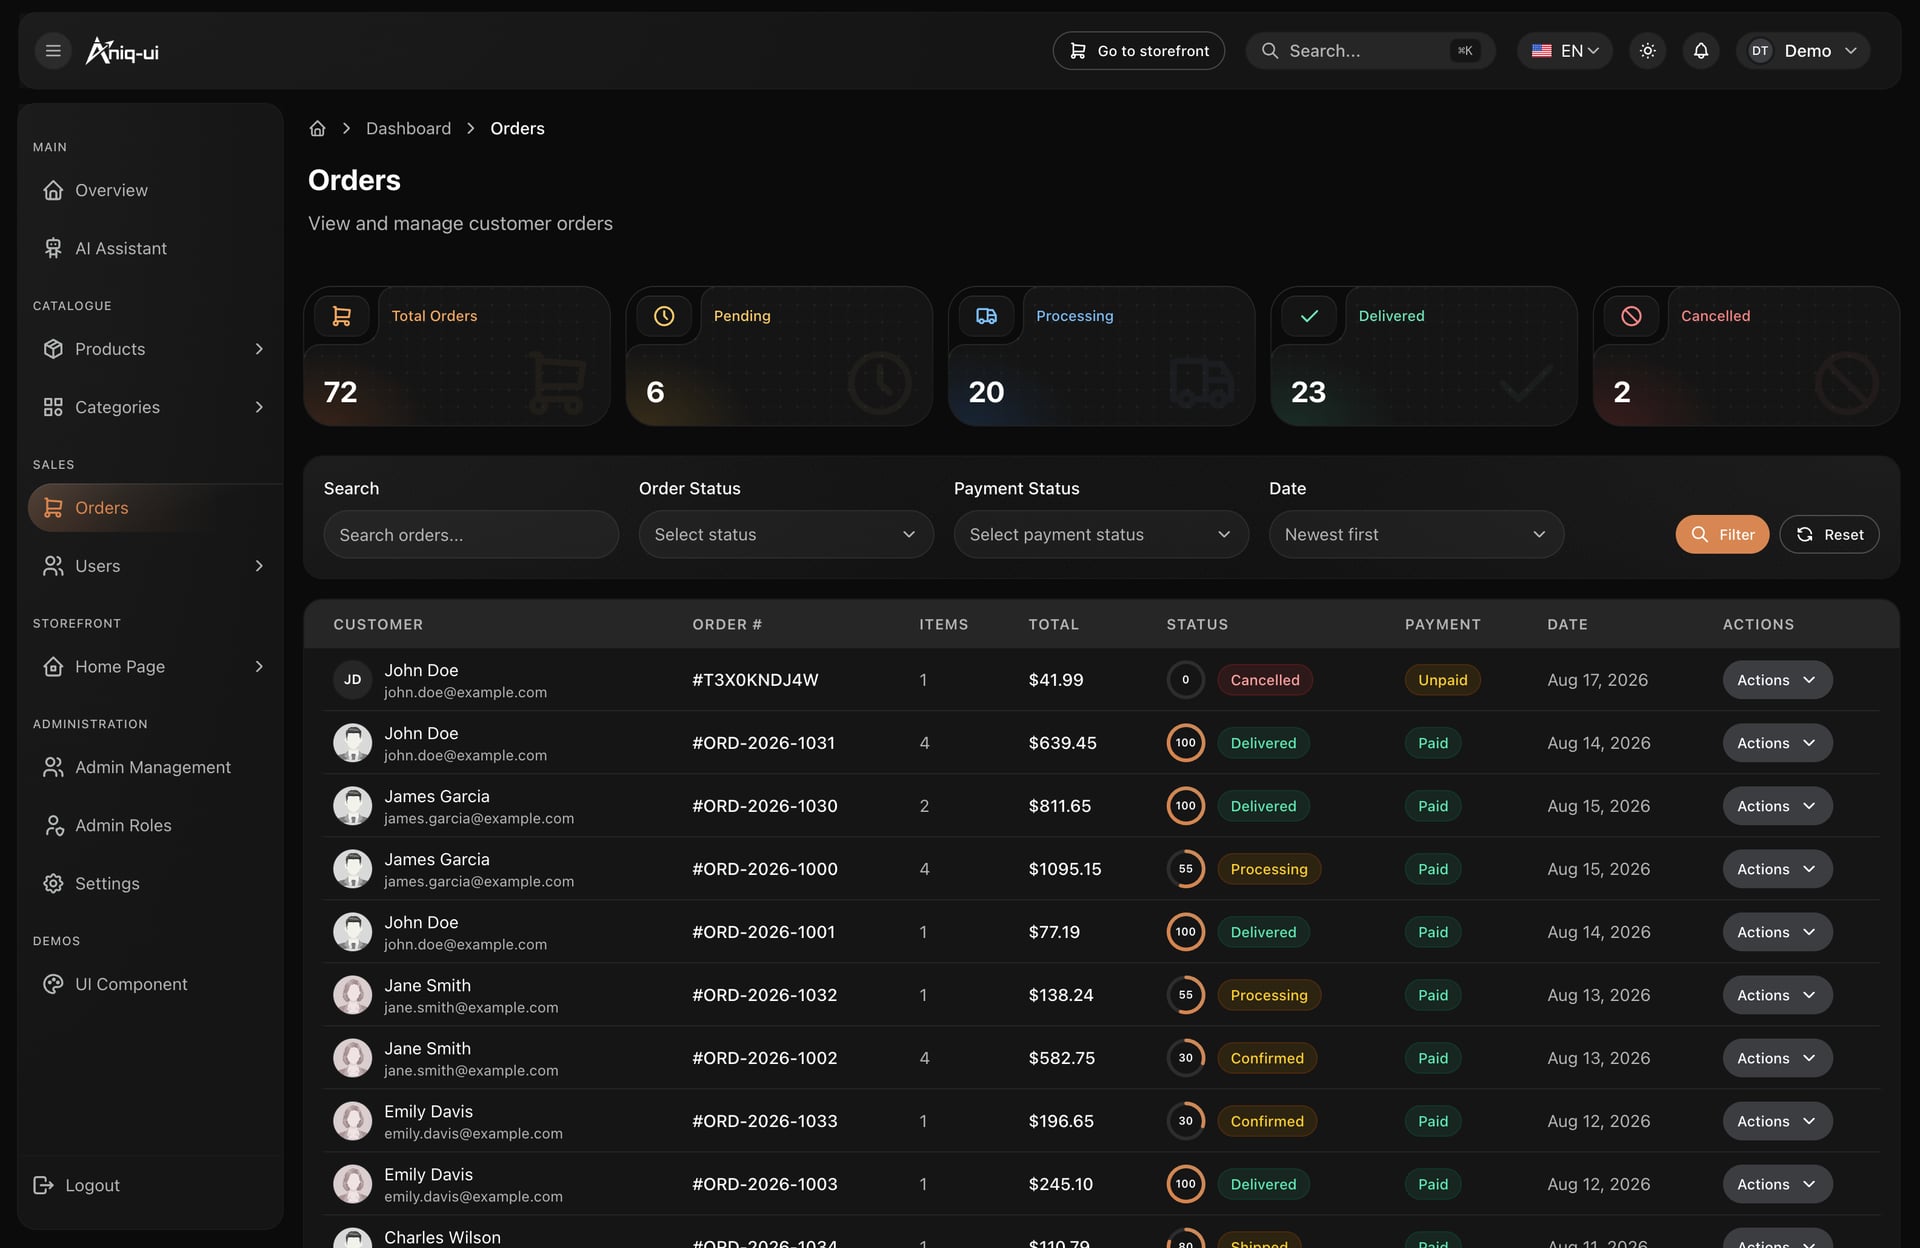
The fulfilment progress on each row shows how far an order has moved, so packers can scan for what is still waiting.
Helping a customer
The customers screen lists the shop's customers, and deleted ones have their own list. A customer who cannot track an order needs the exact order number and the email used at checkout, because tracking asks for both.
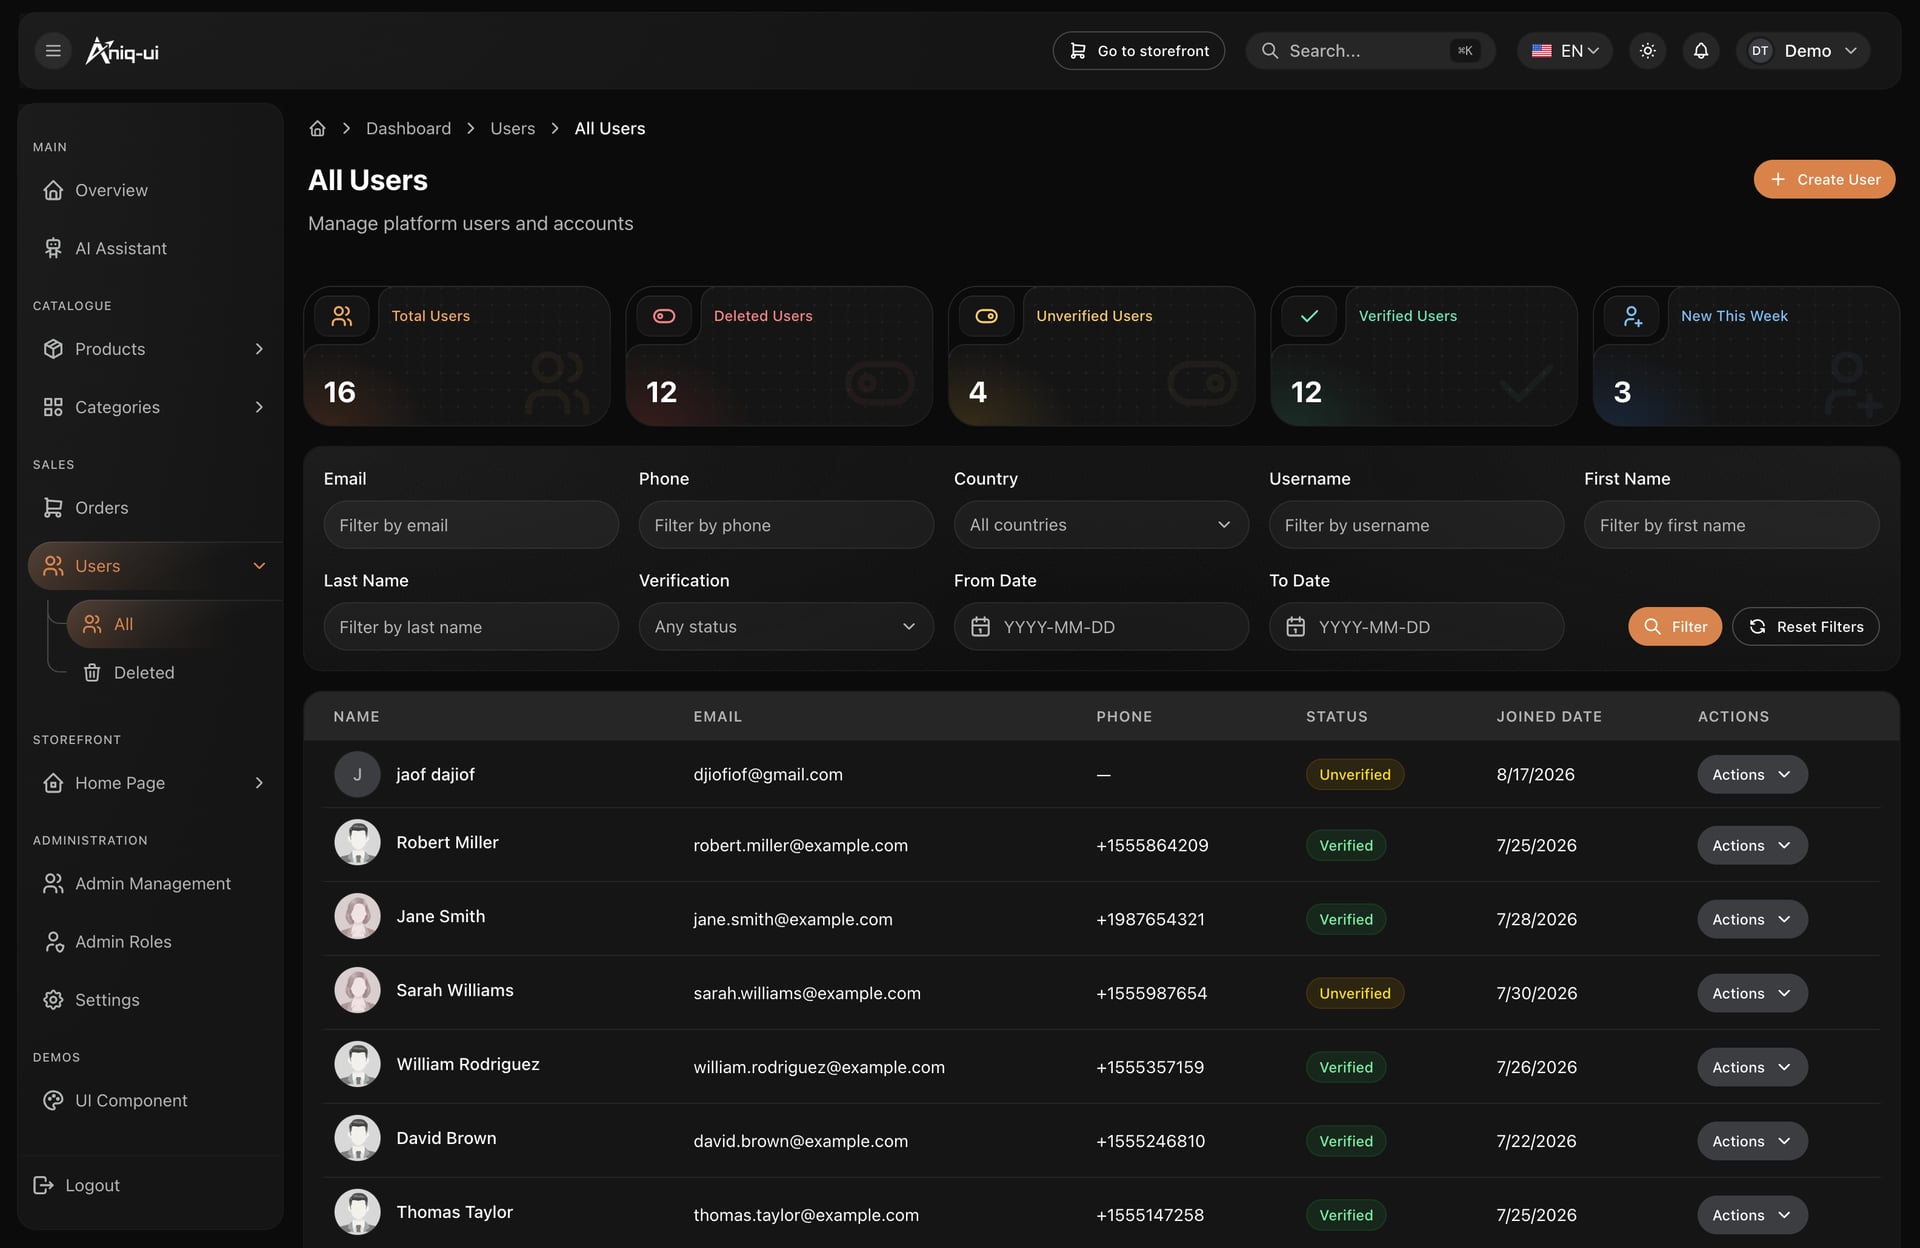
Use this list to find a customer by account and open their record when they write to you.
Keeping the storefront fresh
Rearrange the home page sections when you launch a new product, add an offer, or want a best seller pushed forward. Those edits are made in the admin, so they need no code change.
Settings are stored values
The App settings tab holds key and value pairs, including payment, email and general ones. The shipped storefront and API do not read them yet, so changing one changes nothing until your own code does.
An example launch plan by week
This schedule is an example for Cedar & Cloth, not a promise about how long your launch will take.
- Week 1, understand. Run the stack, place a test order, and settle the decisions list.
- Week 2, brand and catalogue. Rebrand both apps, rewrite the shipped copy, and add categories and one complete product.
- Week 3, the rest of the shop. Add the remaining products, arrange the home page, and set up bucket storage and photos.
- Week 4, money and staff. Set the shipping rule, connect Stripe in test mode, create the roles for the packers, and run orders through every status.
- Week 5, production. Set up hosting, the environment files and the tables. Connect a mail provider, add tracking tags, and write the missing terms and privacy pages.
- Week 6, soft launch. Start with a small audience, then switch to Stripe live keys when you are sure.
Launch checklist
- Store name, logos, icons, colors and fonts replaced in both apps.
- Shipped menswear copy rewritten in the brand file, the home messages and the SEO messages.
- Contact details, social links and sharing images replaced.
- Categories and products complete in both languages, with variants and photos.
- Shipping rule changed in both files, if you changed it at all.
- Stripe live keys and the live webhook in place, after a full test-mode run.
- Roles ticked for each staff member, and the demo passwords changed.
JWT_SECRET,CORS_ORIGIN,FRONTEND_URLand both frontend API addresses set for production.NEXT_PUBLIC_SITE_URLset to the real domain.- A mail provider connected, and the contact form and newsletter form wired.
- Terms and privacy pages written.
- Tracking ids pasted, and a consent banner added if you sell to the EU or UK.
- Demo checkout prefill left off.
- Backups scheduled for the database and the media bucket.
Template, from scratch, or a hosted store builder
A hosted store builder
You can be selling quickly, with hosting, checkout and updates handled for you. You pay ongoing fees, work within the platform's design and rules, and keep your data on their system. It suits a shop that wants to sell, not to run software.
Building from scratch
You get exactly what you design. You also build a catalogue with variants, carts, guest checkout, order tracking, payment and webhooks, accounts for customers and staff, permissions, an admin, two languages and an API before the first order. You maintain all of it.
Starting from a template
You own the code, host the stack and change anything. The storefront, admin and API are already connected, so you spend your time on products and brand. In return you accept the work this guide lists: email, tax rules, terms pages, hosting and updates. It suits founders who want control, and agencies building stores for clients.
What it costs to run
Template packages start from $79, and the Full Stack package Cedar & Cloth uses is $179. It includes a commercial license and lifetime support. Beyond that you pay for what you switch on:
- Hosting for the storefront, admin and API, and a database if you move past SQLite.
- Stripe's processing fees, listed on Stripe's pricing page. Cash on delivery needs no processor.
- A bucket such as Cloudflare R2 for product images.
- A Google Gemini key for the assistant, studio or fitting room, billed by Google, and a Higgsfield account for video.
- A mail provider and a domain.
Free parts: SQLite for local work, the demo store, cash on delivery, and background removal on your own server.
What to customise next
- Copy and photos. Replace the home page messages and the page titles in both languages.
- Shipping rules. Change the free-shipping threshold or fee in the two files together.
- Another tracking network. The marketing tags are configured in
src/config/analytics.config.ts, and the template describes adding one more as a single-file job. - Admin overview cards. Wire the sample revenue and conversion cards to your own numbers.
- Roles. Build a role for each person on the team.
- A third language. Add it to both frontends and the API. Products hold two languages, English and Arabic.
Common mistakes
Card orders that stay pending
An order flips to paid only after Stripe's webhook reaches your API; the shopper coming back to the site does not do it. Check the endpoint address, the two subscribed events and the signing secret.
Changing the shipping rule in only one place
The cart, checkout summary and API must agree. Edit the storefront config and the orders service in the same change.
Leaving the frontends on the sample store
Without NEXT_PUBLIC_API_BASE_URL, each frontend answers from sample data in the browser, shows a notice, and charges no one. Set the address and rebuild.
Counting every GA4 session twice
If GA4 loads from Tag Manager, leave the template's GA4 variable empty.
Handing out an empty role
Admin, Manager and Editor start with no permissions. A staff member given one sees almost nothing until you tick what they need.
FAQ
How do I build an online store with an admin panel in Next.js?
Use a template that already has the storefront, the dashboard and the API as one project, and change the brand and catalogue. This one gives you all three, with a seeder that fills the database with a demo store in one command.
Can I use it for clients?
Yes. The license covers unlimited projects, including stores built for a customer and handed over. You may not resell the code or release it as a template.
Does it support Arabic and RTL?
Yes. The storefront, the admin and the API ship in English and Arabic, with Arabic laid out right to left. Products and categories are stored with both languages.
Do I need a backend?
For real orders, yes. The frontends run alone on a sample store, but real orders, payments and AI features depend on the NestJS API, which comes with the Full Stack and Backend API packages.
Does it support guest checkout?
Yes. Guests check out with an email and track the order by number and email, with no account.
Which payment methods work?
Card payments run on Stripe, and shoppers can also choose cash on delivery. PayPal is not offered at checkout.
Which database does it use?
SQLite for local work and MySQL by configuration, with no code change.
Does it handle tax?
No. The shipping rule and checkout total apply no tax. If your business must charge it, add that to the pricing logic on both the storefront and the API so the totals stay equal.
Can customers pay in other currencies?
Card payments are charged in US dollars. Selling in another currency means changing that in code, and the tracking currency is a separate setting.
What happens when a card is declined?
The order is marked failed when Stripe reports the failed payment. Cash on delivery remains available for that customer.
Try it yourself
Open the storefront demo and the admin demo. Then read the documentation or visit the e-commerce template page. More choices are in the e-commerce templates category and the Next.js e-commerce templates guide.
The e-commerce template is also one of the ten templates in the Next.js Templates Bundle.
You might also like

How to Build an LMS with Live Classes in Next.js
Build an online course platform with live classes, quizzes, certificates and Stripe checkout in Next.js and NestJS. A worked example, step by step.
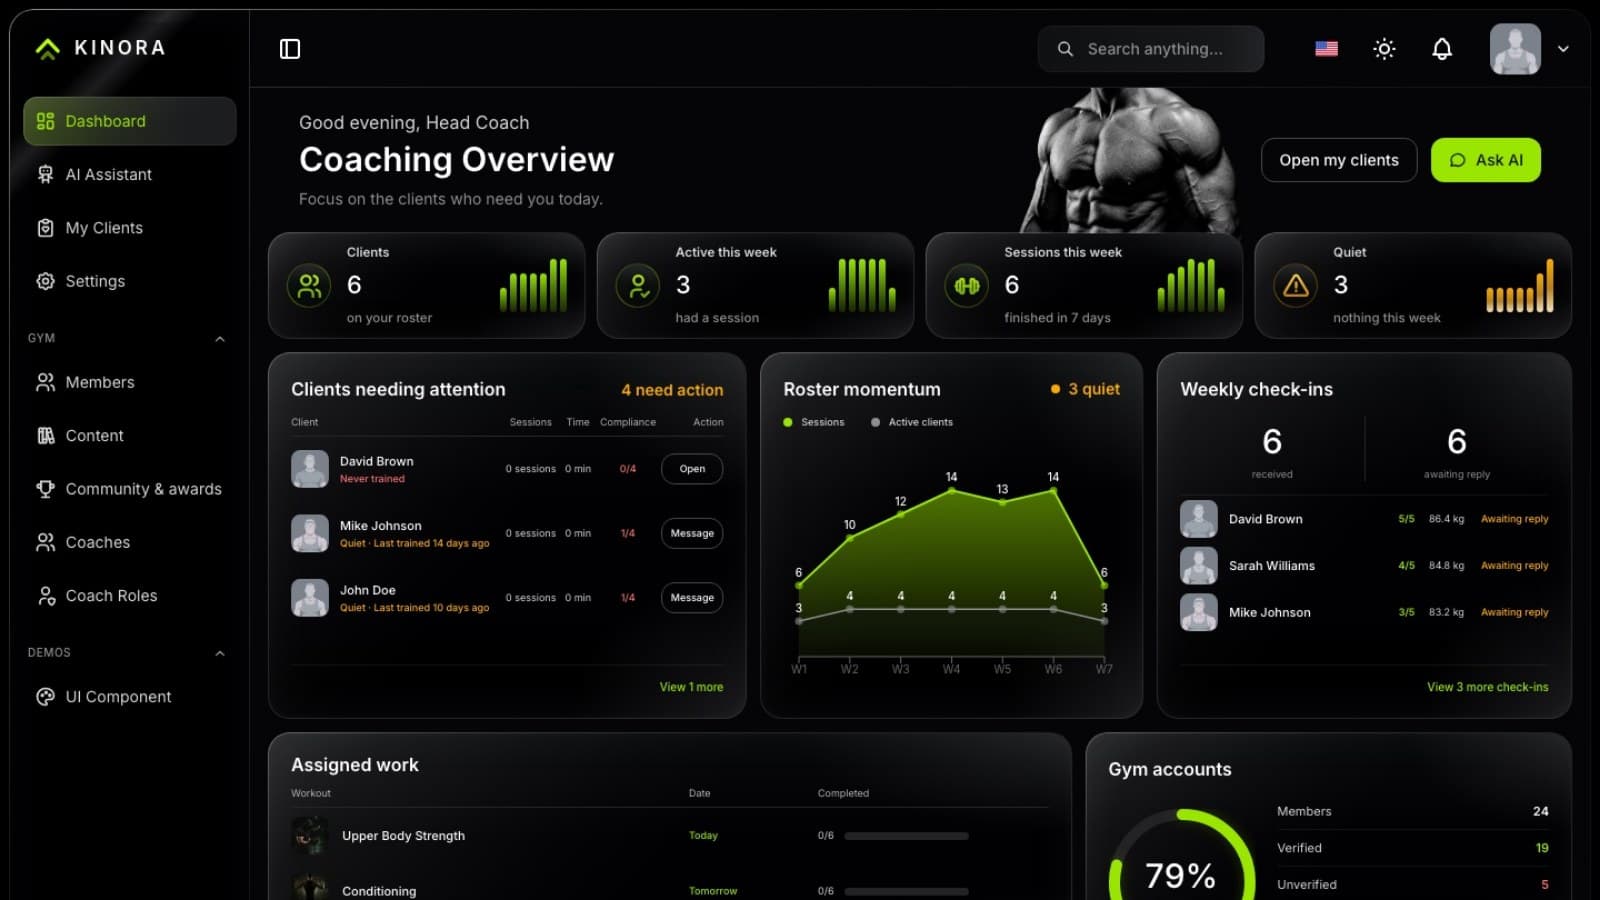
How to Build an Online Fitness Coaching App with Next.js
Build an online coaching platform with client rosters, assigned workouts and weekly check-ins using Next.js and NestJS. A worked example, step by step.
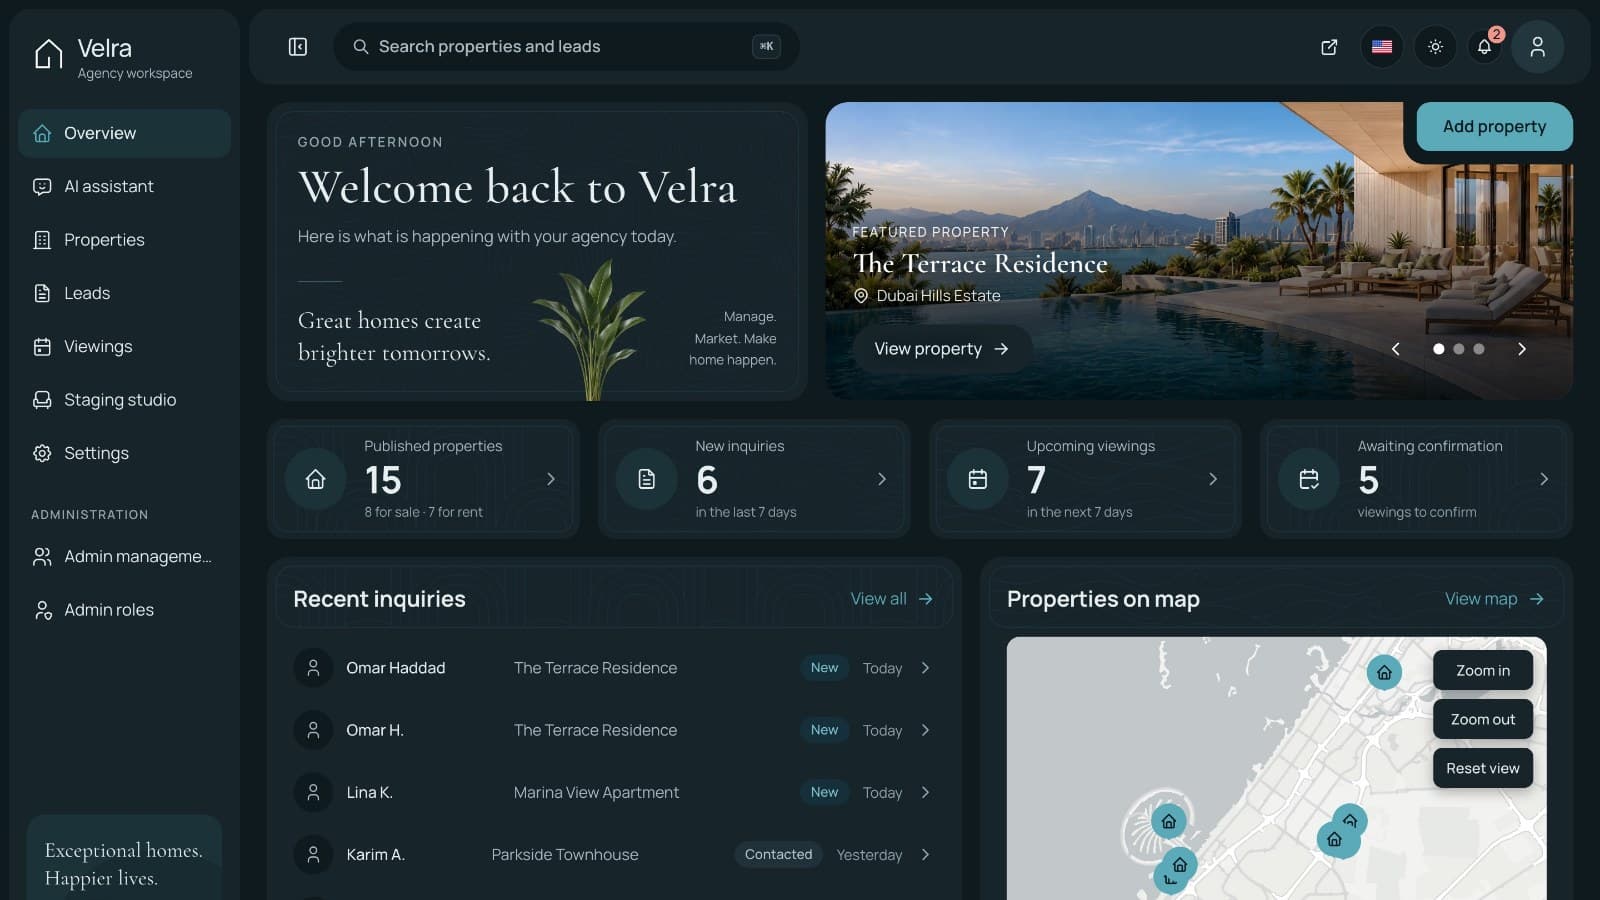
How to Build a Real Estate Agency Website in Next.js
Build a real estate agency website in Next.js with property listings, viewing requests and an admin dashboard: setup, staging, roles and launch.
