How to Add next-intl Internationalization to Next.js 15: Step-by-Step Guide
Step-by-step tutorial on integrating next-intl for internationalization in a Next.js 15 project.
Internationalization (i18n) is essential for modern web apps. With Next.js 15, the recommended way to add i18n is using next-intl. In this guide, you'll learn how to set up next-intl in a Next.js 15 project with a working, real-world approach.
🚀 Looking for a Next.js Template with next-intl Already Integrated?
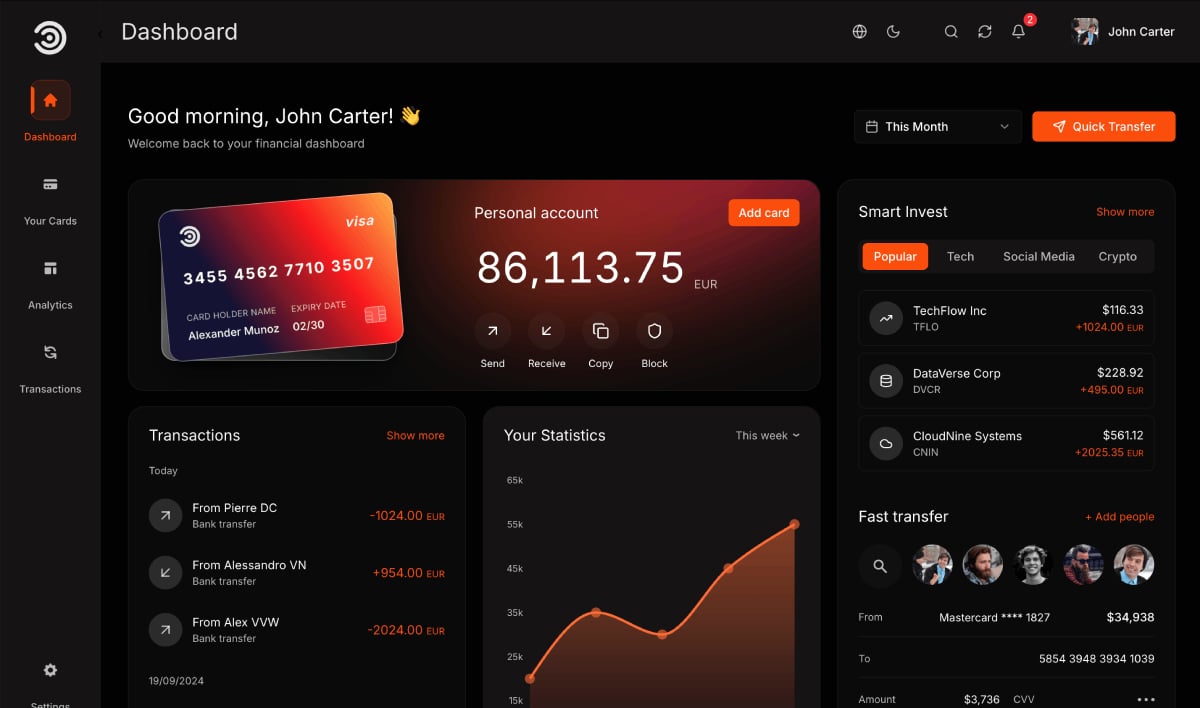
If you want to skip the setup and start with a production-ready template that already includes next-intl internationalization, check out our Next.js Financial Dashboard Template.
🎯 This premium template comes with:
- ✅ next-intl already configured and ready to use
- ✅ Dark/Light theme switching
- ✅ Redux Toolkit state management
- ✅ Modern financial dashboard UI
- ✅ Email authentication
- ✅ Responsive design
- ✅ TypeScript support
Perfect for fintech applications, banking dashboards, and financial management systems.
1. Install next-intl
First, install the package:
npm install next-intl
2. Configure Routing
Create a routing config to define your supported locales. In Aniq-UI, this is done in src/i18n/routing.ts:
// src/i18n/routing.ts
import {defineRouting} from 'next-intl/routing';

export const routing = defineRouting({
  locales: ['en', 'fr', 'ar', 'es'],
  defaultLocale: 'en'
});
3. Add Navigation Helpers
Set up navigation helpers in src/i18n/navigation.ts:
// src/i18n/navigation.ts
import { createNavigation } from 'next-intl/navigation';
import { routing } from './routing';

export const { Link, redirect, usePathname, useRouter, getPathname } = createNavigation(routing);
4. Load Messages on the Server
Configure message loading in src/i18n/request.ts:
// src/i18n/request.ts
import { getRequestConfig } from 'next-intl/server';
import { hasLocale } from 'next-intl';
import { routing } from './routing';

export default getRequestConfig(async ({ requestLocale }) => {
    const requested = await requestLocale;
    const locale = hasLocale(routing.locales, requested)
        ? requested
        : routing.defaultLocale;

    const [seoMessages] = await Promise.all([
        import(`../messages/seo/${locale}.json`).then(module => module.default).catch(() => ({})),
    ]);

    return {
        locale,
        messages: {
            seo: seoMessages,
        }
    };
});
5. Provide Messages to Your App
Wrap your pages with NextIntlClientProvider. For example, in src/app/[locale]/about/layout.tsx:
// src/app/[locale]/about/layout.tsx
import { NextIntlClientProvider } from "next-intl";

export default async function AboutLayout({
  children,
  params,
}: {
  children: React.ReactNode;
  params: Promise<{ locale: string }>;
}) {
  const { locale } = await params;

  const [about] = await Promise.all([
    import(`@/messages/about/${locale}.json`).then((mod) => mod.default),
  ]);

  const messages = { about };
  return (
    <NextIntlClientProvider locale={locale} messages={messages}>
      {children}
    </NextIntlClientProvider>
  );
}
6. Organize Your Message Files
Store your translation files in src/messages/, e.g.:
src/messages/about/en.json
src/messages/about/fr.json
src/messages/about/ar.json
src/messages/about/es.json
Each file contains translations for a namespace, e.g.:
{
  "header_story": "Our Story",
  "header_title1": "We're Building",
  // ...
}
7. Use Translations in Components
Use the useTranslations hook from next-intl:
import { useTranslations } from "next-intl";

export default function AboutHeader() {
  const t = useTranslations("about");
  return <h1>{t("header_title1")}</h1>;
}
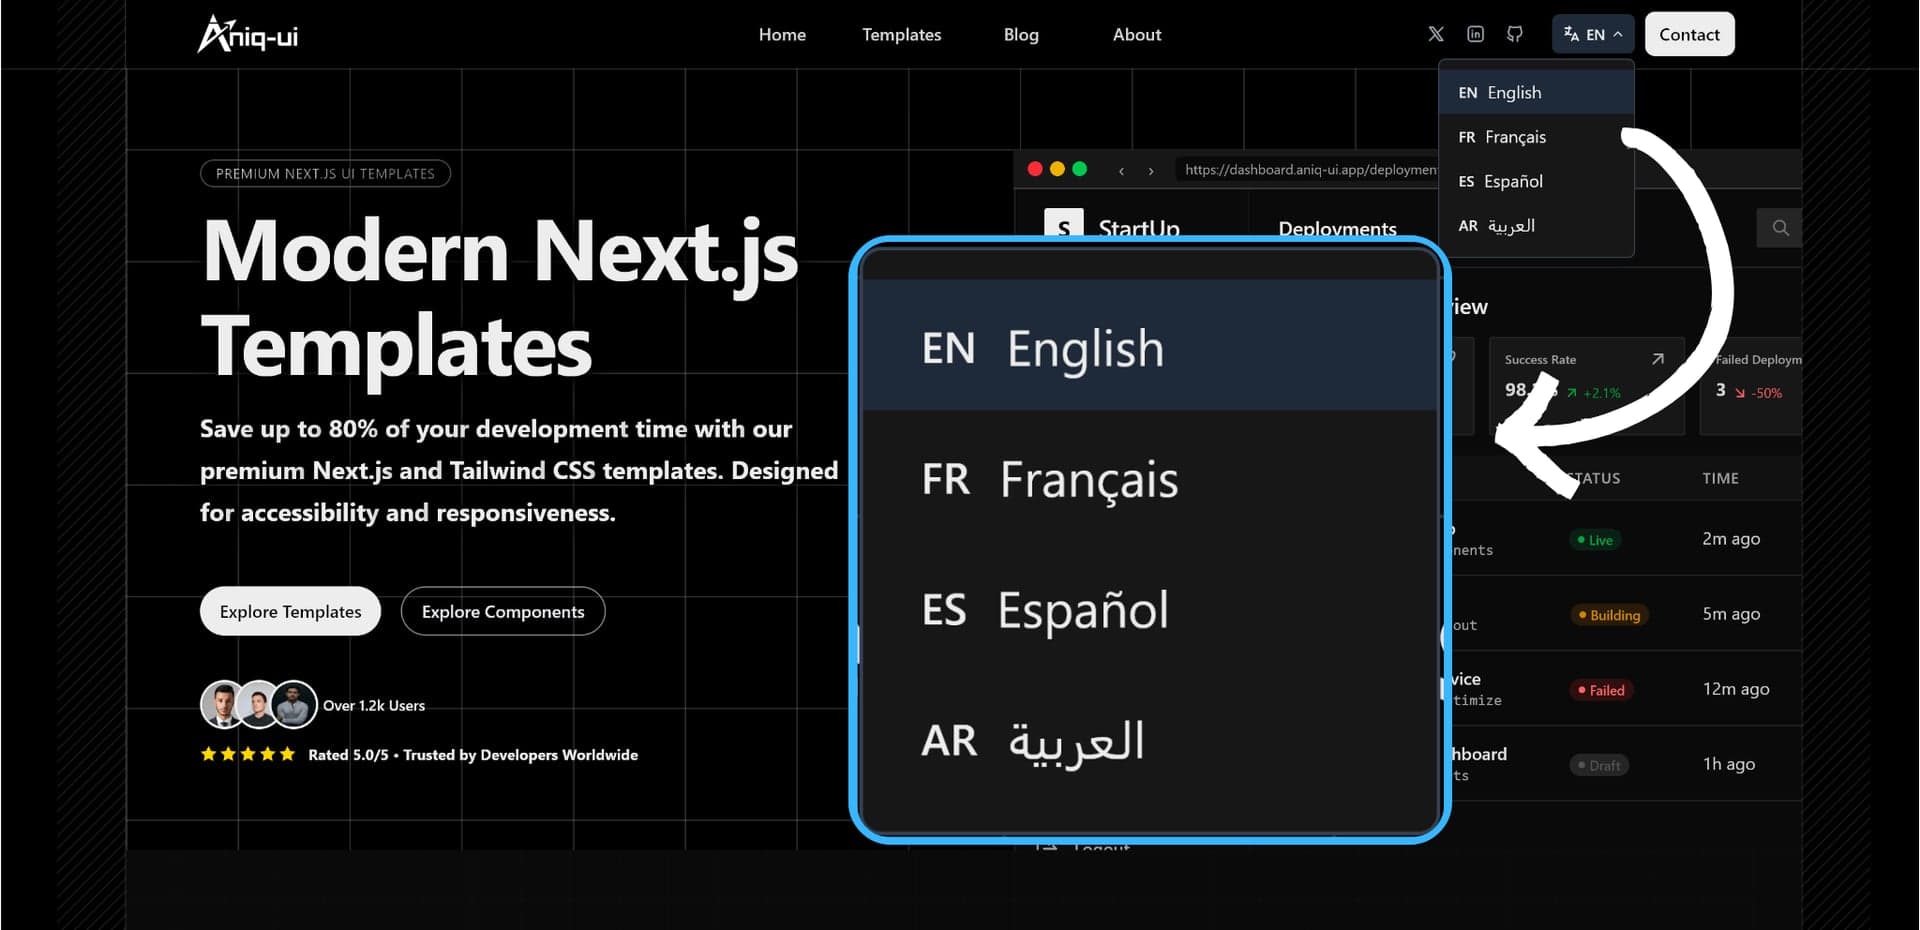
8. Add a Language Switcher
Here is the full code for the src/components/LanguageSelector/index.tsx component used in Aniq-UI:
// filepath: src/components/LanguageSelector/index.tsx
"use client";

import React, { useState, useRef, useEffect } from "react";
import { useParams, useRouter } from "next/navigation";
import { cn } from "@/lib/utils";
import { IconLanguage, IconChevronDown } from "@/lib/icons";

interface Language {
  code: string;
  name: string;
  rtl: boolean;
}

const languages: Language[] = [
  { code: "en", name: "English", rtl: false },
  { code: "fr", name: "Français", rtl: false },
  { code: "es", name: "Español", rtl: false },
  { code: "ar", name: "العربية", rtl: true },
];

export default function LanguageSelector() {
  const [isOpen, setIsOpen] = useState(false);
  const dropdownRef = useRef<HTMLDivElement>(null);
  const router = useRouter();
  const params = useParams();
  const currentLocale = typeof params.locale === "string" ? params.locale : "en";

  const currentLanguage = languages.find((lang) => lang.code === currentLocale) || languages[0];

  useEffect(() => {
    const handleClickOutside = (event: MouseEvent) => {
      if (
        dropdownRef.current &&
        !dropdownRef.current.contains(event.target as Node)
      ) {
        setIsOpen(false);
      }
    };

    document.addEventListener("mousedown", handleClickOutside);
    return () => {
      document.removeEventListener("mousedown", handleClickOutside);
    };
  }, []);

  const changeLanguage = (langCode: string) => {
    const currentPath = window.location.pathname;
    // Extract the path after the locale segment
    const pathSegments = currentPath.split('/');
    pathSegments[1] = langCode; // Replace the locale segment

    const newPath = pathSegments.join('/');
    router.push(newPath);
    setIsOpen(false);
  };

  return (
    <div className="relative" ref={dropdownRef}>
      <button
        onClick={() => setIsOpen(!isOpen)}
        className="flex items-center  cursor-pointer px-2 py-2 rounded-md hover:bg-gray-100 dark:hover:bg-gray-800 text-sm"
        aria-expanded={isOpen}
        aria-haspopup="true"
      >
        <IconLanguage className="w-4 h-4 mr-1" />
        <span className="font-medium text-xs mr-1">{currentLanguage.code.toUpperCase()}</span>
        <IconChevronDown className={cn("w-3 h-3 transition-transform", isOpen ? "rotate-180" : "")} />
      </button>

      {isOpen && (
        <div className="absolute z-50 mt-1 bg-white dark:bg-neutral-900 border border-gray-200 dark:border-gray-700 rounded-md shadow-lg py-1 w-40 min-w-max right-0">
          <ul className="py-1">
            {languages.map((language) => (
              <li key={language.code}>
                <button
                  onClick={() => changeLanguage(language.code)}
                  className={cn(
                    "w-full text-left cursor-pointer px-4 py-2 text-sm hover:bg-gray-100 dark:hover:bg-gray-800 flex items-center",
                    language.code === currentLocale && "bg-gray-100 dark:bg-gray-800"
                  )}
                 >
                  <span className="inline-block me-2 w-max font-medium text-xs">{language.code.toUpperCase()}</span>
                  {language.name}
                </button>
              </li>
            ))}
          </ul>
        </div>
      )}
    </div>
  );
}
9. Test Your Setup
Start your dev server and visit /en/about, /fr/about, etc. You should see the correct translations and be able to switch languages.
Conclusion
With next-intl, adding internationalization to Next.js 15 is straightforward and powerful. For a full working example, explore the Aniq-UI repository.
References:
Found this article helpful?
You might also like
Next.js Performance Optimization: Practical Guide to Speed Up Your Apps
Learn how to speed up Next.js apps with image optimization, code splitting, static generation, font loading, and reducing bundle size.

Boost Next.js Performance with TanStack Query (React Query)
Learn how TanStack Query (React Query) supercharges Next.js performance with caching, mutations, SSR/SSG hydration, and production patterns.

Publino: The Ultimate Next.js Landing Page Template for Modern Startups
Discover Publino, a high-performance, SEO-optimized Next.js template designed for SaaS, startups, and agencies. Build and launch stunning websites in minutes.
