
Run the restaurant locally
Get your package running on your computer, with Docker.
For the Full Stack package
Before you start: install and open Docker Desktop, or Docker Engine with Compose.
View requirementsDownload your template
Open My templates and download the ZIP for your package.
Expected result: A file named like
food-studio-full-stack-main-….zipis in your downloads.Unzip and open the folder
Extract the ZIP and open a terminal in the
food-studio-full-stackfolder. On Windows, extract it in File Explorer, then open a terminal in the folder.Terminalunzip food-studio-full-stack-*.zip cd food-studio-full-stackExpected result: The folder lists
Having trouble?admin-dashboard,back-end,storefrontanddocker-compose.yml.Start the apps
Build and start the API, the ordering website and the staff dashboard. Nothing has to be configured first. The first start builds three images and fills the database with the demo restaurant, which takes a few minutes; later starts take seconds.
Terminalinfood-studio-full-stackdocker compose up --buildA port is already in use?
If the start stops with
A port is already in useaddress already in useorport is already allocated, another program uses 3030, 3031 or 8000. Either stop it, or create a file named.envin thefood-studio-full-stackfolder, besidedocker-compose.yml, with the port you need, such asADMIN_PORT=3041(SITE_PORTfor the website,API_PORTfor the API). Rundocker compose up --buildagain and open the app on its new port.Expected result: The three services keep running and the log stops scrolling. Leave this terminal open.
Having trouble?Open the ordering website
Open localhost:3030Local. To sign in as the demo customer, use
sam@foodstudio.examplewith the passwordFoodDemo2026!. Arabic is at/ar.Expected result: The website opens on its home page with the demo menu and its pictures.
Having trouble?Sign in to the staff dashboard
Open localhost:3031Local. Sign in with
owner@foodstudio.exampleand the passwordFoodDemo2026!. For the manager or the kitchen, typemanager@foodstudio.exampleorkitchen@foodstudio.examplewith the same password. Change these passwords before the restaurant is reachable from the internet.Expected result: The dashboard opens on its overview, with today's orders and the kitchen's queue.
Having trouble?
Take a tour
What the demo restaurant looks like once everything runs.
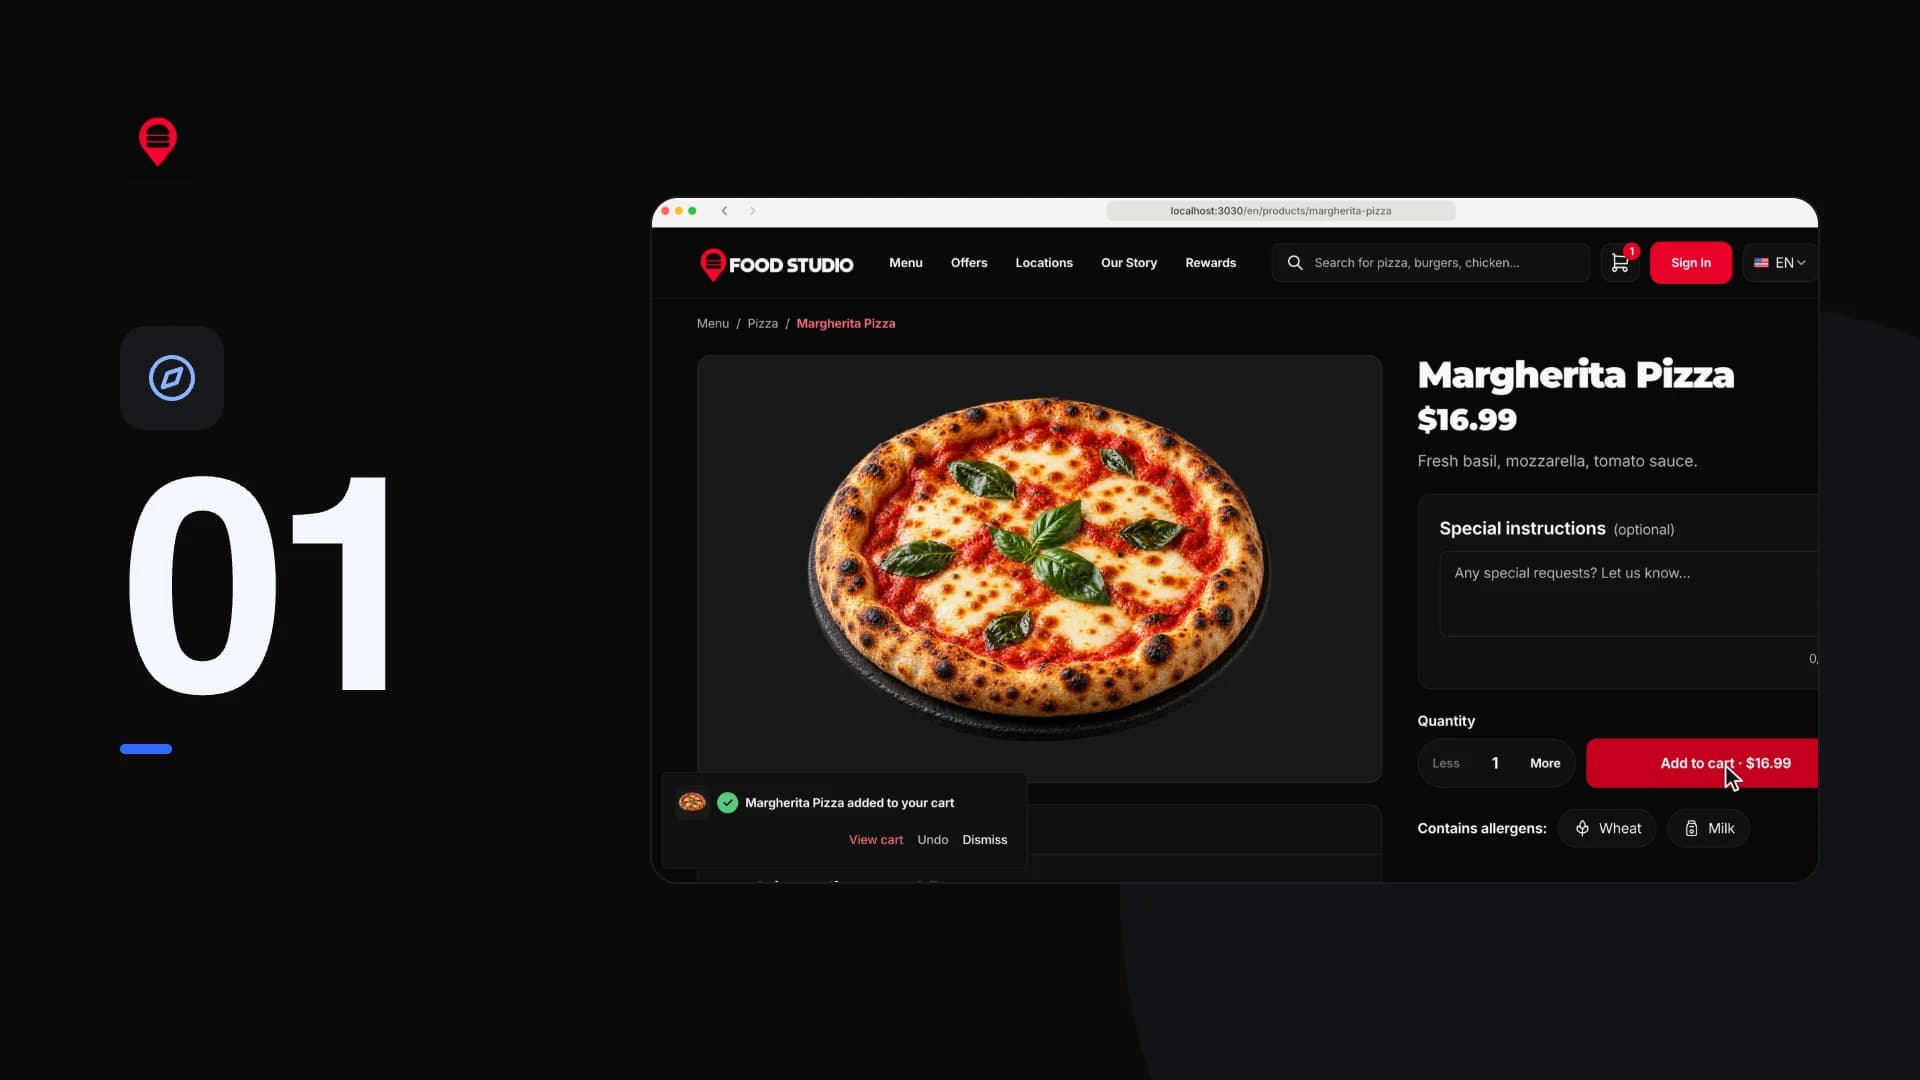
| Account | Signs in at | Password | |
|---|---|---|---|
| Owner: everything, including team and roles | Staff dashboard | owner@foodstudio.example | FoodDemo2026! |
| Manager: everything except team and roles | Staff dashboard | manager@foodstudio.example | FoodDemo2026! |
| Kitchen: the Central kitchen's orders, with no prices | Staff dashboard | kitchen@foodstudio.example | FoodDemo2026! |
| Customer, with reward points from past orders | Ordering website | sam@foodstudio.example | FoodDemo2026! |
The seed also adds two more managers (rami.manager@foodstudio.example and nina.manager@foodstudio.example) and a kitchen account for each of the other three kitchens (riverside.kitchen@, uptown.kitchen@ and harbor.kitchen@, all at foodstudio.example), with the same password. These are local demo accounts only.
Stop and start again
Press Ctrl+C in the terminal to stop the apps, or run this from the food-studio-full-stack folder. Your data, the database and the uploads, is kept in the food-studio-data volume.
food-studio-full-stackdocker compose downStart again with the same command as step 3. Without --build it reuses the images you already built.
food-studio-full-stackdocker compose upKeep your data
docker compose down -v also deletes the data volume. The next start seeds a fresh copy of the demo restaurant, and everything you created is gone.
Run the ordering website
This package is the ordering website on its own. It reads everything from the template's API, so start the API first. Unless you build it with another address, the website expects the API at http://localhost:8000. The API is a separate package and is not in this download.
Unzip and open the folder
Terminalunzip food-studio-website-*.zip cd food-studio-websiteExpected result: The folder has a
Having trouble?Dockerfileand apackage.json.Build the image
The
NEXT_PUBLIC_*values are compiled into the JavaScript the browser loads, so they are build arguments. Without any, the website uses the API athttp://localhost:8000/api. For an API somewhere else, pass its address.Terminalinfood-studio-websitedocker build -t foodstudio-site .With your own API:
Having trouble?Terminalinfood-studio-websitedocker build -t foodstudio-site --build-arg NEXT_PUBLIC_API_BASE_URL=https://api.your-domain.com/api --build-arg NEXT_PUBLIC_MEDIA_HOSTNAME=media.your-domain.com .Start it
If port
3030is taken, change the number on the left of-p, for example-p 3041:3030, open that port instead, and add the new address to the API'sCORS_ORIGIN.Terminalinfood-studio-websitedocker run -p 3030:3030 foodstudio-siteExpected result: localhost:3030Local opens the website with the menu from your API. English is at
Having trouble?/en, Arabic at/ar.
Run the staff dashboard
This package is the staff dashboard on its own. Every screen reads the template's API, so start the API first. Unless you build it with another address, the dashboard expects the API at http://localhost:8000. The API is a separate package and is not in this download.
Unzip and open the folder
Terminalunzip food-studio-staff-dashboard-*.zip cd food-studio-staff-dashboardExpected result: The folder has a
Having trouble?Dockerfileand apackage.json.Build the image
Without build arguments the dashboard uses the API at
http://localhost:8000/api. For an API somewhere else, pass its address, its address without/apifor the live notifications, and the website's address for the "View storefront" link.Terminalinfood-studio-staff-dashboarddocker build -t foodstudio-admin .With your own API:
Having trouble?Terminalinfood-studio-staff-dashboarddocker build -t foodstudio-admin --build-arg NEXT_PUBLIC_API_BASE_URL=https://api.your-domain.com/api --build-arg NEXT_PUBLIC_WEBSOCKET_BASE_URL=https://api.your-domain.com --build-arg NEXT_PUBLIC_STOREFRONT_URL=https://your-domain.com .Start it and sign in
If port
3031is taken, change the number on the left of-p, for example-p 3041:3031, open that port instead, and add the new address to the API'sCORS_ORIGIN.Terminalinfood-studio-staff-dashboarddocker run -p 3031:3031 foodstudio-adminExpected result: localhost:3031Local opens the sign-in form. Sign in with the owner account
Having trouble?owner@foodstudio.exampleand the passwordFoodDemo2026!, which a seeded API accepts.
Run the API
This package is the NestJS API on its own, on a SQLite file kept in a Docker volume with the uploads. The ordering website and the staff dashboard are separate packages and are not in this download.
Unzip and open the folder
Terminalunzip food-studio-backend-*.zip cd food-studio-backendExpected result: The folder has a
Having trouble?Dockerfile, apackage.jsonand a.env.example.Start it with the demo restaurant
A new volume gets empty tables and no accounts unless you ask for the demo restaurant, so keep
-e SEED_DEMO_DATA=truefor a first start. The volume keeps the database and the uploads between runs. If port8000is taken, change the number on the left of-p, for example-p 8010:8000, and add-e PUBLIC_MEDIA_URL=http://localhost:8010/mediaso the picture addresses use it too. Your frontends must then point athttp://localhost:8010/api.Terminalinfood-studio-backenddocker run -p 8000:8000 -v foodstudio-data:/data -e SEED_DEMO_DATA=true foodstudio-apiExpected result: localhost:8000/api/healthLocal answers
Having trouble?{"success":true,"data":{"status":"ok","database":"up"},"message":""}.
The container accepts the website on http://localhost:3030 and the dashboard on http://localhost:3031. On other addresses, set CORS_ORIGIN, FRONTEND_URL and STOREFRONT_URL with -e.
To give the container your own keys (payments, mail, R2, AI), create .env from .env.example with cp .env.example .env, fill it in, and add --env-file .env to docker run. Without a JWT_SECRET of your own, or with the example one, the container generates a secret and keeps it in the volume.
The image leaves out the background-removal model unless you ask for it. To include it, build with:
food-studio-backenddocker build --build-arg FETCH_BG_MODEL=true -t foodstudio-api .